A functional garage door opener is essential for easy access to your garage. The Craftsman 315 garage door opener is a reliable model, but over time, its battery may wear out, affecting performance. If you notice a weak signal, slow response, or complete failure in your remote control, it might be time for a battery replacement.
In this guide, we will walk you through how to change the battery in a Craftsman 315 garage door opener, ensuring your garage door operates smoothly.
Read too: Door and Garage Door Companies: Choosing the Right Partner for Your Needs
Why You Need to Change the Battery in a Craftsman 315 Garage Door Opener
The Craftsman 315 garage door opener relies on a battery-powered remote control for seamless operation. However, after continuous use, the battery loses its charge, leading to:
- Weakened signal strength – You may need to press the button multiple times before the door responds.
- Slower response time – The garage door may take longer to open or close.
- Complete failure – The remote control may stop working entirely.
By replacing the battery, you ensure smooth and consistent performance, preventing any inconvenience.
How To Change Battery In Craftsman 315 Garage Door Opener
Step 1: Gather the Necessary Tools
Before you start, make sure you have the following items:
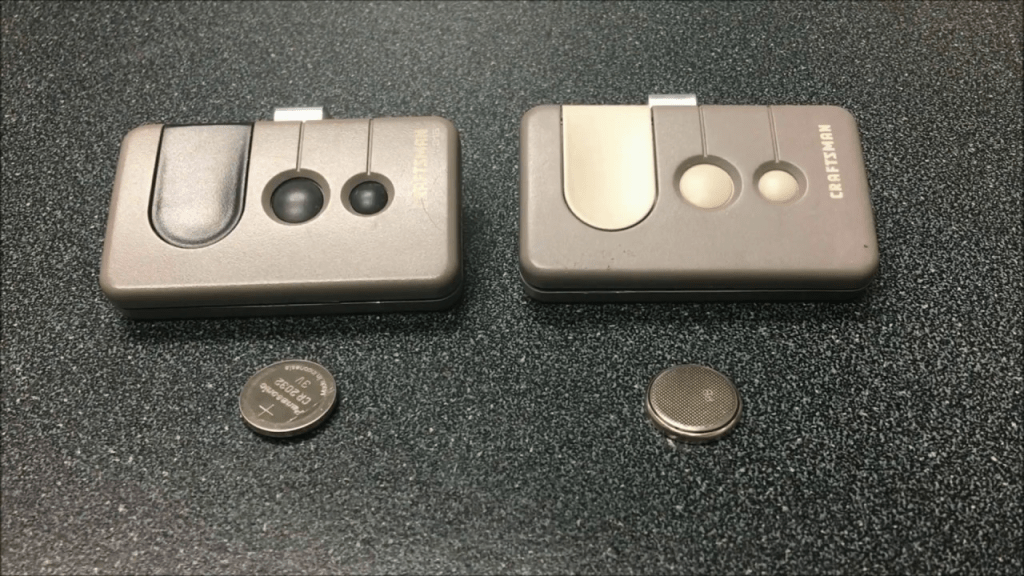
✔ A replacement battery (typically a CR2032 or CR2025 coin-cell battery)
✔ A small flathead screwdriver (if needed for opening the remote)
✔ A soft cloth (to avoid damaging internal components)
Step 2: Locate the Battery Compartment
- Find your Craftsman 315 remote control. It is usually a small, handheld device with buttons for opening and closing the garage door.
- Turn the remote over and look for a small battery cover on the back.
- Some models have a snap-in cover, while others may require a small screwdriver to remove a screw securing the battery compartment.
Step 3: Open the Battery Compartment
- If your remote has a sliding cover, gently push it open using your fingers.
- If the cover is secured with a screw, use a flathead screwdriver to remove it carefully.
- Be gentle to avoid damaging the plastic casing.
Step 4: Remove the Old Battery
- Once the cover is open, locate the old battery inside.
- Carefully lift the battery out using your fingers or a non-metallic tool to prevent short-circuiting.
- Dispose of the old battery properly—do not throw it in regular trash. Instead, recycle it at a designated battery recycling center.
Step 5: Insert the New Battery
- Take the new CR2032 or CR2025 battery and make sure it is positioned correctly.
- The positive (+) side should face upward, while the negative (-) side should be placed downward.
- Gently press the battery into place, ensuring it fits snugly.
Step 6: Close the Battery Compartment
- If your remote has a sliding cover, push it back into place until it clicks.
- If you removed a screw earlier, secure it back with a screwdriver without overtightening.
- Ensure the cover is properly closed to protect the battery from dust and moisture.
Step 7: Test the Remote Control
- Stand near the garage door and press the button on the remote.
- If the door responds immediately, the battery replacement was successful.
- If the remote still does not work, double-check the battery placement or try a different new battery.
Troubleshooting After Changing the Battery
Sometimes, even after replacing the battery, the remote may not function properly. Here are some common issues and solutions:
1. Remote Still Not Working
✔ Ensure the battery is installed correctly (positive side up).
✔ Try resetting the remote by removing the battery for a few minutes before reinserting it.
✔ Check if the garage door opener has power—sometimes, the main unit needs resetting.
2. Weak Signal or Limited Range
✔ Ensure there are no obstructions blocking the signal between the remote and the opener.
✔ Move closer to the garage door to test if the signal improves.
✔ Replace the battery again—sometimes, new batteries may be faulty.
3. Need to Reprogram the Remote
✔ If the battery was removed for an extended period, the remote may need reprogramming.
✔ Follow the owner’s manual for programming instructions, usually involving pressing a button on the garage opener unit.
Tips to Extend Battery Life in Your Craftsman 315 Garage Door Opener Remote
To avoid frequent battery changes, follow these tips to extend battery life:
- Use the remote only when necessary – Avoid unnecessary button presses.
- Store the remote properly – Keep it in a cool, dry place away from direct sunlight.
- Turn off extra features – Some remotes have backlights or extra functions that drain the battery faster.
- Regularly check battery levels – If you notice a weaker response, replace the battery before it dies completely.
When to Replace the Entire Remote
If changing the battery does not resolve the issue, you may need a new remote control. Signs that indicate a replacement is necessary include:
✔ Cracked casing – Physical damage may prevent the remote from working properly.
✔ Worn-out buttons – If the buttons are unresponsive even with a new battery, the circuit may be damaged.
✔ Frequent disconnections – If the remote works inconsistently, internal components may be failing.
Final Thoughts
Knowing how to change the battery in a Craftsman 315 garage door opener ensures you can maintain your garage door’s functionality without hassle. By following the step-by-step guide, you can quickly replace the battery, troubleshoot potential issues, and keep your remote working efficiently.
A well-maintained remote control saves time, provides convenience, and prevents unexpected malfunctions. Make sure to check and replace the battery as needed to keep your garage door opener operating smoothly.


Leave a Reply