In today’s connected world, smart home devices have become a staple in households, and one of the most convenient ways to upgrade your home is by making your garage door opener Wi-Fi-enabled. If you own a LiftMaster garage door opener, you might be wondering how to connect a LiftMaster garage door opener to WiFi. Once connected, you’ll be able to control your garage door remotely via your smartphone or smart home assistant.
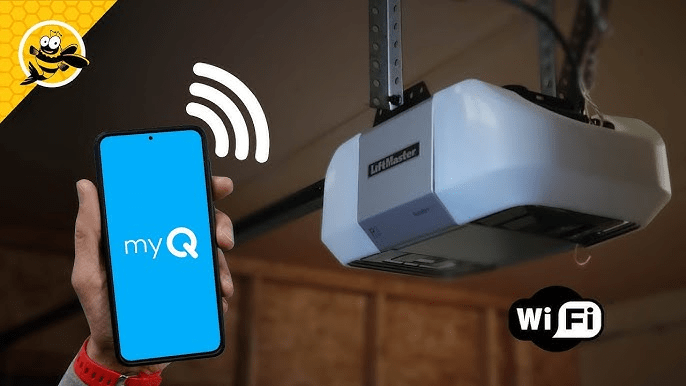
Connecting your LiftMaster garage door opener to Wi-Fi is not as difficult as it sounds. This guide will walk you through the entire process, from the necessary requirements to troubleshooting common problems. By the end, you’ll be able to control your garage door from anywhere with just a few simple steps.
Read too: Mastering Quantum Garage Door Opener Programming: A Comprehensive Guide
Why Connect A LiftMaster Garage Door Opener To Wifi?
Before diving into the how to connect a LiftMaster garage door opener to WiFi, let’s first talk about why this feature is beneficial:
- Remote Control: You can open and close your garage door from your smartphone, no matter where you are.
- Enhanced Security: With the LiftMaster MyQ app, you can receive alerts when your garage door opens or closes, providing greater security for your home.
- Convenience: Never worry about forgetting to close your garage door when you leave for work or on vacation.
- Integration with Smart Home Systems: A WiFi-enabled LiftMaster garage door opener can be integrated with smart home platforms like Amazon Alexa and Google Assistant, allowing you to use voice commands to control the door.
With all these advantages, it’s no wonder that so many homeowners are opting to connect their garage door openers to Wi-Fi.
What You’ll Need
Before you begin, make sure you have the following:
- LiftMaster Garage Door Opener: Ensure your opener is compatible with WiFi. Most newer models support this feature, but you may need to confirm.
- Smartphone: You’ll need a smartphone with the LiftMaster MyQ app installed.
- WiFi Network: Make sure your WiFi network is working and that you know the WiFi password.
- LiftMaster MyQ App: Download the free app from the Apple App Store or Google Play Store.
Once you have everything ready, let’s proceed with the setup.
How To Connect A LiftMaster Garage Door Opener To Wifi
1: Prepare Your LiftMaster Garage Door Opener
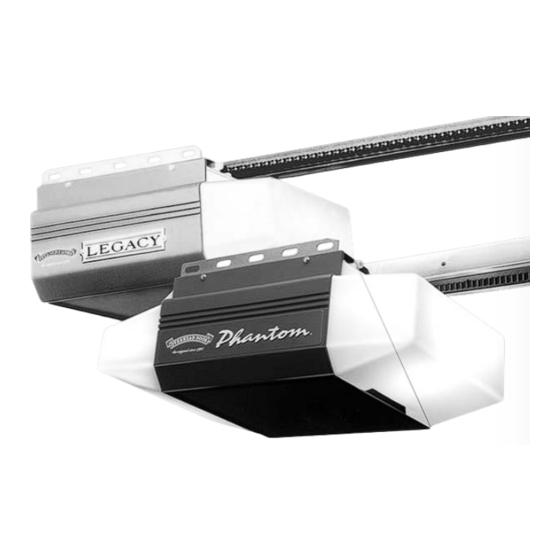
- Check Compatibility: Ensure that your LiftMaster garage door opener is equipped with WiFi capabilities. If it’s a newer model, this should be a given. However, for older models, you may need to purchase a MyQ Wi-Fi kit to enable connectivity.
- Power On Your Opener: Ensure that your LiftMaster garage door opener is plugged in and powered on. If your model features a WiFi button, it will need to be in WiFi setup mode to pair with your network.
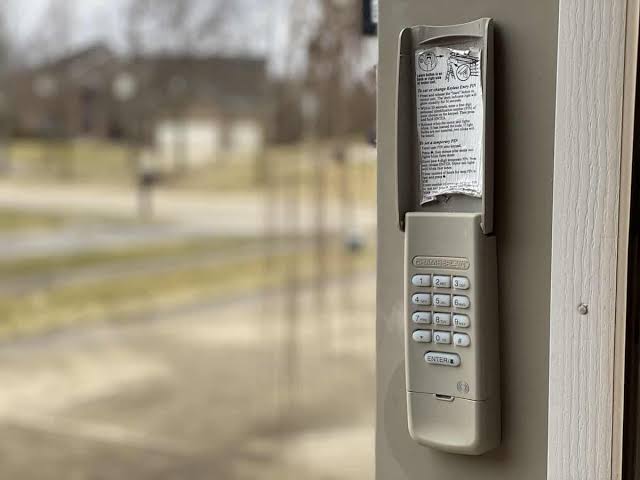
- Locate the WiFi Setup Button: Look for the WiFi setup button on the garage door opener motor unit. Typically, it’s located near the light or on the side of the unit. If your opener only has a learn button, press and hold the button for a few seconds to initiate WiFi pairing mode.
2: Download and Set Up the LiftMaster MyQ App
- Download the MyQ App: Go to your App Store (for iPhone users) or Google Play Store (for Android users) and search for the LiftMaster MyQ app. Download and install it on your phone.
- Create a MyQ Account: Once installed, open the app. If you don’t have a MyQ account, create one by providing your name, email address, and a password. If you already have an account, sign in with your credentials.
3: Connect Your LiftMaster Garage Door Opener To Wifi
- Open the MyQ App: Launch the LiftMaster MyQ app on your smartphone.
- Add Your Garage Door Opener: Tap on the “Add Device” button to start the process of connecting your garage door opener. The app will guide you through the steps of pairing the opener to your WiFi network.
- Select Your Garage Door Opener Model: The app will ask you to select your LiftMaster garage door opener model. Choose your specific model from the options provided.
- Enter WiFi Details: The app will prompt you to enter your WiFi network name (SSID) and password. Make sure you enter the correct information and that your WiFi network is functioning properly. It’s important that the WiFi signal reaches the garage area for a successful connection.
- Initiate Connection: Once you’ve entered your WiFi details, the app will attempt to connect your LiftMaster garage door opener to the WiFi network. The process may take a couple of minutes, so be patient.
4: Finalize Setup and Test
- Confirm Connection: Once the app successfully connects your garage door opener to WiFi, it will show a confirmation message on your screen. Your opener should now be linked to your WiFi network and ready for remote use.
- Test Your Opener: To make sure everything is working correctly, use the MyQ app to open and close the garage door. You should see the door responding to the commands.
- Add Additional Devices: If you have other LiftMaster MyQ-compatible devices, such as smart lights or cameras, you can now add them to the app for seamless integration.
Troubleshooting Common Issues
Even though connecting your LiftMaster garage door opener to WiFi is a straightforward process, there are some common issues that may arise. Here’s how to troubleshoot them:
1. Poor WiFi Signal
- Problem: The app fails to connect the opener to WiFi.
- Solution: Ensure that the WiFi signal is strong enough in the garage. If the WiFi signal is weak, consider moving your router closer to the garage or using a WiFi extender.
2. Incorrect WiFi Password
- Problem: The connection process fails after entering the password.
- Solution: Double-check your WiFi password. Remember that passwords are case-sensitive, so make sure you enter the correct uppercase and lowercase characters.
3. WiFi Incompatibility
- Problem: The opener isn’t connecting to the WiFi network.
- Solution: Ensure your WiFi network is compatible. LiftMaster recommends using a 2.4GHz WiFi network for the best results. Some newer 5GHz networks may cause issues during setup.
4. App or Firmware Issues
- Problem: The MyQ app isn’t working or the opener isn’t responding.
- Solution: Check for any updates for the MyQ app in your app store and update it if necessary. You may also want to check if there is any firmware update for your LiftMaster garage door opener.
Using the LiftMaster MyQ App
Once you’ve connected your LiftMaster garage door opener to WiFi, you can use the MyQ app to:
- Open and close your garage door remotely: Whether you’re at work or away on vacation, you can control your garage door from anywhere.
- Monitor the door’s status: Get alerts when your garage door is opened or closed.
- Set schedules: Program your garage door to open or close at specific times of the day.
- Integrate with smart home systems: Link your LiftMaster garage door opener with Amazon Alexa, Google Assistant, or Apple HomeKit to control the door with voice commands.
Conclusion
Learning how to connect a LiftMaster garage door opener to WiFi is a great way to enhance your home’s convenience and security. By following the steps outlined in this guide, you’ll be able to easily control your garage door opener from anywhere using your smartphone or smart home device.
Whether you’re looking to automate your garage door or simply want the peace of mind of knowing your garage door is secure, the LiftMaster MyQ system provides a simple and effective solution. Don’t forget to troubleshoot any issues along the way to ensure a smooth setup and operation.
Leave a Reply