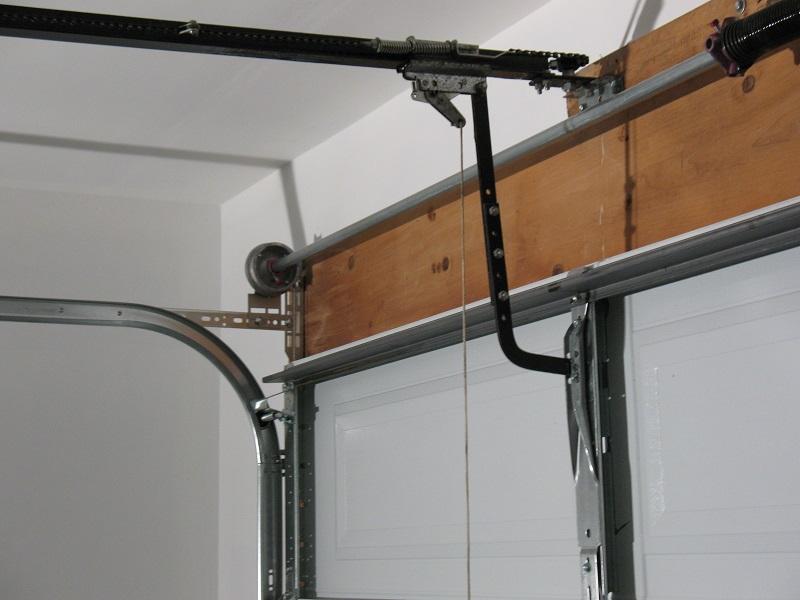
Garage door springs play a crucial role in the smooth and safe operation of your garage door. They counterbalance the weight of the door, making it easy to open and close. However, when it comes to adjusting or replacing garage door springs, homeowners often wonder how many turns are necessary to achieve the right tension. The number of turns for garage door springs depends on various factors, and it’s essential to understand the process to ensure the door functions correctly and safely. In this article, we will explore the factors that determine the number of turns for garage door spring and provide guidelines for proper adjustment.

Understanding Garage Door Springs
Before delving into the number of turns required for garage door springs, it’s essential to understand the types of springs commonly used in garage doors.
1. Torsion Springs
Torsion springs are typically mounted horizontally above the garage door opening. They have a shaft running through the middle, and when the door is closed, the springs are under tension. As the door opens, the springs unwind and store energy, which is released when closing the door, aiding in the lifting process.
2. Extension Springs
Extension springs are installed vertically on either side of the garage door. They stretch and contract as the door moves, assisting in lifting and closing the door. Unlike torsion springs, extension springs are fully extended when the door is closed.
Factors Affecting the Number of Turns
The number of turns required for garage door springs can vary based on several factors.
1. Spring Size and Wire Diameter
The size and wire diameter of the spring determine its lifting capacity. Larger doors or heavier materials may require springs with more turns to provide the necessary counterbalance.
2. Door Weight
The weight of the garage door is a critical factor in determining the number of turns. Heavier doors require more tension from the springs to lift and close smoothly.
3. Spring Type
Torsion springs and extension springs have different mechanisms, leading to variations in the number of turns required.
4. Cable Drum Diameter
The cable drum diameter is another consideration when adjusting torsion springs. The size of the drum affects the leverage applied to the spring.
Guidelines for Adjusting Torsion Springs
1. Safety First
Adjusting or replacing garage door springs can be dangerous, as they are under high tension. It’s crucial to follow safety guidelines and consider seeking professional assistance if you’re unsure.
2. Balance the Door
Before making adjustments, ensure that you balance the garage door and it operates smoothly. Disconnect the opener and lift the door manually to check for any binding or sticking.
3. Determine the Number of Turns
To determine the number of turns required for your torsion springs, it’s best to refer to the manufacturer’s guidelines or seek advice from a professional garage door technician. Depending on the factors mentioned earlier, an expert can apply the correct tension to determine the number of turns.
4. Gradual Adjustments
Make adjustments to the torsion springs gradually. Small changes can have a significant impact on the door’s performance, so it’s crucial to proceed with caution.
Conclusion
The number of turns required for garage door springs depends on various factors, including spring size, door weight, and spring type. Proper adjustment is essential to ensure the garage door operates smoothly and safely. When it comes to adjusting torsion springs, it’s vital to follow safety guidelines and consider seeking professional help if needed. By understanding the factors that affect the number of turns and adhering to proper guidelines, homeowners can maintain a well-balanced and efficient garage door system for years to come.


Leave a Reply