If your Chamberlain garage door opener remote has stopped working, has been misplaced, or you’ve recently bought a new remote, knowing how to reprogram a Chamberlain garage door opener remote is essential. Whether you’re enhancing home security or just setting up new equipment, reprogramming the remote is a quick and straightforward process that every homeowner can do without professional help.
This article will walk you through step-by-step instructions on how to reset, clear, and reprogram your Chamberlain garage door remote. We’ll also cover common problems, troubleshooting tips, and other helpful information to make the process simple and stress-free.
Read too: The Complete Guide to Tighten Chain On Garage Door Opener for Smooth Operation
Why You Might Need to Reprogram Your Chamberlain Garage Door Opener Remote
Understanding why you need to reprogram your remote is the first step. Some of the most common reasons include:
- Lost or stolen remote
- Upgrading to a new remote
- Replacing batteries or electronics
- Fixing connectivity issues
- Moving into a new house with an existing opener
Each of these situations calls for a reprogramming process to ensure your remote can communicate securely and reliably with your garage door opener.
Different Types of Chamberlain Garage Door Remotes
Before learning how to reprogram a Chamberlain garage door opener remote, it’s important to identify the type of remote you own. Chamberlain offers several models, including:
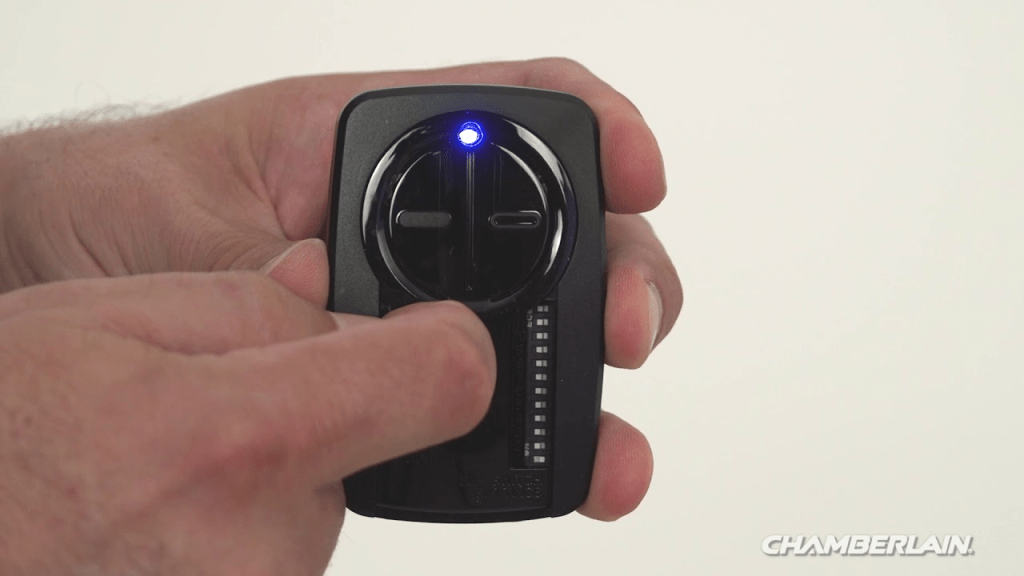
- 1-Button Remotes: Basic functionality for a single door.
- 3-Button Remotes: Can operate up to three garage doors or gates.
- Universal Remotes: Work with Chamberlain and other brands.
- Smart Remotes: Compatible with MyQ® and smartphone control apps.
Most remotes are programmed using a “Learn” button located on the garage door opener motor unit, which stores the remote signal.
Tools You Might Need
Programming a Chamberlain remote is a simple process, but having these items ready can help:
- A ladder to access the opener
- A flashlight (optional, to locate the Learn button)
- Your new or existing remote
- The user manual for your opener (optional but helpful)
How To Reprogram A Chamberlain Garage Door Opener Remote – Step-by-Step Instructions
Now, let’s get into the main topic—how to reprogram a Chamberlain garage door opener remote. This process works for most Chamberlain models released in the last 10–15 years.
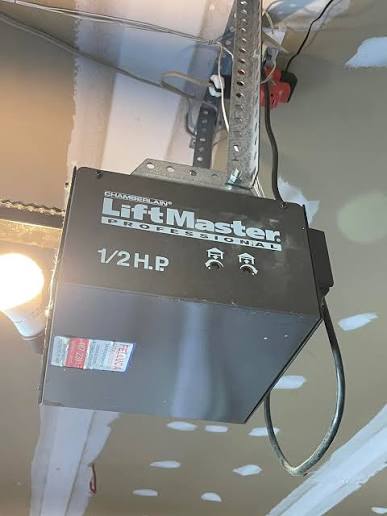
Step 1: Locate the Learn Button
The Learn button is typically found on the back or side of the motor housing on your garage ceiling. You may need to remove a light cover to access it.
The Learn button may be:
- Yellow (Security+ 2.0 models)
- Purple (Security+ 1.0)
- Red/Orange (older Security+ models)
- Green (ancient versions)
Each color relates to a specific frequency and remote type.
Step 2: Press the Learn Button
Once you’ve located the Learn button:
- Press and release the Learn button once.
- The adjacent LED light will begin to blink or stay solid (depending on model), indicating the unit is ready to receive a new remote signal.
⚠️ Important: You have about 30 seconds to complete the next step.
Step 3: Program the Remote
Within 30 seconds:
- Press and hold the button on the remote you want to program.
- Release the button when the opener lights blink or you hear two clicks.
This confirms that the remote is now synced to your Chamberlain garage door opener.
Step 4: Test the Remote
Stand at a reasonable distance and press the programmed button to confirm it opens and closes the garage door correctly.
Reprogramming Multiple Remotes
Chamberlain garage door openers can store up to 3-5 remotes in memory. If you’re programming additional remotes:
- Repeat the same process with each one.
- Each remote must be programmed individually.
⚠️ Note: If the memory is full, the opener may not accept a new remote until you clear previous settings.
Clearing the Opener’s Memory (Factory Reset)
If you’re dealing with a lost or stolen remote, it’s a good idea to erase all codes from the opener to prevent unauthorized access. Here’s how:
- Locate the Learn button on the opener.
- Press and hold the Learn button for about 6-10 seconds until the LED turns off.
- This will clear all remote controls and keypads from memory.
Afterward, you’ll need to reprogram all remotes from scratch.
Troubleshooting Reprogramming Issues
Even with correct steps, reprogramming doesn’t always go as planned. Here are a few common problems and how to fix them.
Problem 1: Remote Not Responding
- Replace the battery in the remote.
- Ensure you pressed the Learn button once (not holding it, which clears memory).
- Move closer to the opener during programming.
Problem 2: Learn Button Not Working
- Try resetting the opener by unplugging it for 1 minute.
- Check the motor board for any visible damage or loose wires.
- If the button is physically damaged, the logic board may need replacement.
Problem 3: Light Doesn’t Blink During Programming
- Double-check the Learn button color and consult your remote’s compatibility.
- Some models require multiple button presses (especially on universal remotes).
How To Reprogram A Universal Chamberlain Remote
Chamberlain’s universal remotes work across multiple brands and frequencies. They typically come with a program button and indicator LED.
To program:
- Hold the Program button on the remote until the LED lights up.
- Press the button corresponding to your opener brand.
- Press the garage door button you want to program.
- Press the Learn button on the opener motor.
- Test the remote after syncing.
Refer to your remote’s instruction sheet for brand-specific button combinations.
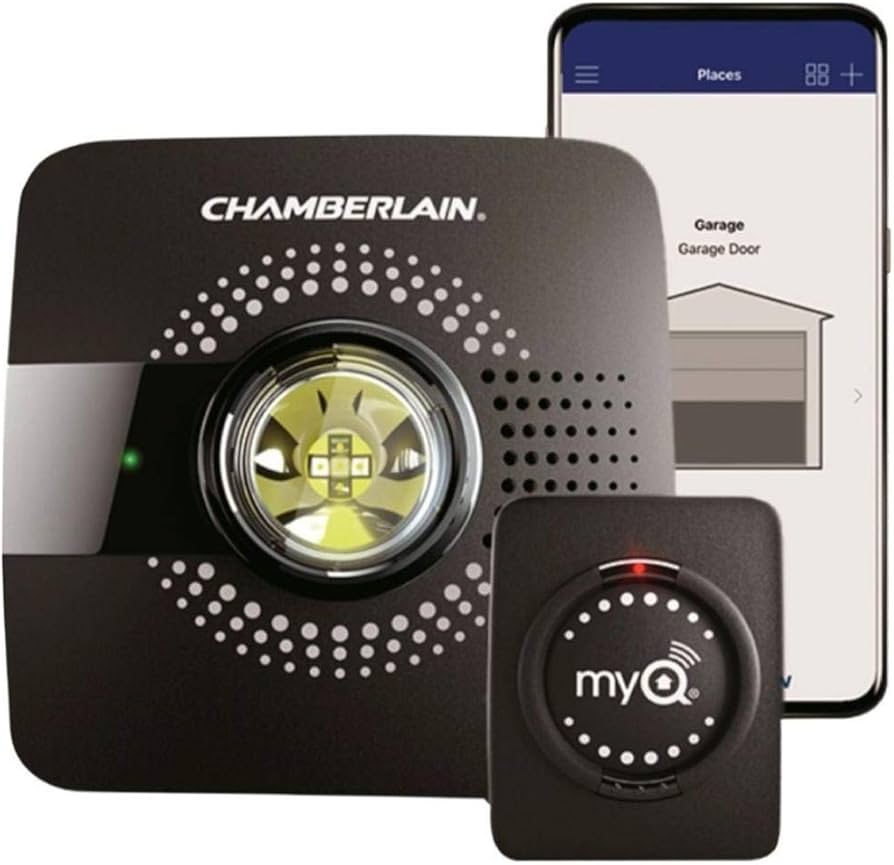
MyQ® Smart Remotes and App-Based Control
For smart-enabled Chamberlain openers with MyQ® technology, reprogramming often involves the smartphone app.
Here’s how to reprogram using MyQ:
- Download the MyQ® app and create/login to your account.
- Go to Devices > Add Device > Garage Door Opener.
- Follow the on-screen prompts.
- Scan the QR code on the opener or enter the serial number.
- Press the Learn button on the opener to complete the pairing.
MyQ makes it easy to control your garage door from anywhere, and you can also set schedules or receive real-time alerts.
Remote Programming Safety Tips
- Always erase old codes when moving into a new home or losing a remote.
- Keep your ladder stable when accessing ceiling-mounted units.
- Don’t mix batteries in your remote. Replace both cells if it uses more than one.
- Avoid holding the Learn button too long, as this resets all programming.
When to Replace a Remote
If reprogramming fails despite all efforts, you may need a replacement. Signs include:
- Buttons feel unresponsive or stuck
- Remote is cracked, worn, or corroded
- Intermittent operation even with a new battery
Replacement remotes are available through Chamberlain, Amazon, or most hardware stores. Make sure the model is compatible with your opener’s frequency and security system.
Final Thoughts
Learning how to reprogram a Chamberlain garage door opener remote is a valuable skill for homeowners who want control over their home’s security and functionality. Whether you’ve purchased a new remote, lost the old one, or just want to reset your system, following the clear steps in this guide ensures success.
From basic 1-button remotes to smart systems like MyQ®, Chamberlain remotes are designed to be user-friendly. With a few minutes of your time, you can have your garage door working seamlessly again—without the need for a technician.
Leave a Reply