If you’re thinking, “The Light On My Garage Door Opener Doesn’t Work,” you’re not alone. This is one of the most common garage door opener issues homeowners face.
The good news? In most cases, the fix is simple and affordable. In this guide, we’ll walk through the real causes, step-by-step troubleshooting, and when it’s time to replace a part—or call a professional.
Read too: The Complete Guide to Tighten Chain On Garage Door Opener for Smooth Operation
Why The Light On My Garage Door Opener Doesn’t Work
When The Light On My Garage Door Opener Doesn’t Work, the issue usually falls into one of five categories:
- Burned-out bulb
- Wrong bulb type (especially LED incompatibility)
- Faulty light socket
- Logic board malfunction
- Wiring damage
Modern garage door openers contain a motor unit, control board, and integrated lighting system. For a general overview of how these systems operate, see Wikipedia (garage door opener explanation).
Let’s break down each cause clearly.
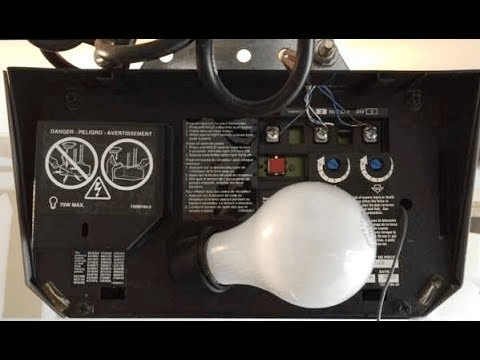
Is It Just a Burned-Out Bulb?

4
This may sound obvious, but over 40% of light issues are simply bulb-related.
Step-by-Step: Check the Bulb
- Unplug the opener for safety.
- Remove the light cover.
- Unscrew the bulb.
- Test the bulb in another lamp.
- Replace with a compatible bulb (usually 60W max incandescent or approved LED).
Important: Some openers reject certain LED bulbs due to low wattage draw or interference.
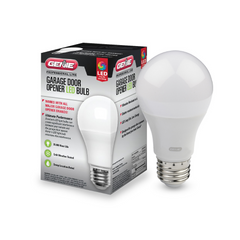
Why LED Bulbs Sometimes Don’t Work
Many newer homeowners switch to LED for energy efficiency. However:
- Some openers require minimum 40W equivalent.
- Cheap LEDs may interfere with remote frequency.
- Non-compatible LEDs may flicker or fail entirely.
Recommended Solution
Use a manufacturer-approved LED bulb.
For example, brands like:
- Chamberlain
- LiftMaster
- Genie
offer compatible LED models designed for vibration resistance.
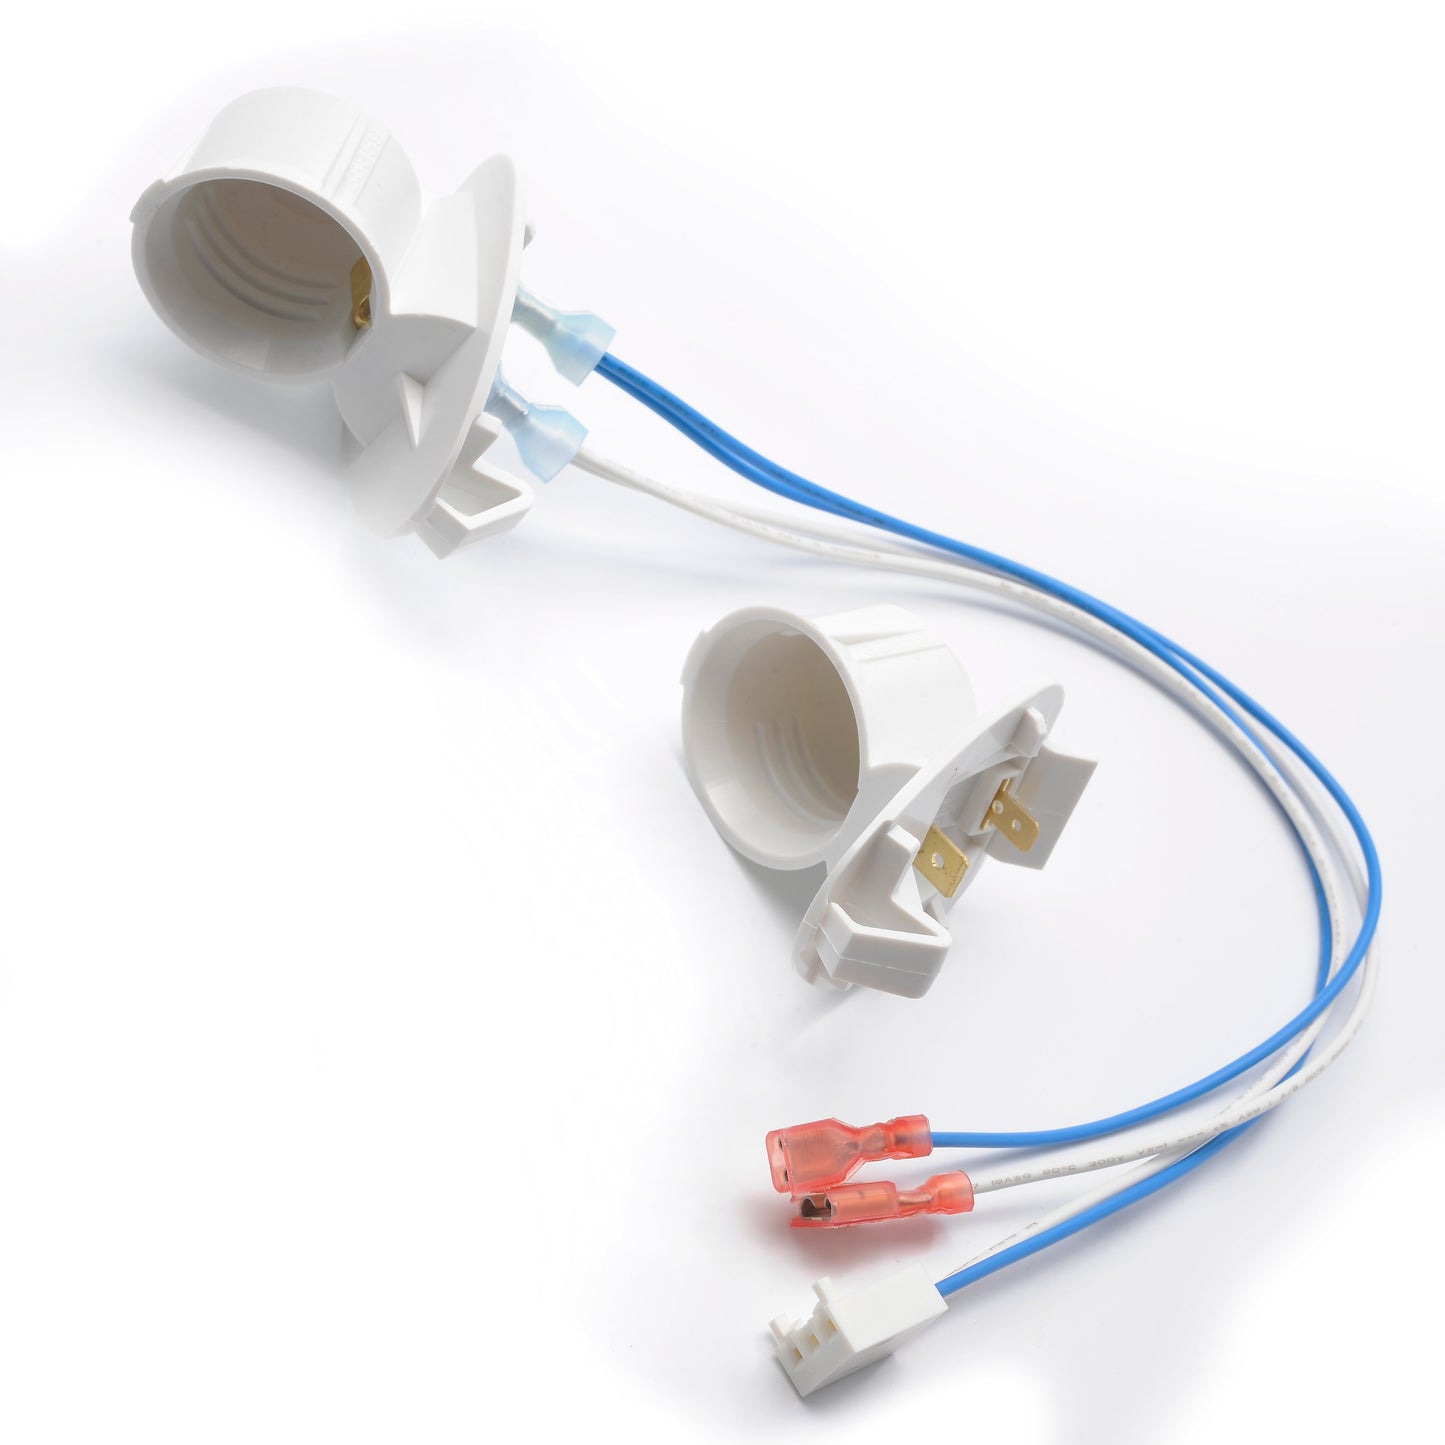
Could the Light Socket Be Damaged?
If the bulb works elsewhere but not in the opener, the socket may be faulty.
Signs of Socket Failure
- Bulb flickers when touched
- Burn marks inside socket
- Loose center tab
- No power even with new bulb
How to Test Safely
- Turn off power.
- Remove bulb.
- Inspect metal center contact tab.
- Gently lift tab using insulated screwdriver (if flattened).
- Restore power and retest.
If still no light, the socket wiring may be damaged.
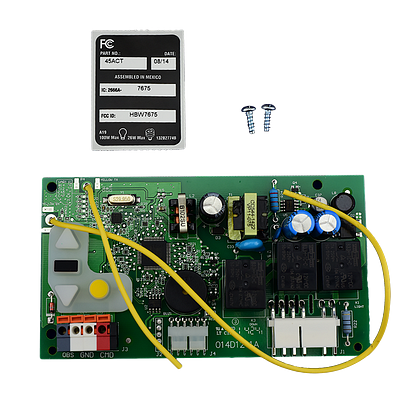
Is the Logic Board the Real Problem?

4
The logic board controls both the motor and lighting timer.
Symptoms of Board Failure
- Door operates normally
- Light never turns on
- Light doesn’t respond to wall button
- Light timer stops working
Logic board replacements cost between $80–$180 plus labor.
If your opener is over 10–15 years old, replacing the entire unit may be more cost-effective.
Does the Wall Control Affect the Light?
Yes.
Many wall panels have a light control button separate from door operation.
Check if:
- Light lock mode is enabled
- Motion sensor function is disabled
- Timer delay settings are changed
Some models allow 1.5–4 minute light duration adjustments.
Troubleshooting Checklist (Quick Reference)
| Problem | Likely Cause | Fix |
|---|---|---|
| Light dead | Burned bulb | Replace bulb |
| LED flickers | Incompatible LED | Use approved LED |
| No power at socket | Wiring issue | Inspect wiring |
| Light never activates | Logic board | Replace board |
| Light won’t turn off | Wall panel setting | Reset controls |
When Should You Replace the Entire Opener?
Consider replacement if:
- Unit is over 15 years old
- Multiple electrical issues occur
- Replacement board costs exceed 40% of new unit price
- Safety sensors are outdated
Modern openers include:
- Quieter belt drive
- Battery backup
- Smartphone control
- Energy-efficient LED lighting
Upgrading may provide better long-term value.
Real-World Case Study
A homeowner reported:
- Door working normally
- Light non-functional
- Bulb tested good
Diagnosis: Flattened socket center tab.
Fix: Lifted tab slightly with insulated tool.
Result: Light restored in under 10 minutes. Total cost: $0.
Small issues often appear bigger than they are.
Safety Tips Before Troubleshooting
Always:
- Unplug opener before inspecting
- Avoid touching exposed wiring
- Use insulated tools
- Avoid water exposure
If you notice burning smell or melted plastic, call a technician immediately.
FAQ: The Light On My Garage Door Opener Doesn’t Work
1. Why does my garage door opener work but the light doesn’t?
This usually indicates a bulb, socket, or logic board issue—not a motor problem.
2. Can I use any LED bulb?
No. Use vibration-resistant, opener-compatible LEDs to prevent flickering or signal interference.
3. How long should a garage opener light last?
Incandescent bulbs may last 1–2 years. LED bulbs can last 5+ years if compatible.
4. Why does my light stay on constantly?
Check wall control settings. Some units allow continuous light mode.
5. Is replacing the socket difficult?
Moderate DIY skill required. If unsure, hire a professional.
6. Can a power surge damage the light only?
Yes. Surges can affect the lighting circuit without damaging the motor.
Final Thoughts
If The Light On My Garage Door Opener Doesn’t Work, don’t panic. Most issues involve simple fixes like replacing the bulb or adjusting the socket tab. Only a small percentage require logic board replacement.
Start with the basics. Work safely. Upgrade if necessary.
If this guide helped you fix your garage light, share it on social media to help other homeowners troubleshoot with confidence.


Leave a Reply