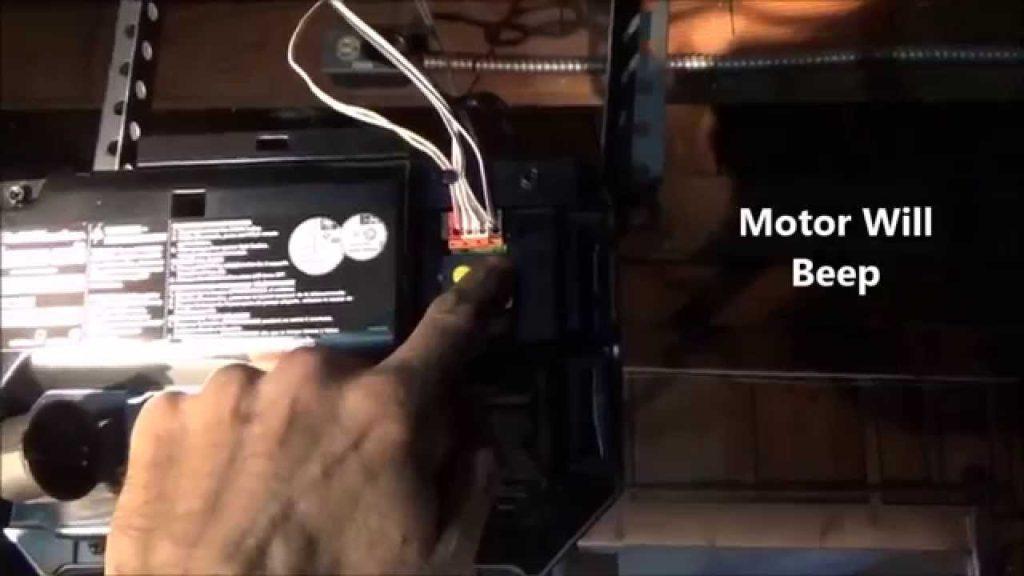
Garage door openers play a crucial role in providing convenience and security for homeowners. However, to ensure optimal performance and safety, it’s essential to properly adjust your Chamberlain Garage Door Opener. In this comprehensive guide, we’ll delve into the intricacies of adjusting a Chamberlain Garage Door Opener, providing valuable insights and practical techniques to enhance its functionality.

Understanding the Importance of Adjusting a Chamberlain Garage Door Opener
Proper adjustment of your Chamberlain Garage Door Opener is vital for several reasons:
Smooth Operation
Adjusting the opener ensures smooth and reliable operation, preventing issues such as jerky movements or loud noises during operation.
Read too: Why Your Liftmaster Garage Door Won’t Stay Closed and How to Fix It? Troubleshooting Tips
Safety Compliance
A well-adjusted garage door opener helps maintain safety compliance by ensuring that the door operates correctly and does not pose a risk of injury or property damage.
Longevity of Components
Proper adjustment can extend the lifespan of the opener’s components by reducing wear and tear and minimizing stress on the system.
Steps for Adjusting a Chamberlain Garage Door Opener
Follow these step-by-step instructions to adjust your Chamberlain Garage Door Opener effectively:
1. Check Balance
Start by disconnecting the opener from the door and manually operating it. The door should move smoothly and stay in place when partially open. If it doesn’t, adjust the tension springs or cables to achieve proper balance.
2. Adjust Force Settings
Most Chamberlain Garage Door Openers feature adjustable force settings to control the amount of force exerted when opening and closing the door. Refer to your opener’s manual for instructions on how to adjust these settings.
3. Align Safety Sensors
Ensure that the safety sensors located near the bottom of the garage door track are properly aligned. Misaligned sensors can prevent the door from closing or cause it to reverse unexpectedly.
4. Lubricate Moving Parts
Regularly lubricate the moving parts of your Chamberlain Garage Door Opener, including the rollers, hinges, and springs. This helps reduce friction and prolong the life of the components.
5. Test Auto-Reverse Function
Test the auto-reverse function of your garage door opener by placing an object, such as a block of wood, in the door’s path while closing. The door should automatically reverse upon contact with the object.
Common Issues and Solutions
Here are some common issues you may encounter when adjusting a Chamberlain Garage Door Opener, along with potential solutions:
Door Reverses Unexpectedly
If the door reverses unexpectedly during operation, check for obstructions in the door’s path and ensure that the safety sensors are properly aligned.
Loud or Jerky Operation
Lubricate the moving parts of the opener to reduce friction and ensure smooth operation. If the issue persists, inspect the opener for worn or damaged components and replace them as needed.
Inconsistent Opening or Closing
Adjust the force settings of the opener to ensure that it exerts the correct amount of force when opening and closing the door. Additionally, check for any obstructions or misalignments that may be causing the issue.
Conclusion
Adjusting a Chamberlain Garage Door Opener is essential for ensuring smooth operation, safety, and longevity. By following the steps outlined in this guide and addressing common issues promptly, you can maximize the performance of your garage door opener and enjoy reliable functionality for years to come.


Leave a Reply