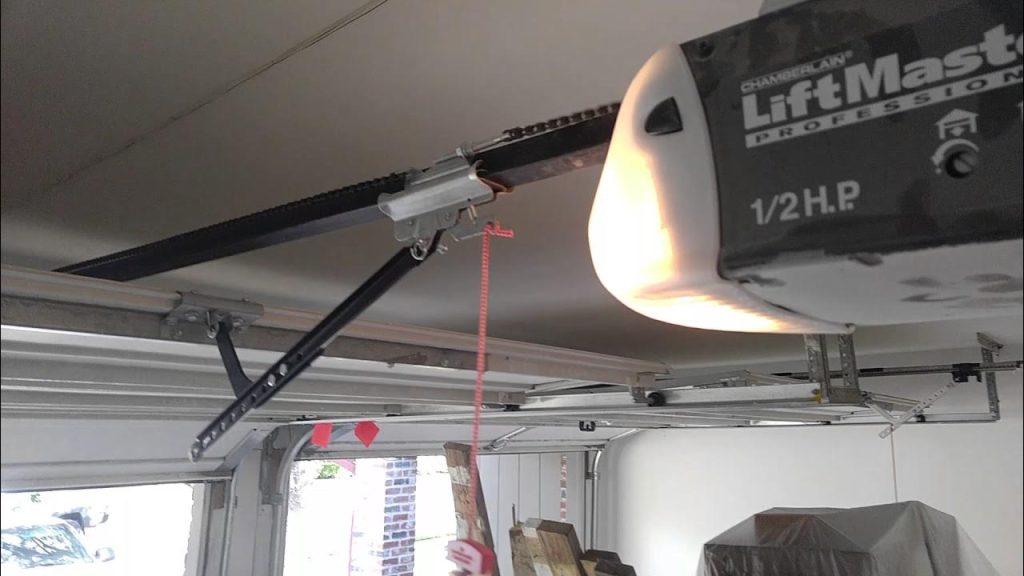
Experiencing frustration with your Liftmaster garage door opener refusing to close? It’s a common issue that can disrupt your daily routine and compromise the security of your home. In this comprehensive troubleshooting guide, we’ll explore the possible reasons why your Liftmaster garage door opener won’t close and provide practical solutions to help you resolve the problem promptly.

Understanding the Problem: Liftmaster Garage Door Opener Won’t Close
Common Causes
Several factors could contribute to your Liftmaster garage door opener failing to close properly. These include:
- Obstruction Detection: The opener’s safety sensors may be detecting an obstruction in the door’s path, preventing it from closing.
- Misaligned Sensors: If the safety sensors are misaligned or dirty, they may not function correctly and could prevent the door from closing.
- Sensor Wiring Issues: Loose or damaged wiring connecting the safety sensors to the opener unit could interfere with their operation.
- Limit Switches: Malfunctioning limit switches may prevent the opener from completing the closing cycle.
Troubleshooting Steps: Liftmaster Garage Door Opener Won’t Close
Step 1: Check for Obstructions
Inspect the area around your garage door for any obstructions, such as debris, objects, or vehicles, that may be blocking the door’s path. Remove any obstacles and test the door’s operation.
Read too: No Power to Genie Garage Door Opener – Resolving the Issue with Ease: Troubleshooting Guide
Step 2: Clean and Align Sensors
Clean the lenses of the safety sensors located near the bottom of the garage door tracks using a soft, dry cloth. Ensure that the sensors are properly aligned and facing each other. Adjust their position if necessary and test the door again.
Step 3: Inspect Sensor Wiring
Examine the wiring connecting the safety sensors to the opener unit for any signs of damage, wear, or corrosion. Tighten any loose connections and replace any damaged wiring. Ensure all connections are secure and properly insulated.
Step 4: Check Limit Switches
Locate the limit switches on the opener unit and ensure they are functioning correctly. Test the switches by manually operating the door and observing if they engage properly. Replace any defective limit switches as needed.
Conclusion
Dealing with a Liftmaster garage door openers that won’t close can be frustrating, but with the right troubleshooting steps, you can identify and resolve the underlying issue effectively. By following the guidelines outlined in this article and addressing potential causes systematically, you can restore proper functionality to your garage door opener and ensure the security of your home.


Leave a Reply