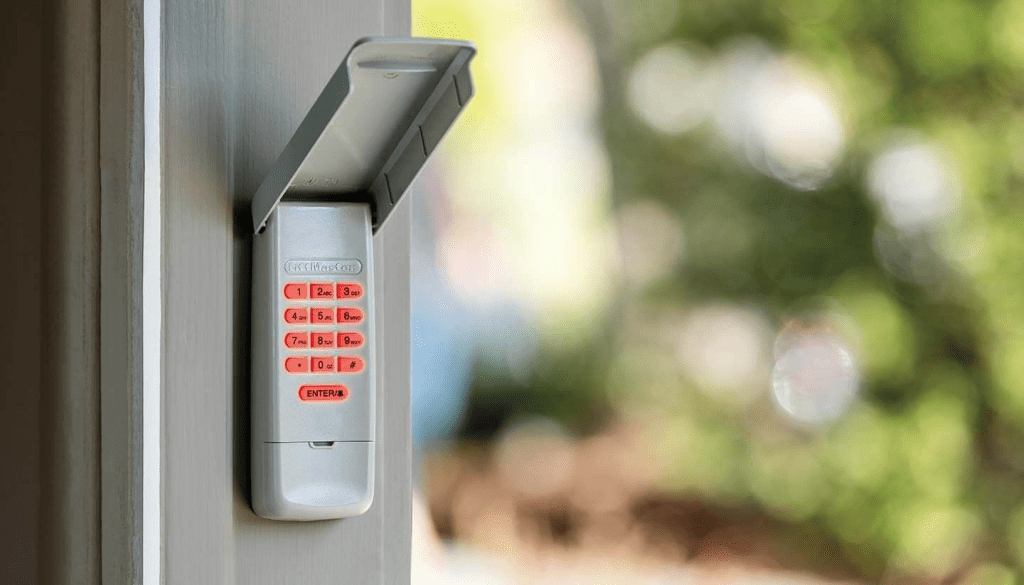
Discover how to set up, reset, and secure your Liftmaster garage door code for enhanced convenience and safety at home.

Liftmaster Garage Door Code: Understanding Security Access
Overview of Liftmaster Garage Door Systems
Liftmaster is a leading brand in garage door openers known for its reliability, security features, and user-friendly operation. Setting a secure access code ensures only authorized individuals can open your garage door.
Setting Up Your Liftmaster Garage Door Code
Setting up a new access code for your Liftmaster garage door opener involves a straightforward process:
- Access the Control Panel: Locate the control panel on your garage door opener unit. It’s typically found on the ceiling of the garage near the door.
- Enter Programming Mode: Follow the manufacturer’s instructions to enter programming mode. This often requires pressing a series of buttons on the control panel or using a remote control.
- Choose a New Code: Enter a new, memorable code using the numeric keypad. Avoid using easily guessable codes like birthdates or sequential numbers for enhanced security.
- Save and Test: Once the new code is entered, save the settings according to the manufacturer’s instructions. Test the code to ensure it opens and closes the garage door as intended.
Resetting Your Liftmaster Garage Door Code
If you need to reset your Liftmaster garage door code due to security concerns or forgetting the current code, follow these steps:
- Access the Control Panel: Again, access the control panel on your garage door opener unit.
- Erase Existing Codes: Locate the “Learn” button on the opener unit. Press and hold this button until the indicator light blinks, indicating that all existing codes have been erased.
- Reprogram the Code: Enter a new code using the numeric keypad. Follow the same process as setting up a new code described earlier.
- Save and Test: Save the new code settings and test its functionality to ensure it operates the garage door correctly.
Read too: Mastering the Art of Adjusting a Chamberlain Garage Door Opener for Smooth Operation and Safety
Enhancing Garage Door Security
1. Change Codes Regularly
Regularly change your garage door access code to reduce the risk of unauthorized access. Consider changing it whenever you suspect the code might have been compromised.
2. Disable Remote Access
If you use a smartphone app or remote control for your Liftmaster garage door opener, ensure these devices are secure and only accessible to trusted users.
3. Install Security Cameras
Consider installing security cameras in your garage area to monitor activity and ensure the security of your garage door access.
Troubleshooting and Common Issues
1. Forgotten Code
If you forget your Liftmaster garage door code, refer to the owner’s manual for instructions on resetting the code or contact Liftmaster customer support for assistance.
2. Keypad Malfunction
If the numeric keypad on your garage door opener malfunctions, check for battery issues or consider replacing the keypad unit if necessary.
3. Professional Assistance
For complex issues or if you’re unsure about handling programming or reset procedures, contact a professional garage door technician or Liftmaster service provider.
Conclusion
Setting up and maintaining a secure access code for your Liftmaster garage door opener is essential for protecting your home and belongings. By following the steps outlined in this guide, homeowners can ensure their garage door access remains secure and convenient. Regularly updating codes, understanding troubleshooting steps, and implementing additional security measures contribute to a safer home environment.


Leave a Reply