Unlock the secrets to perfecting your garage door operation by learning the ins and outs of adjusting your Chamberlain Garage Door Opener.
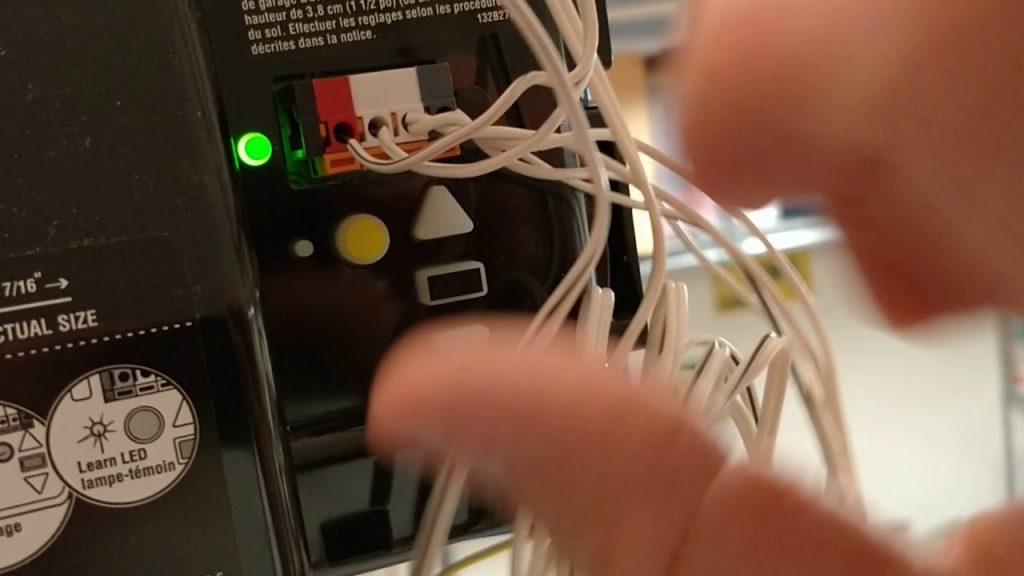
Introduction
Your Chamberlain Garage Door Opener is a vital component of your home’s security and convenience. Proper adjustment ensures smooth and efficient operation, preventing issues like door misalignment and excessive noise. In this comprehensive guide, we’ll delve into the process of adjusting your Chamberlain Garage Door Opener, empowering you to optimize its performance and prolong its lifespan.
Understanding Your Chamberlain Garage Door Opener
Before we dive into the adjustment process, let’s familiarize ourselves with the basic components of a Chamberlain Garage Door Opener:
- Motor: The motor is the powerhouse of the opener, responsible for lifting and lowering the garage door.
- Drive System: Chamberlain openers typically use either a belt, chain, or screw drive system to transfer power from the motor to the door.
- Safety Sensors: These sensors detect obstructions in the path of the closing door and prevent accidents by reversing its direction.
- Limit Switches: Limit switches dictate how far the door travels during opening and closing cycles, ensuring it stops at the correct positions.
Adjusting Chamberlain Garage Door Opener: Step-by-Step Guide
Now, let’s walk through the process of adjusting your Chamberlain Garage Door Opener:
- Inspect and Lubricate: Begin by inspecting the various components of your opener for any signs of wear or damage. Lubricate moving parts such as rollers, hinges, and tracks to ensure smooth operation.
- Check Safety Sensors: Ensure that the safety sensors are properly aligned and free from obstructions. Clean the lenses with a soft cloth and adjust their position if necessary to ensure they face each other directly.
- Test Auto-Reverse Feature: Place an object in the path of the closing door and test the auto-reverse feature to ensure it functions properly. Adjust the force sensitivity settings if needed to ensure the door reverses when it encounters resistance.
- Adjust Travel Limits: Use the adjustment screws or knobs on the opener unit to adjust the travel limits of the door. This ensures that it stops at the correct positions during opening and closing cycles. Refer to your opener’s manual for specific instructions on how to adjust the travel limits.
- Fine-Tune Force Settings: If your opener has force adjustment settings, fine-tune them to ensure the door operates smoothly without applying excessive force. This helps prevent unnecessary wear and tear on the opener and door components.
- Test and Repeat: After making adjustments, test the door operation to ensure everything is functioning as it should. Repeat the adjustment process as needed until you achieve the desired results.
Conclusion
Adjusting your Chamberlain Garage Door Opener is a straightforward process that can significantly improve its performance and longevity. By following the steps outlined in this guide and performing regular maintenance, you can ensure that your opener operates smoothly and reliably for years to come.
Read too: No Power to Genie Garage Door Opener – Resolving the Issue with Ease: Troubleshooting Guide



Leave a Reply