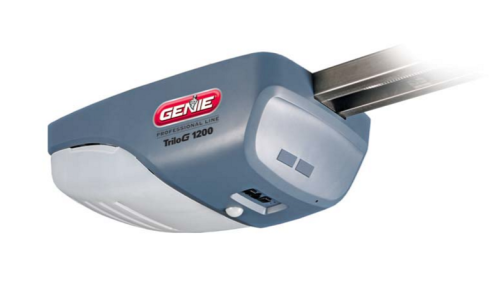
The Genie garage door opener is a popular choice for homeowners seeking convenience and reliability. However, like any mechanical device, it may require adjustments from time to time to ensure optimal performance. Understanding how to adjust your Genie garage door opener can help you troubleshoot common issues and keep your garage door operating smoothly. In this comprehensive guide, we will walk you through the process of adjusting your Genie garage door opener for maximum efficiency.

Understanding Adjusting Genie Garage Door Opener
Adjusting your Genie garage door opener involves fine-tuning various components to achieve the desired operation. Whether you’re dealing with issues like door misalignment, excessive noise, or inconsistent movement, knowing how to make adjustments can save you time and money on repairs. Below, we’ll explore the key components of a Genie garage door opener and how to adjust them effectively.
Adjusting Genie Garage Door Opener: Step-by-Step Guide
Step 1: Checking the Door Balance
Before making any adjustments to your Genie garage door opener, it’s essential to ensure that the door is properly balanced. An unbalanced door can put unnecessary strain on the opener and lead to premature wear and tear. Follow these steps to check the balance of your garage door:
- Disconnect the opener from the power source and manually open the door halfway.
- If the door stays in place, it is balanced. If it falls or rises, it is unbalanced and requires adjustment.
- Consult the Genie garage door opener manual for instructions on adjusting the door balance.
Step 2: Adjusting the Force Settings
The force settings on your Genie garage door opener control how much force is exerted when opening and closing the door. If the force settings are too high, it can cause unnecessary strain on the opener and lead to premature wear. Follow these steps to adjust the force settings:
- Locate the force adjustment screws on the opener, typically located on the back or side.
- Using a screwdriver, turn the adjustment screws clockwise to increase the force and counterclockwise to decrease it.
- Test the door operation after each adjustment until you achieve the desired force settings.
Step 3: Aligning the Safety Sensors
The safety sensors on your Genie garage door opener are designed to detect obstructions in the door’s path and prevent accidents. If the sensors are misaligned, it can cause the door to reverse unnecessarily or fail to close. Follow these steps to align the safety sensors:
- Locate the safety sensors near the bottom of the door tracks, facing each other.
- Use a level to ensure that the sensors are aligned horizontally and facing each other directly.
- Adjust the sensors as needed until they are properly aligned.
Conclusion
Adjusting your Genie garage door opener is a straightforward process that can help you resolve common issues and ensure smooth operation. By following the steps outlined in this guide, you can keep your garage door functioning optimally for years to come.
Read too: Why Are My Garage Doors Opening By Themselves? Troubleshooting Guide


Leave a Reply