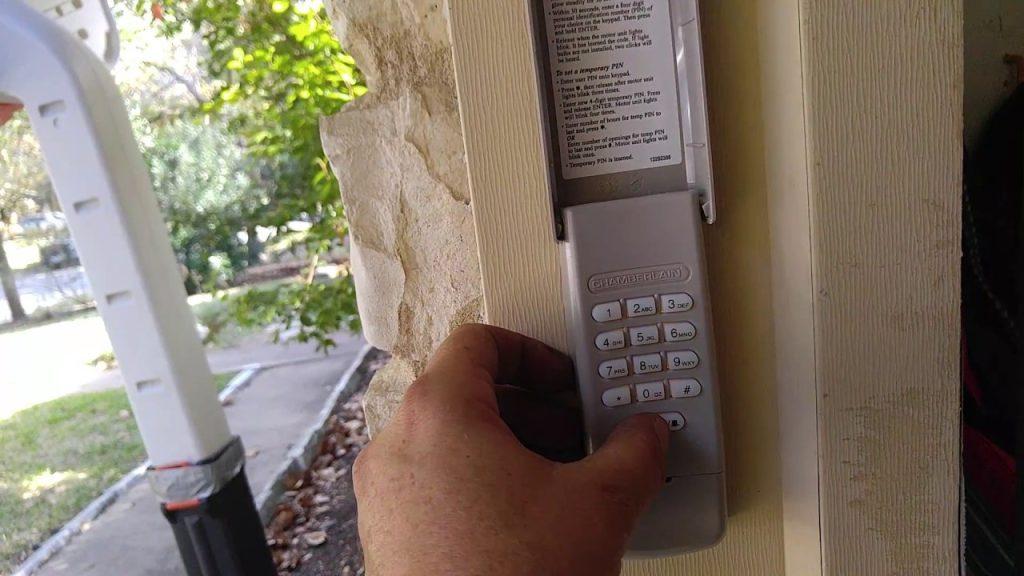
Are you looking to bolster the security of your home? One effective way to do so is by performing a Chamberlain garage door opener code change. By updating your access code, you can ensure that only authorized individuals have entry to your property. In this comprehensive guide, we’ll walk you through the process of changing the access code on your Chamberlain garage door opener, empowering you to safeguard your home with confidence.

Understanding the Importance: Chamberlain Garage Door Opener Code Change
The default access code programmed into your Chamberlain garage door opener provides a level of security, but it’s essential to change it periodically to enhance protection against unauthorized access. By changing the access code, you can prevent unauthorized individuals from gaining entry to your garage and home, reducing the risk of theft or burglary.
Reasons for Performing a Code Change
There are several reasons why you might consider changing the access code on your Chamberlain garage door opener:
- Moving into a new home: If you’ve recently moved into a new home with an existing garage door opener, changing the access code is a proactive security measure to ensure that previous occupants no longer have access.
- Security concerns: If you suspect that your access code has been compromised or shared with unauthorized individuals, changing the code can restore security and peace of mind.
- Routine maintenance: As part of your home security routine, it’s a good practice to periodically change the access code on your garage door opener to maintain optimal security levels.
Read too: No Power to Genie Garage Door Opener – Resolving the Issue with Ease: Troubleshooting Guide
How to Perform a Chamberlain Garage Door Opener Code Change
Follow these step-by-step instructions to change the access code on your Chamberlain garage door opener:
Step 1: Access the Control Panel
Locate the control panel on your Chamberlain garage door opener. This panel is typically located on the side or bottom of the opener unit and features buttons for programming and operating the device.
Step 2: Enter Programming Mode
Press and hold the “Program” or “Learn” button on the control panel until the LED indicator light begins to blink, indicating that the opener is in programming mode. Release the button once the light starts blinking.
Step 3: Choose a New Code
Using the keypad on the control panel, enter your desired access code. The code can typically be a combination of numbers between four and eight digits long. Ensure that your chosen code is easy for you to remember but difficult for others to guess.
Step 4: Save the New Code
Once you’ve entered the new access code, press the “Program” or “Learn” button again to save the code. The LED indicator light should stop blinking, indicating that the new code has been successfully programmed into the opener.
Step 5: Test the New Code
Test the new access code by entering it on the keypad and pressing the “Enter” or “Open/Close” button. Verify that the garage door opens and closes properly using the new code.
Conclusion
Performing a Chamberlain garage door opener code change is a simple yet effective way to enhance the security of your home. By following the steps outlined above, you can update your access code with ease and enjoy peace of mind knowing that your property is protected against unauthorized access.


Leave a Reply