The Clicker garage door opener code serves as the key to accessing your home and securing your belongings. Whether you’re setting up a new code or troubleshooting an existing one, understanding how to manage it effectively is crucial for maintaining security and convenience. In this guide, we’ll explore everything you need to know about Clicker garage door opener codes, from setting them up to troubleshooting common issues.
Understanding Clicker Garage Door Opener Code
The Clicker garage door opener code is a unique combination of numbers that grants access to your garage. It acts as a digital key, allowing you to open and close your garage door with ease. Setting up a secure and memorable code is essential for safeguarding your home and belongings against unauthorized access.
Setting Up Your Clicker Garage Door Opener Code
Accessing the Programming Mode
To set up a new code on your Clicker garage door opener, you’ll need to access the programming mode. Depending on the model of your opener, this process may vary. Refer to the manufacturer’s instructions for specific guidance on entering the programming mode.
Entering the New Code
Once you’re in programming mode, follow the prompts to enter your desired code. Choose a combination that is easy to remember yet difficult for others to guess. Avoid using obvious sequences such as “1234” or consecutive numbers. Aim for a combination that offers a balance of security and convenience.
Read too: Why Are My Garage Doors Opening By Themselves? Troubleshooting Guide
Testing the Code
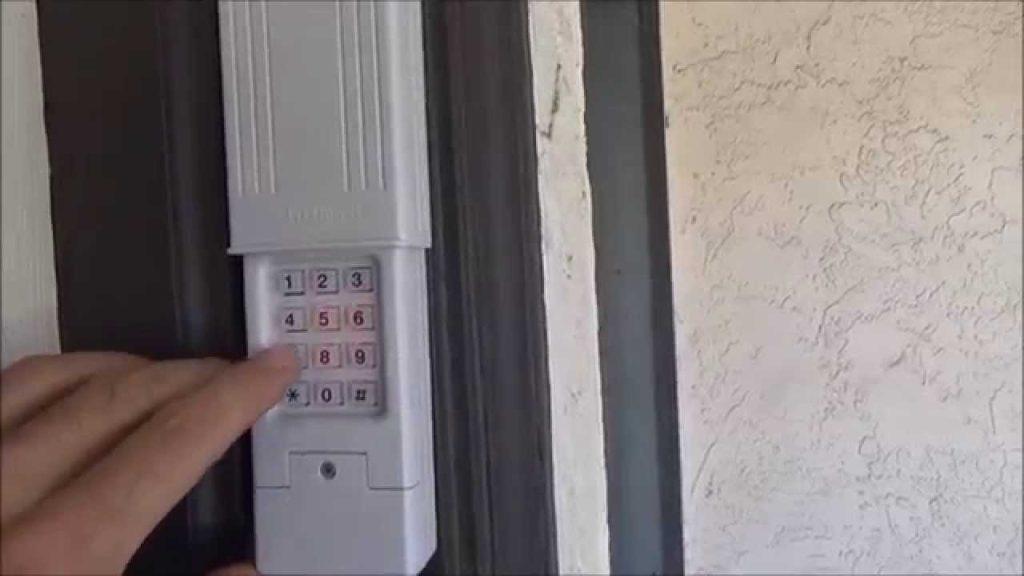
After entering the new code, test it to ensure it activates the garage door opener properly. Stand within range of the opener and enter the code using the keypad. The garage door should respond by opening or closing accordingly. If the code doesn’t work as expected, double-check the programming steps and try again.
Resetting Your Clicker Garage Door Opener Code
Accessing the Reset Function
If you need to reset your Clicker garage door opener code, you can usually do so by accessing the reset function on the opener itself. Look for a small button or switch labeled “Reset” or “Code Reset” on the opener unit. Press or toggle this button according to the manufacturer’s instructions to initiate the reset process.
Re-entering the New Code
Once the reset process is complete, follow the same steps as setting up a new code to enter a fresh combination. Remember to choose a code that is different from the previous one to maintain security. Test the new code to ensure it activates the garage door opener correctly.
Managing Your Clicker Garage Door Opener Code
Regularly Updating Your Code
For optimal security, it’s advisable to update your Clicker garage door opener codes periodically. Choose a new combination every few months to minimize the risk of unauthorized access. Additionally, if you suspect that your code has been compromised, change it immediately to prevent security breaches.
Sharing Your Code Selectively
Be cautious when sharing your Clicker garage door opener codes with others. Only provide the code to trusted individuals who require access to your home. Avoid sharing it indiscriminately or writing it down in easily accessible locations.
Troubleshooting Clicker Garage Door Opener Code Issues
Code Not Working
If your Clicker garage door opener codes stops working unexpectedly, there may be several factors at play. Check the batteries in the keypad to ensure they are functioning properly. Additionally, verify that you’re entering the code correctly and within the designated time frame. If the issue persists, consider reprogramming the code or contacting technical support for assistance.
Keypad Malfunction
In some cases, the keypad on your Clicker garage door opener may malfunction due to weather exposure or physical damage. Inspect the keypad for any signs of wear, corrosion, or debris accumulation. Clean the keypad thoroughly and ensure it is securely mounted. If the keypad continues to malfunction, consider replacing it with a new one.
Conclusion
Mastering your Clicker garage door opener codes is essential for maintaining security and convenience in your home. By following the steps outlined in this guide, you can set up, reset, and manage your code with confidence. Remember to prioritize security by choosing a strong and memorable code, updating it regularly, and sharing it selectively. With these tips and techniques, you can ensure smooth operation and peace of mind for years to come.


Leave a Reply