Your garage door opener is a vital part of your home, ensuring convenience and security. The Craftsman garage door opener is known for its reliability and functionality. However, like any mechanical device, it may require adjustment from time to time to maintain optimal performance. In this comprehensive guide, we’ll walk you through the process of Craftsman garage door opener adjustment, allowing you to take control of your garage’s access with ease.
Understanding Your Craftsman Garage Door Opener
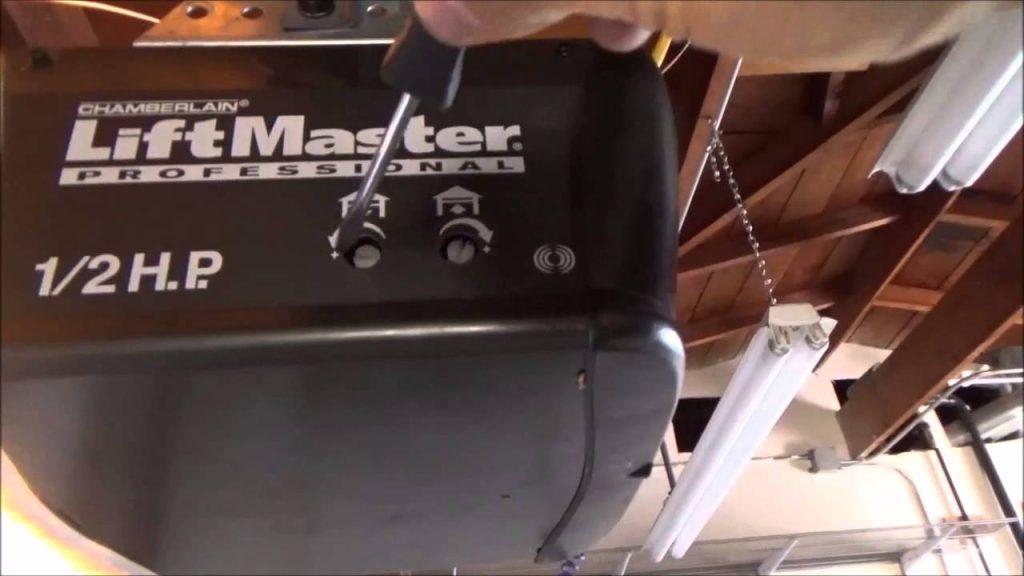
Before we dive into the adjustment process, it’s essential to have a basic understanding of how your Craftsman garage door opener works. Typically, it consists of several key components:
- Motor Unit: This is the power source of your garage door opener. It houses the motor and controls the opening and closing of the door.
- Remote Control: The remote allows you to operate the garage door from the comfort of your car or inside your home.
- Wall Control Panel: The wall-mounted control panel provides a manual way to operate the garage door.
- Safety Sensors: These sensors are usually located near the bottom of the door, on either side of the opening. They prevent the door from closing if an obstruction is detected.
- Drive Mechanism: The drive mechanism, often a chain, belt, or screw, connects the motor unit to the garage door, allowing it to open and close.
When to Consider Adjustment
Several scenarios may prompt you to consider adjusting your Craftsman garage door opener:
- Uneven Closing or Opening: If your garage door doesn’t open or close evenly or stops partway, an adjustment may be necessary.
- Unusual Noises: Unusual grinding or squeaking noises during operation could indicate misalignment or wear and tear.
- Safety Sensor Issues: If the safety sensors are misaligned or not functioning correctly, your garage door opener may not operate as it should.
- Remote Control Problems: If your remote control doesn’t respond consistently, it might be a signal interference or range issue.
Step-by-Step Craftsman Garage Door Opener Adjustment Guide
Safety First: Before making any adjustments, ensure the garage door is fully closed. Disconnect the power to the garage door opener to prevent any accidents. If you’re uncomfortable with any step, consider seeking professional assistance.
Check for Obstructions: Inspect the garage door’s path to ensure there are no obstructions that might affect its movement. Clear any debris or objects that might be blocking the door.
Lubricate Moving Parts: Regular lubrication of moving parts like the chain or belt can reduce friction and noise. Be sure to use a lubricant recommended in your Craftsman manual.
Inspect and Adjust Tracks: Examine the vertical and horizontal tracks for any misalignment. If you notice misalignment, carefully loosen the bolts and adjust the tracks, ensuring they are plumb and parallel. Retighten the bolts.
Check and Adjust the Safety Sensors: The safety sensors should be mounted about six inches above the ground and aligned so that their beams are unobstructed. If they are not aligned, adjust them until the indicator lights on both sensors are steady.
Examine the Door Balance: A properly balanced garage door is essential for smooth operation. Disconnect the door from the opener and manually lift it halfway. If it doesn’t stay in place, the door is unbalanced. Consult your Craftsman manual for guidance on adjusting the tension springs.
Inspect Remote Control: If your remote control is not functioning correctly, replace the batteries and ensure there are no obstructions between the remote and the opener. Check the opener’s manual for reprogramming instructions if needed.
Perform a Force Test: Craftsman garage door openers have a feature that allows you to adjust the force with which the door closes. Testing the force ensures the door will stop and reverse if it encounters an obstacle.
Final Adjustments: Once you’ve completed these steps, reconnect the power to the garage door opener and test its operation. If you’re still experiencing issues, consult your Craftsman manual or consider professional assistance.
Conclusion
Regular Craftsman garage door opener adjustment is essential to maintain the smooth and reliable operation of your garage door. By following the steps outlined in this guide, you can address common issues and keep your garage door in optimal condition. Remember that safety should always be your top priority, and if you’re unsure about any adjustment, it’s best to consult a professional. With a well-maintained garage door opener, you’ll continue to enjoy the convenience and security it provides for years to come. Master your Craftsman garage door opener and take control of your garage access today.


Leave a Reply