Garage door openers are an essential component of modern home security and convenience. However, there are times when you might need to delete or reprogram a garage door opener. This could be due to security concerns, malfunctioning equipment, or simply updating your system. In this detailed guide, we will walk you through the steps to delete a garage door opener and provide tips on maintaining your system.
Why You Might Need to Delete Your Garage Door Opener
There are several reasons why you might want to delete a garage door opener:
- Security Concerns: If you suspect someone has unauthorized access to your garage, deleting the opener can prevent potential break-ins.
- Malfunctioning Opener: When the garage door opener is not working correctly, deleting and reprogramming it can often solve the issue.
- Upgrading Systems: When upgrading to a new garage door opener, you will need to delete the old one from the system.
- Lost Remote: If you lose a remote control, deleting the opener can prevent it from being used by anyone who finds it.
Read too: Mastering the Art of Adjusting a Chamberlain Garage Door Opener for Smooth Operation and Safety
Steps to Delete Garage Door Opener
1. Identify the Brand and Model
The first step in deleting your garage door opener is to identify the brand and model. This information is typically found on the back of the opener unit or in the user manual. Different brands have slightly different procedures for deleting openers.
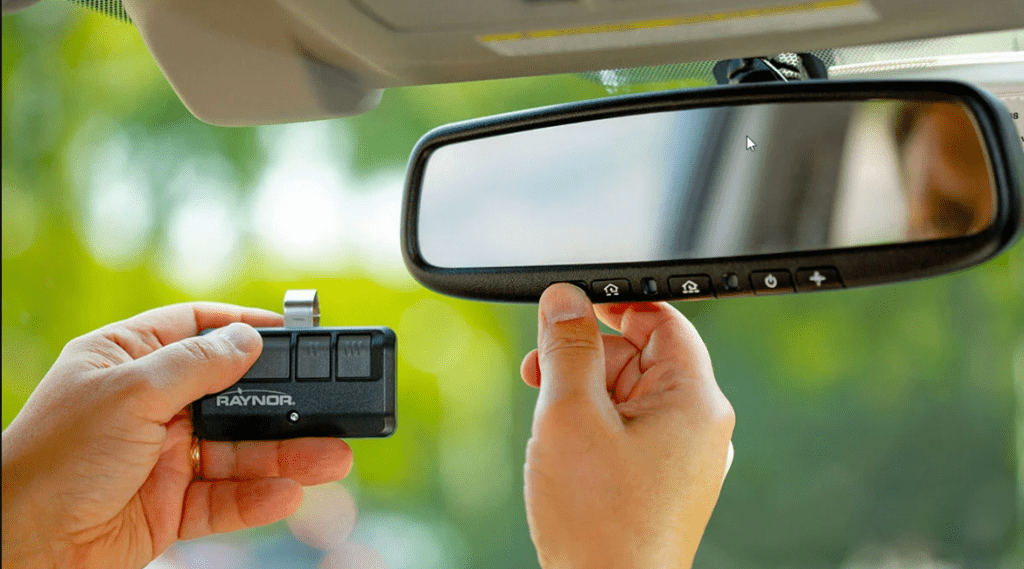
2. Access the Control Panel
Most garage door openers have a control panel located on the main unit mounted on the ceiling of your garage. This panel will have buttons for programming and deleting remotes and keypads.
3. Locate the “Learn” Button
The “Learn” button is crucial for programming and deleting garage door openers. It is usually located on the back or side of the main unit. The color and location of the button can vary by brand.
4. Deleting the Opener
For Chamberlain, LiftMaster, and Craftsman Openers
- Press and Hold the Learn Button: Press and hold the “Learn” button for about 6-10 seconds until the LED light turns off. This action erases all remote controls and keypads from the system.
- Confirm Deletion: To confirm, press any button on a previously programmed remote. The garage door should not respond.
For Genie Openers
- Press the Learn Button: Press and hold the “Learn” button until the indicator light turns off (about 10 seconds). This action deletes all programmed remotes and keypads.
- Test the Deletion: Use a previously programmed remote to ensure it no longer operates the garage door.
For Other Brands
Refer to your user manual or the manufacturer’s website for specific instructions on deleting the garage door opener. The process is generally similar but may have slight variations.
5. Reprogramming Your Garage Door Opener
After deleting your garage door opener, you will need to reprogram it to work with your remotes and keypads.
Reprogramming Remotes
- Press the Learn Button: Press and release the “Learn” button on the garage door opener unit. The indicator light will turn on.
- Press the Remote Button: Within 30 seconds, press and hold the button on the remote you wish to program.
- Release the Buttons: Release the remote button when the opener lights blink or you hear a click. This indicates successful programming.
Reprogramming Keypads
- Press the Learn Button: Press and release the “Learn” button on the opener unit.
- Enter the Code: Within 30 seconds, enter the desired PIN on the keypad and press the “Enter” button.
- Test the Keypad: Test the keypad by entering the PIN and pressing “Enter.” The garage door should operate.
Troubleshooting Common Issues
Even with careful execution, you may encounter issues when deleting or reprogramming your garage door opener.
Problem: Opener Does Not Respond to Deletion Commands
- Solution: Ensure you are pressing the correct button for the appropriate amount of time. Check the user manual for specific instructions related to your model.
Problem: Remote Does Not Reprogram
- Solution: Ensure the remote has fresh batteries. Repeat the programming steps carefully, ensuring you press the buttons within the required time frame.
Problem: Keypad Fails to Program
- Solution: Verify that you are entering the correct PIN and that the keypad is within range of the opener unit. If problems persist, consult the user manual for additional troubleshooting tips.
Preventative Maintenance for Garage Door Openers
Regular maintenance can prevent many common issues with garage door openers.
1. Check Batteries Regularly
Ensure that the batteries in your remotes and keypads are fresh. Weak batteries can cause connectivity issues.
2. Inspect and Clean
Regularly inspect and clean the garage door opener unit. Dust and debris can interfere with the electrical connections and sensors.
3. Lubricate Moving Parts
Lubricate the moving parts of your garage door opener, including the chain or belt and the door hinges. This helps in smooth operation and extends the life of the opener.
4. Test Safety Features
Periodically test the safety features of your garage door opener, such as the auto-reverse mechanism. This ensures that the door stops and reverses if it encounters an obstacle, preventing accidents.
Conclusion
Deleting a garage door opener can seem daunting, but with the right instructions, it is a straightforward process. Whether for security reasons, malfunctioning equipment, or system upgrades, knowing how to delete and reprogram your garage door opener is essential. Regular maintenance and troubleshooting can help ensure your garage door opener operates smoothly and reliably.

Leave a Reply