Garage door openers provide convenience and security for homeowners, allowing easy access to the garage with the push of a button. However, there are times when you might need to disable the garage door opener temporarily or permanently for maintenance, security reasons, or during emergencies. Understanding how to safely disable a garage door opener is crucial to prevent unauthorized access and ensure safety.
Reasons to Disable Garage Door Opener
There are several scenarios where disabling the garage door opener becomes necessary:
- Maintenance: Performing maintenance work on the garage door or opener system.
- Security: Temporarily disabling to prevent unauthorized entry, especially during vacations or extended absences.
- Emergency: In case of malfunction or power outage where manual operation is required.
- Upgrading: When upgrading to a new garage door opener system or integrating with smart home technology.
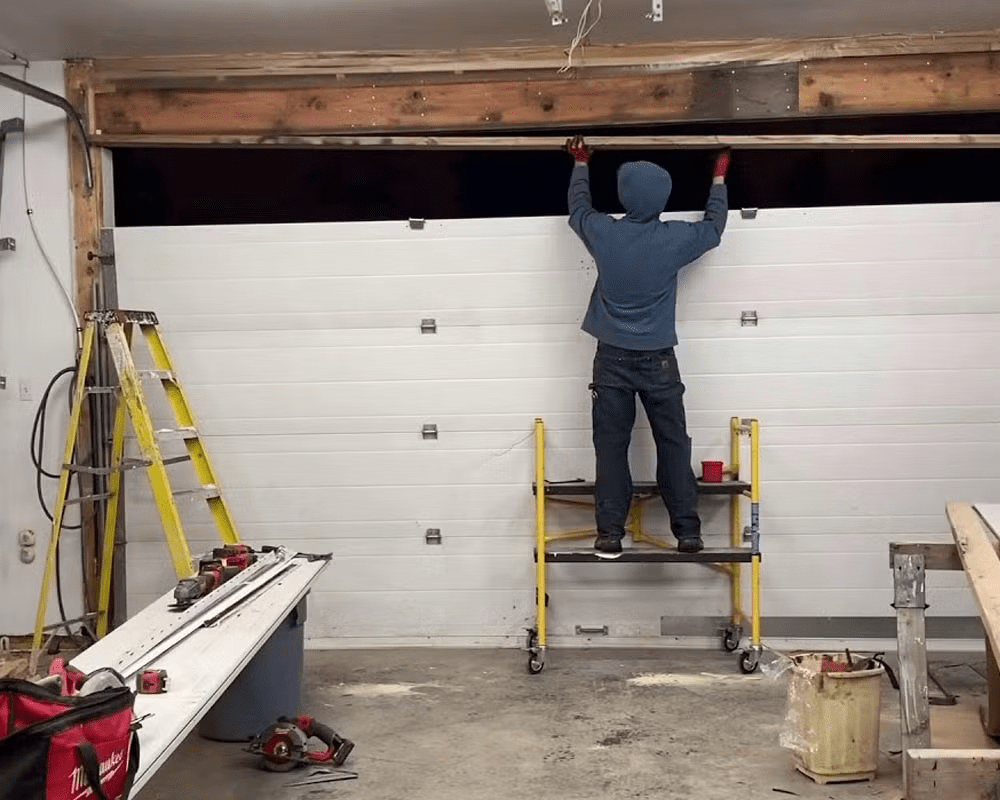
How to Disable Garage Door Opener Safely
To disable a garage door opener safely, follow these steps:
Steps to Disable Garage Door Opener
- Locate the Emergency Release Cord: Most garage door openers have an emergency release cord or handle. This mechanism allows you to disengage the opener from the door and operate the door manually.
- Pull the Emergency Release Cord: The emergency release cord is usually red and hangs from the opener rail. Pulling this cord disconnects the opener from the door carriage, enabling manual operation. Ensure the door is closed when pulling the cord to prevent it from crashing down.
- Test Manual Operation: After pulling the release cord, manually lift the garage door to ensure it moves freely along its tracks without resistance. This verifies that the door is properly disengaged from the opener.
Permanently Disabling a Garage Door Opener
If you need to permanently disable a garage door opener, consider these additional steps:
- Unplug or Disconnect Power: Turn off power to the garage door opener by unplugging it from the electrical outlet or cutting power from the circuit breaker.
- Remove Batteries (if applicable): Some garage door openers have backup battery systems. Remove these batteries to fully disable the opener.
- Disable Remote Controls: If the opener uses remote controls, reset or reprogram them to prevent unintended activation.
Re-Enabling the Garage Door Opener
Once you’ve completed the necessary tasks that required the garage door opener to be disabled, follow these steps to re-enable it:
- Re-engage the Emergency Release: Return the emergency release mechanism to its original position by pulling the cord again in the opposite direction.
- Restore Power: Plug the opener back into the power source or restore power from the circuit breaker.
- Test Operation: Test the garage door opener by activating it with the remote control or wall-mounted button. Ensure it operates smoothly and reattach any disconnected components securely.
Safety Tips When Handling Garage Door Openers
- Regular Maintenance: Schedule routine inspections and maintenance to keep your garage door opener in optimal condition.
- Keep Remote Controls Secure: Store remote controls in a secure location to prevent unauthorized access to your garage.
- Educate Family Members: Ensure that all household members understand how to safely operate and, if necessary, disable the garage door opener.
Conclusion
In conclusion, knowing how to disable a garage door openers is essential for maintaining security and safety at home. Whether you’re performing routine maintenance or securing your home during a power outage, following proper procedures ensures smooth operation and peace of mind. By understanding these steps, you can confidently manage your garage door opener system and enhance overall home security.
Read too: Mastering the Art of Adjusting a Chamberlain Garage Door Opener for Smooth Operation and Safety
Implement these guidelines as needed and empower yourself with the knowledge to handle garage door opener systems effectively.


Leave a Reply