Are you experiencing issues with your Liftmaster garage door opener and need to perform a factory reset? Don’t worry; we’ve got you covered. In this guide, we’ll walk you through the steps to reset your Liftmaster garage door opener to its factory settings, allowing you to troubleshoot any problems and restore smooth operation quickly.
Understanding the Need for a Factory Reset: Liftmaster Garage Door Opener
Before we delve into the process of resetting your Liftmaster garage door opener, let’s first understand why a factory reset might be necessary. Over time, your garage door opener may encounter various issues, such as remote control malfunctions, sensor misalignments, or programming errors. Performing a factory reset can often resolve these issues by restoring the opener to its original settings, eliminating any glitches or bugs that may have developed over time.
Factory Reset Liftmaster Garage Door Openers: Step-by-Step Guide
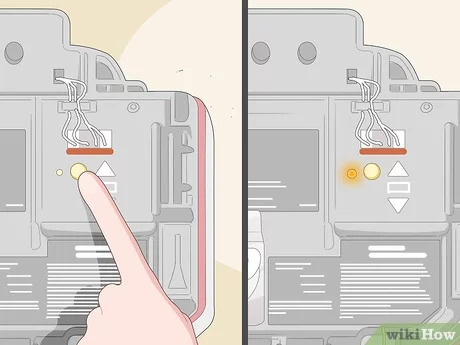
1. Locate the “Learn” Button
The first step in resetting your Liftmaster garage door opener is to locate the “Learn” button on the opener unit. This button is typically found near the antenna wire or on the back panel of the opener.
2. Press and Hold the “Learn” Button
Once you’ve located the “Learn” button, press and hold it for approximately 6 seconds. You may need a small tool, such as a pen or a paperclip, to reach the button depending on its location.
Read too: Why Your Liftmaster Garage Door Won’t Stay Closed and How to Fix It? Troubleshooting Tips
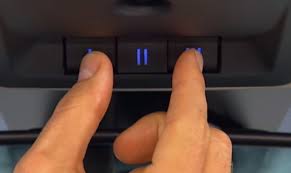
3. Release the Button
After holding the “Learn” button for 6 seconds, release it. You should see the indicator light on the opener unit blink, indicating that the factory reset process has begun.
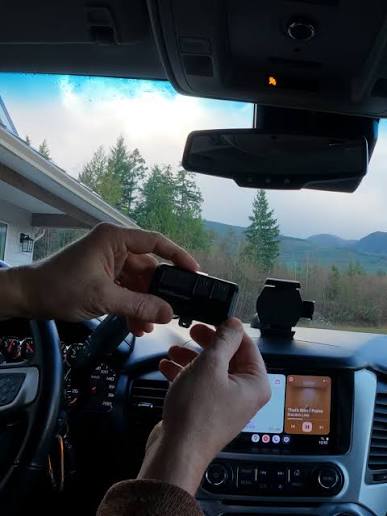
4. Reprogram Remotes and Keypads
Once the factory reset is complete, you’ll need to reprogram any remotes or keypads that were previously connected to the opener. Follow the manufacturer’s instructions for your specific model to reprogram the devices successfully.
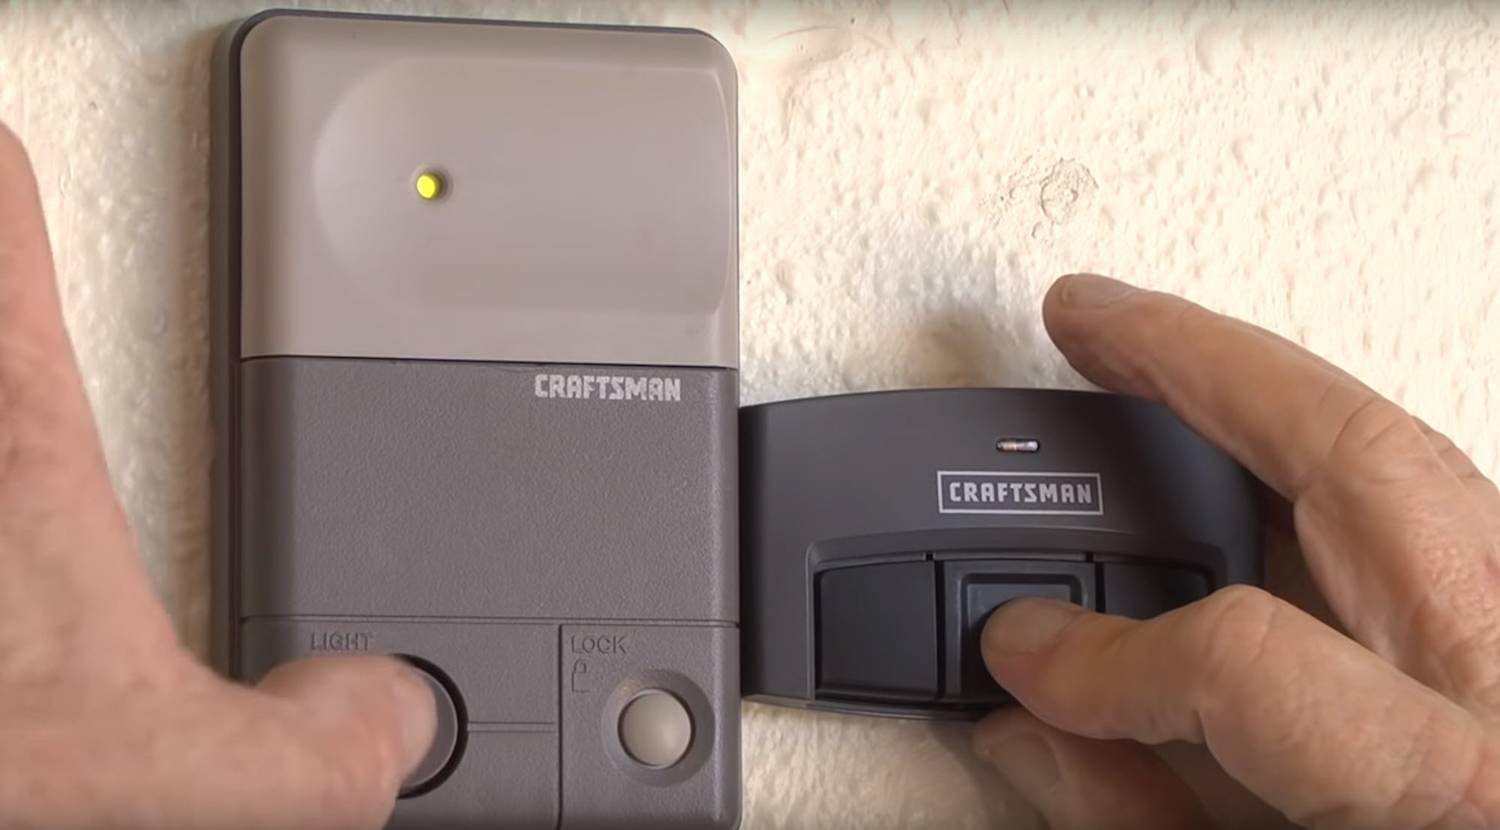
5. Test the Opener
After reprogramming the remotes and keypads, test the opener to ensure that it’s functioning correctly. Open and close the garage door several times using the remotes and keypads to verify that the reset was successful.
Conclusion
Performing a factory reset on your Liftmaster garage door openers is a straightforward process that can help resolve a variety of issues, from remote control malfunctions to sensor misalignments. By following the steps outlined in this guide, you can reset your opener quickly and regain control over your garage door’s functionality.
Leave a Reply