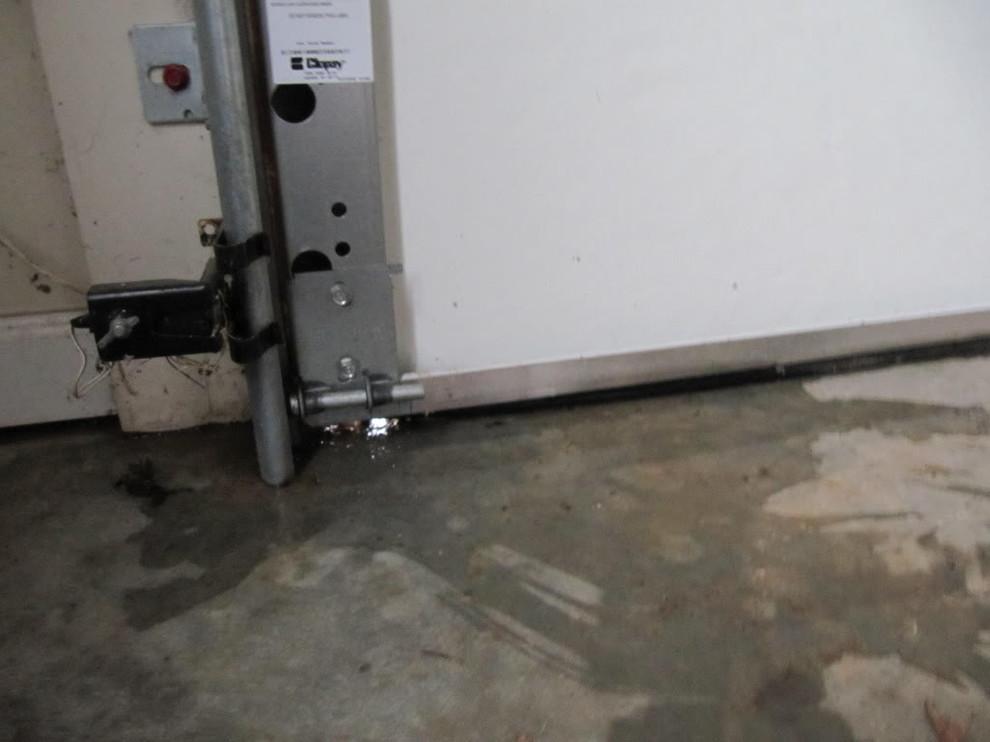
Water dripping from your garage door when you open it can be an annoying and concerning problem. Not only does it create a mess, but it can also lead to water damage and potential safety hazards. However, with the right knowledge and guidance, you can easily address this issue and say goodbye to garage door drips for good. In this article, we will provide you with a comprehensive guide to identify and fix garage door drips.

Introduction
When you open your garage door, the last thing you want to see is water dripping down. It can leave you puzzled and wondering what might be causing this issue. But worry not, because we are here to help. In this guide, we will explore the common causes of garage door drips and provide you with practical solutions to fix the problem.
FAQs:
- Why is water dripping from my garage door when I open it?
- Is it normal for a garage door to leak when it rains?
- How can I prevent water from entering my garage through the door?
Understanding the Causes of Garage Door Drips
Before we delve into the solutions, let’s first understand why your garage door might be dripping water. There are several potential causes for this issue, including damaged weatherstripping, misaligned tracks, and faulty seals.
FAQs:
- What is weatherstripping, and how does it affect my garage door?
- Can misaligned tracks cause water leaks in my garage?
- Are faulty seals a common reason for garage door drips?
Inspecting and Maintaining Weatherstripping
One of the most common culprits behind garage door drips is damaged weatherstripping. Weatherstripping is a rubber seal that lines the sides and bottom of the garage door, preventing water and drafts from entering. Over time, weatherstripping can wear out and become less effective. Here’s how you can inspect and maintain your weatherstripping:
- Start by carefully examining the weatherstripping along the sides and bottom of your garage door.
- Look for signs of wear and tear, such as cracks, gaps, or frayed edges.
- If you notice any damage, it’s time to replace the weatherstripping.
- Remove the old weatherstripping by peeling it off or unscrewing it, depending on the type.
- Clean the area where the old weatherstripping was attached, removing any dirt or debris.
- Install the new weatherstripping, making sure it is properly sealed and aligned.
- Test the garage door to ensure it opens and closes smoothly without any drips.
FAQs:
- How often should I inspect my garage door’s weatherstripping?
- Can I repair damaged weatherstripping instead of replacing it?
- Are there different types of weatherstripping available for garage doors?
Correcting Track Misalignment Issues
Misaligned tracks can also contribute to water leakage when you open your garage door. Over time, the tracks may shift or become uneven, preventing the door from operating smoothly. Here’s how you can correct track misalignment:
- Visually inspect the tracks to identify any signs of misalignment or damage.
- Use a rubber mallet to gently tap the tracks back into alignment.
- Use a level to ensure the tracks are properly straightened.
- Check and tighten any loose bolts or screws that hold the tracks in place.
- Lubricate the tracks using a silicone-based lubricant to facilitate smooth movement.
FAQs:
- How can I tell if my garage door tracks are misaligned?
- Can I fix misaligned tracks without professional help?
- What kind of lubricant should I use for garage door tracks?
Repairing or Replacing Faulty Seals
Faulty seals, such as bottom seals and side seals, can allow water to seep through your garage door. It’s essential to address any damaged seals to prevent drips. Follow these steps to repair or replace faulty seals:
- Inspect the seals for any visible damage or deterioration.
- Determine if the seal can be repaired or if it needs to be replaced.
- If the seal is repairable, use appropriate sealant or adhesive to fix any gaps or tears.
- If the seal is beyond repair, remove it carefully and purchase a new seal of the same size.
- Install the new seal, ensuring it provides a tight and secure seal along the edges of the garage door.
FAQs:
- How do I know if the seals on my garage door are faulty?
- Can I repair a damaged seal, or should I replace it?
- Where can I purchase replacement seals for my garage door?
Additional Tips for Preventing Garage Door Drips
To maintain a drip-free garage, consider the following tips:
- Keep the garage door clean and free from debris that could compromise the seals.
- Regularly inspect and maintain your garage door, including lubricating moving parts and tightening screws or bolts.
- Schedule professional maintenance at least once a year to ensure your garage door is in optimal condition.
FAQs:
- What maintenance tasks can I perform to prevent garage door drips?
- Are there any specific cleaning techniques for garage doors?
- How often should I schedule professional maintenance for my garage door?
Conclusion
Dealing with garage door drips can be frustrating, but it doesn’t have to be a permanent issue. By identifying the causes and following the solutions outlined in this guide, you can bid farewell to those annoying drips. Remember, a well-maintained garage door not only keeps your belongings safe but also ensures a clean and dry space for your vehicles and other valuable items.
So, don’t let garage door drips dampen your spirits. Take action today, and enjoy a drip-free garage for years to come.


Leave a Reply