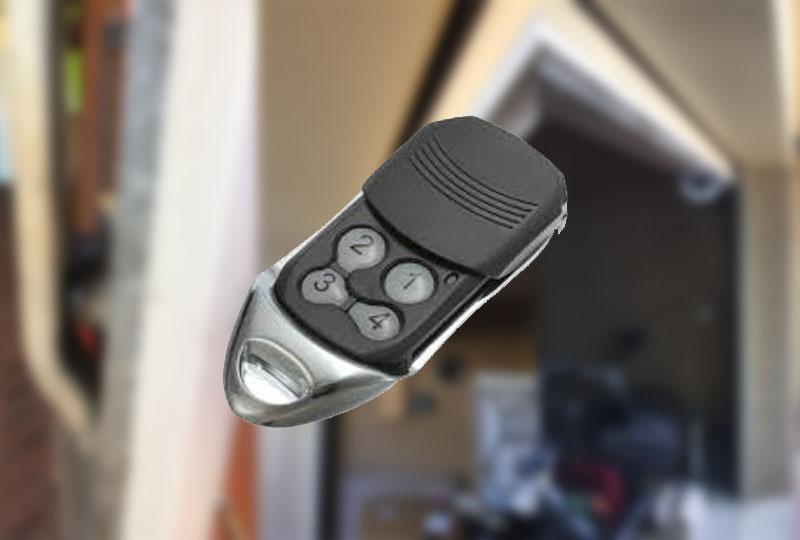
Have you ever found yourself standing in front of your garage door, pressing the remote button repeatedly, only to realize that nothing happens? It’s a frustrating situation that many homeowners encounter: garage door remotes stopped working unexpectedly. But before you panic or call for professional help, there are several troubleshooting steps you can take to identify and resolve the issue. In this guide, we’ll walk you through the process of troubleshooting when your garage door remotes stopped working, helping you get your garage door back to its fully functional state.

Understanding the Problem: Why Did Your Garage Door Remotes Stop Working?
Before diving into troubleshooting solutions, it’s essential to understand the potential causes of the problem. Several factors could contribute to your garage door remotes ceasing to function properly:
- Dead Batteries: One of the most common reasons for garage door remotes not working is simply dead or depleted batteries. Over time, the batteries in your remote control can lose their charge and need to be replaced.
- Interference: Interference from other electronic devices or nearby sources can disrupt the signal between your remote control and the garage door opener, preventing them from communicating effectively.
- Faulty Remote Control: If your garage door remote control has been damaged or malfunctioning, it may no longer send signals to the opener, rendering it ineffective.
- Garage Door Opener Issues: Problems with the garage door opener itself, such as a malfunctioning receiver or circuit board, can also prevent the remotes from working correctly.
Troubleshooting Steps: How to Fix Garage Door Remotes That Stopped Working
Step 1: Check the Batteries
Begin by replacing the batteries in your garage door remote control with fresh ones. Even if the batteries appear to be working, they may not have enough power to transmit a strong signal to the opener.
Step 2: Test Multiple Remotes
If you have multiple garage door remotes, test each one to determine if the issue is isolated to a specific remote or if all remotes are affected. If only one remote is not working, the problem likely lies with that particular device.
Read too: Mastering the Art of How to Open a Garage Door Safely and Efficiently
Step 3: Inspect for Interference
Look for any potential sources of interference near your garage door opener, such as wireless routers, cordless phones, or electronic appliances. Try relocating these devices or turning them off temporarily to see if it improves remote functionality.
Step 4: Reprogram the Remotes
If replacing the batteries and checking for interference don’t resolve the issue, try reprogramming the garage door remotes to the opener. Refer to your garage door opener’s user manual for instructions on how to perform this task, as the process may vary depending on the model.
Step 5: Verify Opener Functionality
Finally, if none of the above steps work, it’s time to inspect the garage door opener itself for any signs of malfunction. Check the opener’s power source, circuitry, and receiver to ensure everything is functioning correctly. If necessary, consult a professional garage door technician for further assistance.
Conclusion
Experiencing issues with your garage door remotes can be frustrating, but with the right troubleshooting techniques, you can often identify and resolve the problem on your own. Following the steps outlined in this guide will equip you well to address the issue and restore functionality to your garage door remotes.


Leave a Reply