If you’re considering installing a garage door or replacing an existing one, getting the rough opening dimensions right is crucial. In this comprehensive guide, we’ll walk you through everything you need to know about a garage door rough opening with dimensions of 8X7. So let’s dive in and ensure your installation goes smoothly!
Introduction
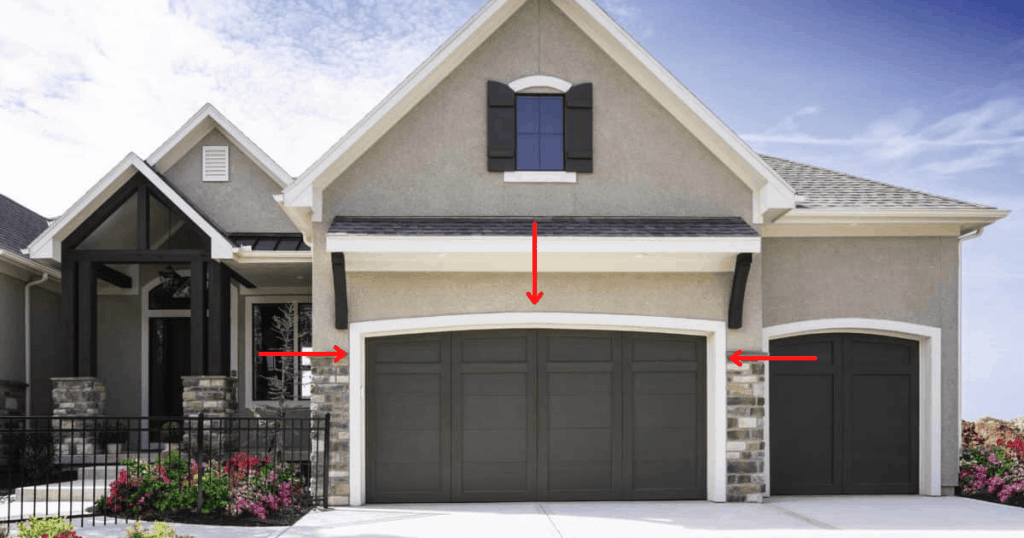
Before we delve into the details, let’s understand the significance of a garage door rough opening. The rough opening refers to the space required for the door itself, tracks, hardware, and clearance. When it comes to an 8X7 rough opening, the numbers 8 and 7 represent the width and height of the door, respectively. Getting these dimensions right is vital to ensure a proper fit.
Understanding Garage Door Rough Opening
A rough opening is the framing structure that accommodates the garage door. It serves as the foundation for the door installation process. By providing support and stability, the rough opening ensures that the door functions correctly and smoothly. Accurate measurements and careful planning are essential to achieve a seamless installation.
To measure a rough opening for an 8X7 garage door, you’ll need a measuring tape, level, and pencil. Begin by measuring the width between the side jambs, ensuring the tape is level. Next, measure the height from the floor to the top of the rough opening. These measurements will help determine if any adjustments are needed.
Dimensions and Specifications for 8X7 Garage Door Rough Opening
An 8X7 garage door rough opening typically requires a width of 98 inches and a height of 86 inches. It’s important to note that these measurements are for the rough opening itself and do not include the door frame or any additional space required for tracks, hardware, or clearance. Ensure that you consider these factors to accommodate the door properly.
When installing an 8X7 garage door, you’ll also need to account for the tracks and hardware. These components play a crucial role in the door’s operation and should be factored into your rough opening measurements. Additionally, it’s essential to provide adequate clearance around the rough opening to ensure smooth and unobstructed movement.
Measuring and Preparing for the Rough Opening
To measure accurately, follow these step-by-step instructions:
- Start by measuring the width of the rough opening. Place the measuring tape horizontally between the side jambs, ensuring it’s level. Note down the measurement.
- Next, measure the height by placing the measuring tape vertically from the floor to the top of the rough opening. Again, ensure the tape is level. Record the measurement.
- Check the diagonal measurements to ensure the opening is square. If the measurements differ, adjust the framing until they are equal.
Keep in mind that safety should always be a priority when measuring and preparing the rough opening. Use appropriate safety equipment, such as gloves and safety goggles, and exercise caution when working with tools and materials.
Adjusting the Rough Opening Size
In some cases, adjustments to the rough opening size may be necessary. For minor adjustments, you can modify the framing or trim to ensure the door fits properly. However, if significant modifications are required, it’s advisable to seek professional help. Professionals have the expertise and tools to handle complex adjustments, ensuring a secure and functional installation.
Conclusion
Properly measuring and preparing the rough opening is fundamental for a successful 8X7 garage door installation. By following the steps outlined in this guide, you can ensure that your new door fits seamlessly into the space provided. Remember, accuracy is key, and when in doubt, consult a professional for guidance. With the right measurements and preparations, you’ll be well on your way to enjoying a functional and aesthetically pleasing garage door.


Leave a Reply