Introduction
A garage door keypad is a game-changer for convenience and security. Instead of relying on a remote or keys, a keypad allows you to enter a secure code to open and close your garage door effortlessly. Whether you’re upgrading your garage or adding a new level of security, installing a keypad is a straightforward process that you can do yourself.
In this guide, we’ll walk you through how to add a keypad for a garage door opener, covering the tools you need, step-by-step instructions, and troubleshooting tips.
Read too: Door and Garage Door Companies: Choosing the Right Partner for Your Needs
Why Install a Keypad for Your Garage Door Opener?
Adding a keypad to your garage door opener provides multiple benefits, including:
- Convenience: No need to carry a remote or keys. Simply enter a code to open or close the garage.
- Security: Set a unique passcode to restrict access. Some keypads even allow temporary codes for visitors.
- Backup Access: If you lose your garage remote, a keypad ensures you can still get inside.
- Multiple User Access: Family members can use the keypad instead of sharing a single remote.
What You Need to Add a Keypad for a Garage Door Opener
Before installing the keypad, gather the following tools and materials:
Required Tools & Materials
✔ A compatible garage door keypad
✔ A screwdriver (Phillips or flat-head)
✔ A drill (if mounting requires screws)
✔ Batteries (usually AA or AAA, depending on the keypad model)
✔ A ladder (to reach the garage door opener unit)
✔ The owner’s manual for your garage door opener (for programming instructions)
Most modern garage door openers are compatible with universal keypads, but it’s always best to check your garage opener’s brand and model for compatibility.
How To Add A Keypad For A Garage Door Opener: Step-by-Step Guide
Step 1: Choose the Right Location for the Keypad
- The keypad should be mounted near the garage door, typically on the exterior wall at a comfortable height.
- Ensure it’s easily accessible but not visible from the street to enhance security.
- Avoid placing it too close to metal surfaces, as this can interfere with signal transmission.
Step 2: Install the Keypad on the Wall
- Mark the Placement: Use a pencil to mark the mounting location.
- Secure the Keypad:
- If the keypad has an adhesive backing, simply peel and stick it in place.
- If screws are needed, drill small pilot holes, insert wall anchors (if necessary), and then attach the keypad with screws.
Step 3: Power Up the Keypad
- Insert the required batteries according to the manufacturer’s instructions.
- If your keypad is hardwired, connect it to the power source as directed.
Step 4: Program the Keypad to Your Garage Door Opener
Programming varies by brand, but the general steps are:
- Access the Garage Door Opener’s Learn Button
- Locate the “Learn” or “Program” button on your garage door opener unit (usually on the back or side).
- Press and hold the Learn button until an indicator light turns on.
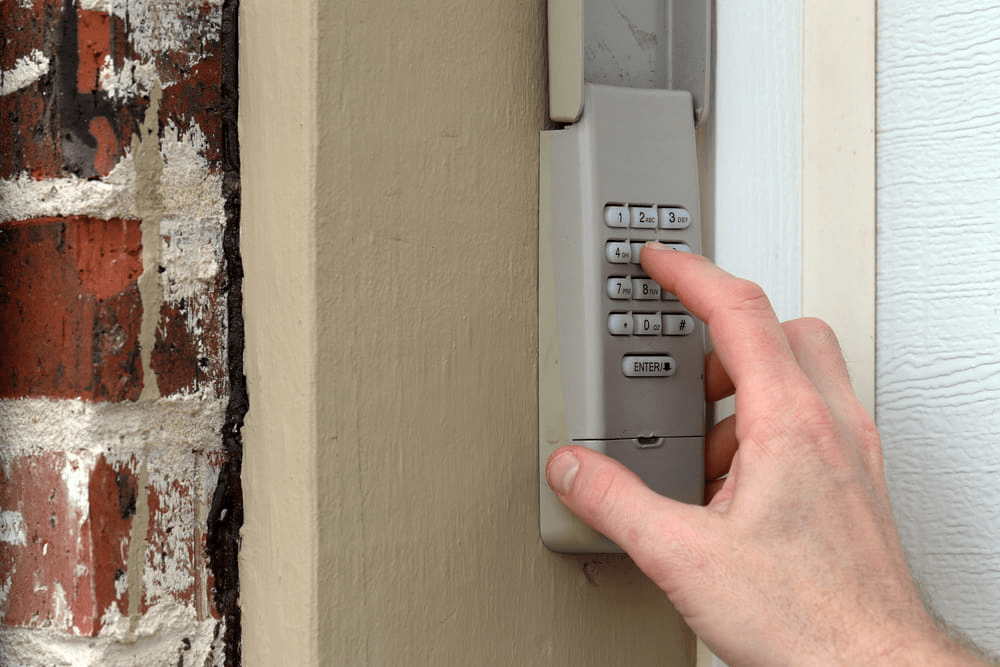
- Enter a Secure Code on the Keypad
- Choose a 4- to 6-digit security code that’s easy to remember but difficult for others to guess.
- Enter the code and press the designated programming button (such as “Enter” or “Send”).
- Test the Keypad
- Close the garage door.
- Enter your new code and see if the door opens properly.
- If it doesn’t work, repeat the programming steps carefully.
Step 5: Secure the Keypad and Final Adjustments
- Ensure the keypad is firmly attached to the wall.
- Double-check that the code works consistently.
- If necessary, refer to your owner’s manual for troubleshooting.
Troubleshooting Common Keypad Issues
1. The Keypad Isn’t Responding
- Check if the batteries are installed correctly or need replacement.
- Ensure the keypad is within the range of the garage door opener.
2. The Garage Door Doesn’t Open After Entering the Code
- Reprogram the keypad, ensuring you press the Learn button on the opener first.
- Double-check that you are using the correct code.
3. Keypad Works Intermittently
- Replace weak batteries.
- Clean the keypad to remove dirt or debris that may be blocking the buttons.
- Check for interference from other wireless devices.
4. Forgetting the Code
- Most keypads allow you to reset the code by pressing and holding a combination of buttons (refer to your manual).
- If all else fails, reset the keypad and reprogram it from scratch.
Additional Features to Consider When Adding a Keypad
Modern garage door keypads come with various advanced features, including:
- Backlit Keypads: Useful for nighttime entry.
- Temporary Access Codes: Allows guests or service providers to enter temporarily.
- Smart Keypad Integration: Connects with Wi-Fi-enabled garage openers for remote access.
- Auto-Lock Function: Some keypads automatically lock after multiple failed attempts.
These features enhance both convenience and security, making a garage door keypad a valuable addition.
Frequently Asked Questions (FAQs)
1. Can I install a garage door keypad myself?
Yes! Installing a keypad is a DIY-friendly project that usually takes less than 30 minutes with basic tools.
2. Are garage door keypads universal?
Some keypads are universal and work with multiple brands, while others are brand-specific. Check your garage door opener’s compatibility before purchasing a keypad.
3. How do I change my garage door keypad code?
Most keypads allow you to change the code by entering a reset mode or holding down a specific button. Refer to the user manual for exact steps.
4. Can a garage door keypad be hacked?
While rare, it’s possible. To improve security:
- Use a unique and hard-to-guess code.
- Change the code periodically.
- Consider upgrading to a smart keypad with encrypted signals.
Final Thoughts
Adding a keypad for a garage door opener is a simple yet effective way to improve security and accessibility. Whether you need a backup entry method, added convenience, or better security, a garage keypad is an excellent investment.
By following this guide on how to add a keypad for a garage door opener, you can complete the installation yourself with minimal effort. Enjoy the ease of keyless access and ensure your garage is both secure and convenient!


Leave a Reply