Adjusting your garage door opener is an essential aspect of home maintenance that can ensure smooth and efficient operation. Whether your garage door is making unusual noises, operating too slowly, or not closing properly, knowing how to adjust your garage door opener can help resolve these issues and prevent further problems down the line. In this comprehensive guide, we’ll walk you through the process of adjusting your garage door opener step by step, empowering you to tackle this task confidently and effectively.
Understanding Your Garage Door Opener
Before diving into the adjustment process, it’s essential to understand the basic components of your garage door opener. The main parts include:
- Motor: The motor is the heart of the garage door opener, responsible for powering the opening and closing mechanism.
- Drive System: There are three main types of drive systems: chain drive, belt drive, and screw drive. Each type operates differently but serves the same purpose of moving the garage door.
- Safety Sensors: These sensors are located near the bottom of the garage door tracks and prevent the door from closing if an obstruction is detected.
- Remote Control: The remote control allows you to open and close the garage door from inside your vehicle or home.
How to Adjust Garage Door Opener: Step-by-Step Guide
Step 1: Test the Opener
Before making any adjustments, test the garage door opener to identify any specific issues or problems. Pay attention to any unusual noises, slow operation, or difficulty in opening or closing the door.
Read too: No Power to Genie Garage Door Opener – Resolving the Issue with Ease: Troubleshooting Guide
Step 2: Check the Balance
A properly balanced garage door is essential for smooth and efficient operation. Disconnect the opener from the door and manually lift it halfway. If the door stays in place, it is balanced. If it falls or rises, it may need adjustment.
Step 3: Adjust the Force Settings
Most garage door openers have adjustable force settings that control how much force is exerted when opening and closing the door. Locate the force adjustment knobs on the opener unit and adjust them according to the manufacturer’s instructions.
Step 4: Test the Safety Sensors
Ensure that the safety sensors are properly aligned and free from obstructions. Clean any debris or dirt that may be blocking the sensors’ view and test the door to ensure it stops and reverses direction when an obstruction is detected.
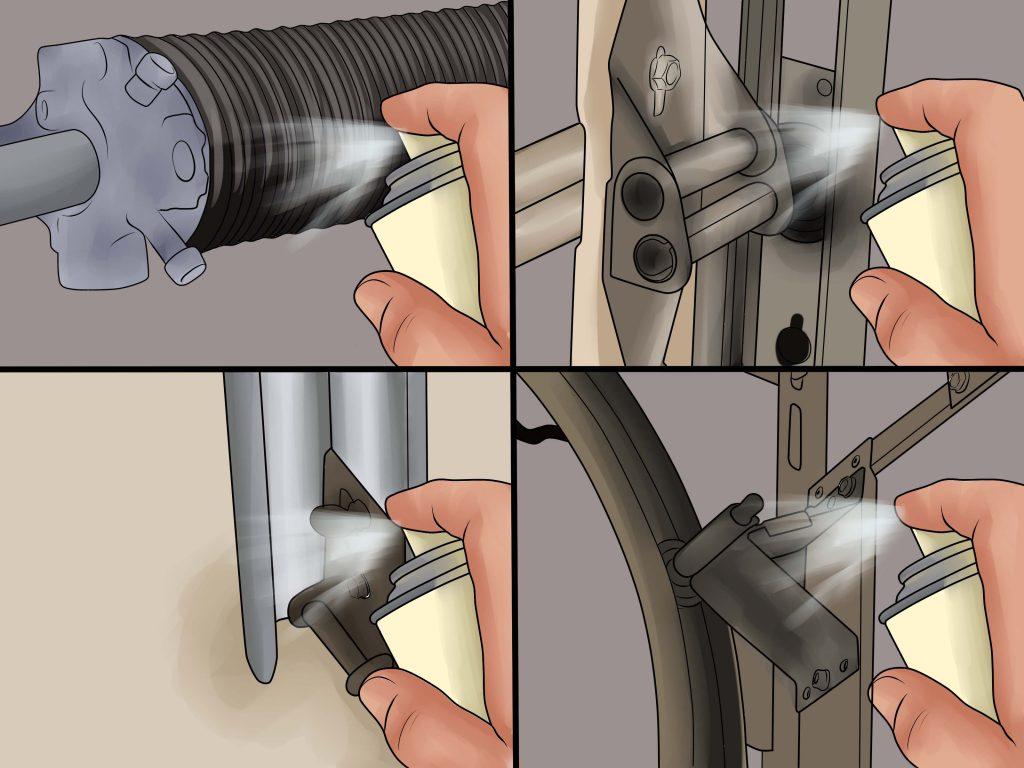
Step 5: Lubricate Moving Parts
Proper lubrication is essential for maintaining the smooth operation of your garage door opener. Apply lubricant to the tracks, rollers, hinges, and springs to reduce friction and prolong the life of these components.
Conclusion
Adjusting your garage door opener is a straightforward process that can help resolve common issues and ensure the smooth and efficient operation of your garage door. By following the step-by-step guide outlined in this article and performing regular maintenance, you can keep your garage door opener in optimal condition for years to come.


Leave a Reply