A garage door opener remote is an essential tool that provides convenience and security for homeowners. The Genie GICT390 is a popular remote control model, allowing users to operate their garage doors with ease. However, like any battery-operated device, the Genie GICT390 remote requires a battery replacement periodically to function properly.
If your Genie GICT390 remote is unresponsive or has a weak signal, it’s likely time to change the battery. In this guide, we’ll walk you through how to change the battery in the Genie Garage Door Opener GICT390 and provide tips to ensure smooth operation.
Read too: How to Perform a Chamberlain Garage Door Opener Code Change? Mastering Security
Why Changing the Battery in Your Genie GICT390 is Important
Your Genie GICT390 remote operates using a small coin-cell battery that powers the transmitter. Over time, the battery depletes, causing the remote to lose signal strength or stop working altogether. Here are some key reasons to replace your battery on time:
- Ensures reliable garage door operation – A fresh battery keeps your remote responsive.
- Prevents inconvenience – Avoid getting locked out of your garage due to a dead battery.
- Extends the remote’s lifespan – Regular battery replacements help maintain the remote’s functionality.
By changing the battery as soon as you notice performance issues, you can prevent unexpected malfunctions.
Signs That Your Genie GICT390 Remote Battery Needs Replacement
Before learning how to change the battery in the Genie Garage Door Opener GICT390, it’s important to recognize the signs of a weak or dead battery. Here are common indicators:
- Delayed Response – If the garage door takes longer than usual to respond when pressing the button, the battery may be weak.
- Intermittent Functionality – The remote sometimes works but other times doesn’t, which is a sign of low battery power.
- Reduced Range – If you have to stand closer to the garage door for the remote to work, the battery might be losing charge.
- No Response – If the remote does not work at all, even after pressing the button multiple times, the battery is likely dead.
Once you notice any of these signs, it’s time to replace the battery.
How To Change Battery In Genie Garage Door Opener GICT390
Now, let’s go through the step-by-step process to replace the battery in your Genie GICT390 remote. Follow these simple instructions to ensure your remote works efficiently again.
Step 1: Gather the Necessary Tools
Before you begin, make sure you have the required items:
- A replacement battery – The Genie GICT390 remote uses a CR2032 coin-cell battery.
- A small flathead screwdriver – This helps in opening the battery compartment.
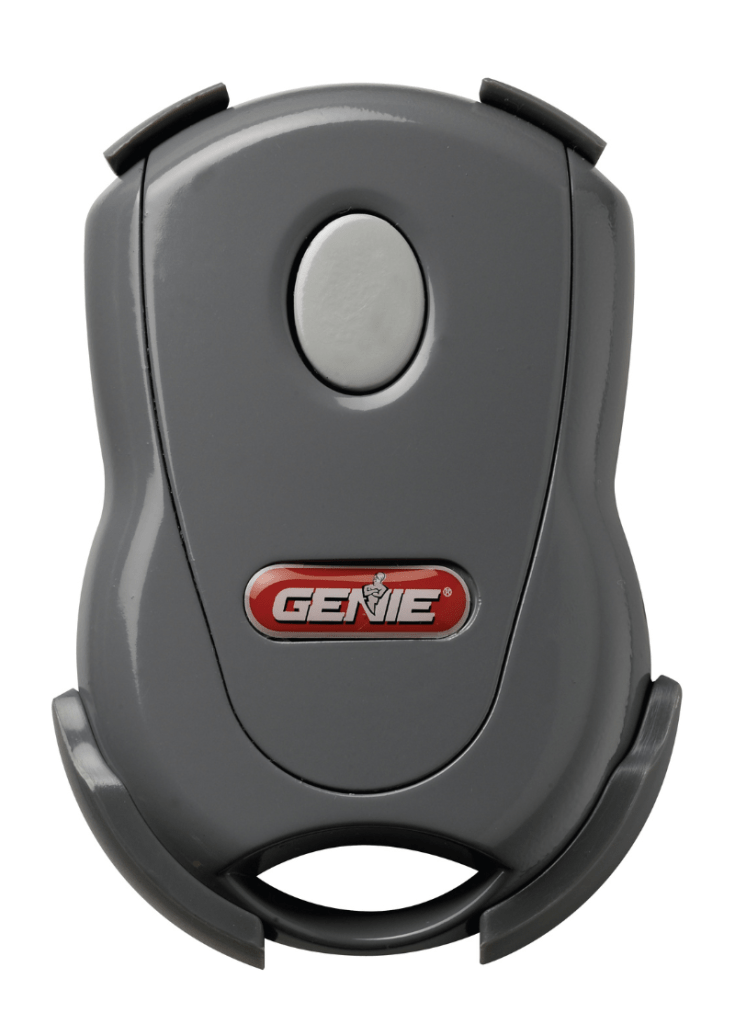
Step 2: Locate the Battery Compartment
The battery compartment is on the back of your Genie GICT390 remote. Look for a small slot or seam where the cover separates from the remote body.
Step 3: Open the Battery Cover
Use a small flathead screwdriver to gently pry open the battery cover. Be careful to avoid damaging the casing. Some remotes have a sliding battery cover that can be pushed off without tools.
Step 4: Remove the Old Battery
Once the cover is open, carefully remove the old CR2032 battery. Note its orientation, as you will need to place the new battery in the same direction.
Step 5: Insert the New Battery
Take the new CR2032 coin-cell battery and insert it into the battery compartment. Ensure that the positive (+) side is facing up, as incorrect placement can prevent the remote from working.
Step 6: Close the Battery Compartment
After inserting the new battery, carefully replace the battery cover. Make sure it clicks securely into place to protect the battery from dust and damage.
Step 7: Test the Remote
Press the button on your Genie GICT390 remote and check if the garage door responds. If the door opens or closes properly, the battery replacement was successful.
What to Do If the Remote Still Doesn’t Work?
If your Genie GICT390 remote doesn’t work after replacing the battery, try these troubleshooting steps:
- Check the Battery Orientation – Ensure the battery is inserted with the correct polarity (positive side up).
- Inspect the Battery Contacts – Clean any dirt or corrosion on the metal contacts inside the remote.
- Reprogram the Remote – Sometimes, after a battery change, the remote may need to be reprogrammed. Follow the Genie programming instructions in your user manual.
- Try a Different Battery – If the new battery doesn’t work, test with another CR2032 battery to rule out a faulty unit.
- Check the Garage Door Opener – If none of the above steps work, the issue might be with the garage door opener itself, not the remote.
How Often Should You Replace the Battery in a Genie GICT390 Remote?
The battery life of a Genie GICT390 remote depends on usage, but typically lasts 1 to 2 years. To prevent unexpected battery failure, it’s a good idea to replace it annually or as soon as you notice any performance issues.
Tips to Extend the Battery Life of Your Genie GICT390 Remote
To maximize the lifespan of your remote’s battery, consider these tips:
- Avoid pressing the buttons unnecessarily – Excessive use drains the battery faster.
- Store the remote in a cool, dry place – Extreme temperatures can reduce battery efficiency.
- Keep spare batteries on hand – Having a replacement ready ensures you’re never locked out.
Conclusion
Changing the battery in your Genie GICT390 remote is a simple process that ensures your garage door operates smoothly. By following the steps outlined in this guide, you can quickly replace the battery and restore functionality.
Regular battery maintenance not only extends the lifespan of your remote but also prevents frustrating situations where your garage door opener stops working unexpectedly. If you experience issues even after replacing the battery, troubleshooting or reprogramming the remote may be necessary.
By keeping a fresh CR2032 battery available and replacing it as needed, you’ll ensure that your Genie GICT390 remote remains reliable for years to come.


Leave a Reply