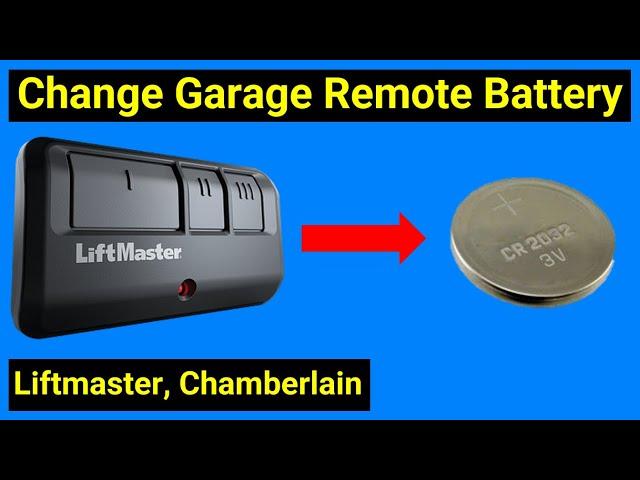
In today’s fast-paced world, convenience is key. And one of the conveniences we often take for granted is our garage door opener. If you own a Liftmaster Garage Door Opener, you know how essential it is for smooth and hassle-free access to your garage. However, like any electronic device, it relies on a power source, and knowing how to change the battery is crucial to ensure uninterrupted functionality. In this guide, we’ll walk you through the simple steps on “How To Change Battery In Liftmaster Garage Door Opener.”
Understanding the Importance of Regular Battery Replacement
Your Liftmaster Garage Door Opener relies on a battery to function efficiently. Over time, the battery’s performance may degrade, leading to issues such as slow response or, in some cases, complete failure. Regularly changing the battery not only ensures optimal performance but also prevents unexpected malfunctions that could disrupt your daily routine.
How To Change Battery In Liftmaster Garage Door Opener – Step by Step
Step 1: Gather Your Supplies
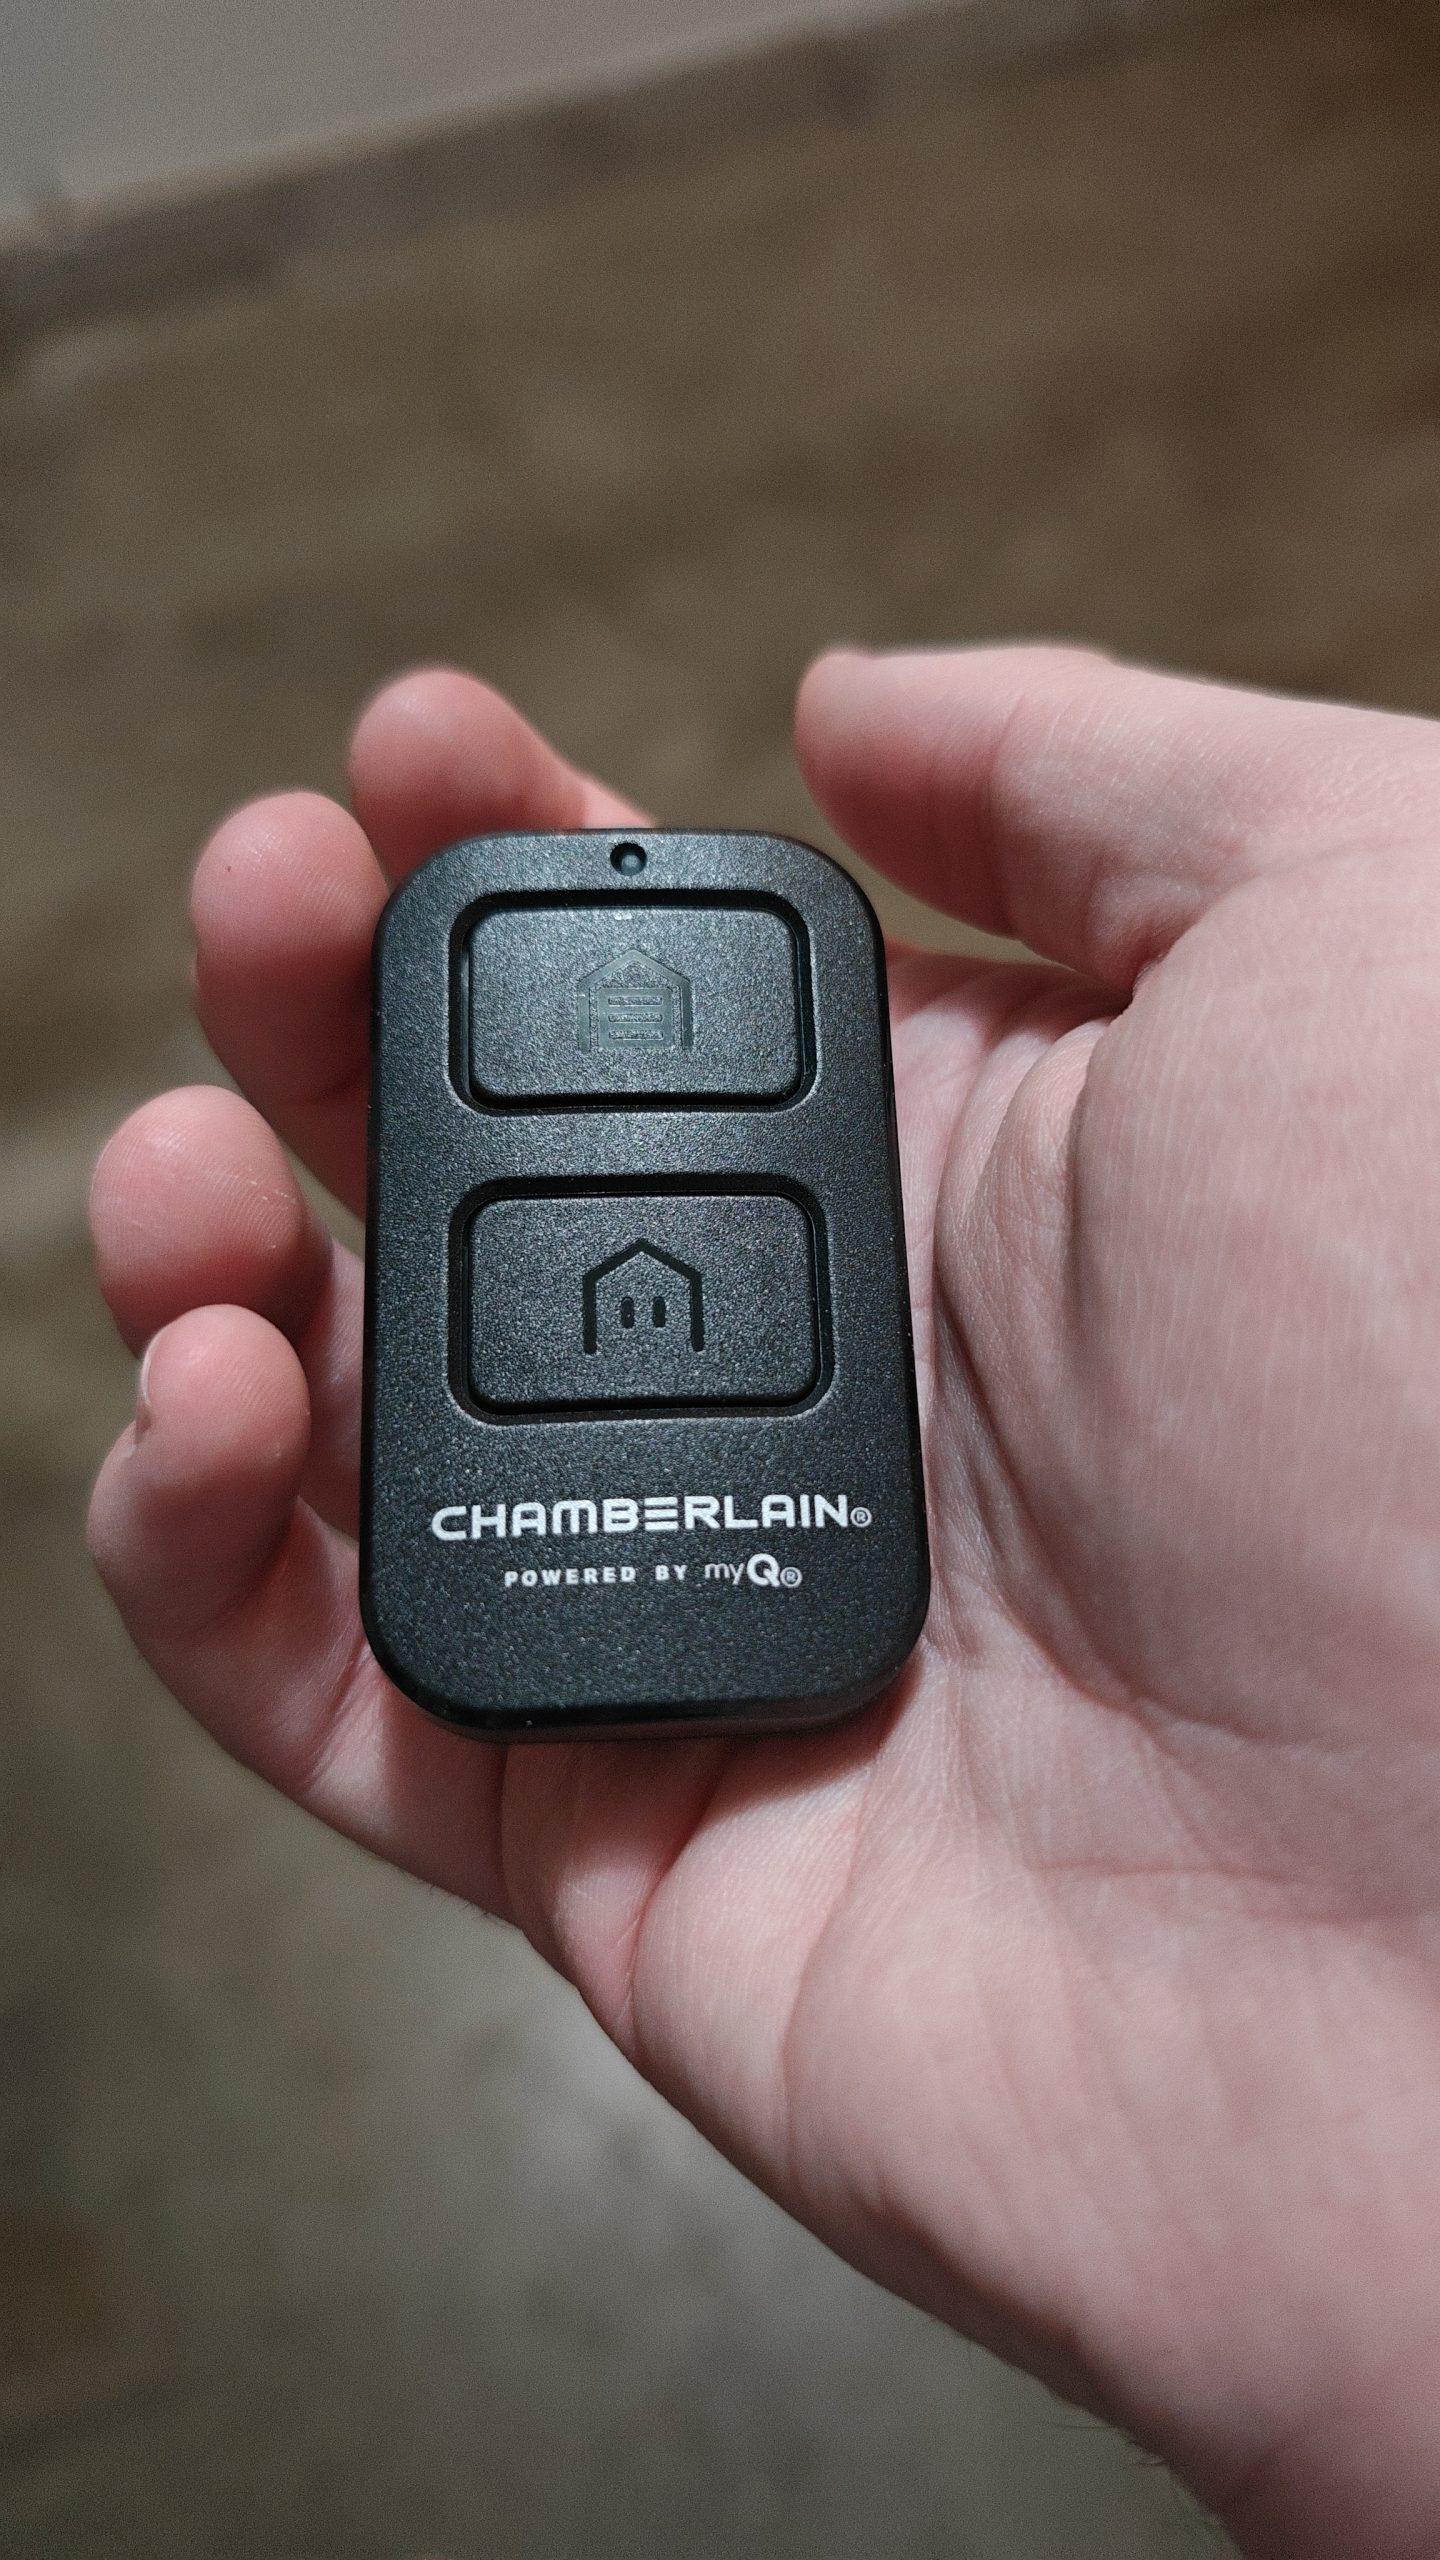
Before you begin the battery replacement process, make sure you have all the necessary supplies. You’ll need a fresh set of batteries (refer to your Liftmaster manual for the specific battery type required), a screwdriver, and possibly a step stool if your opener is mounted high.
Step 2: Locate the Battery Compartment
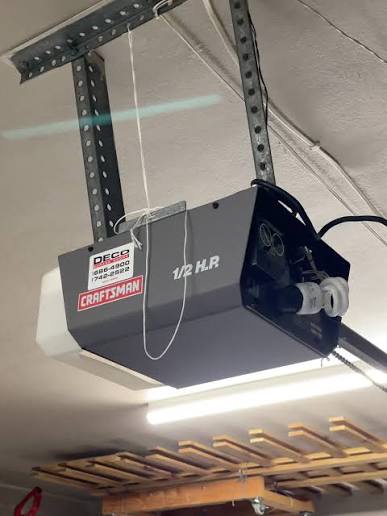
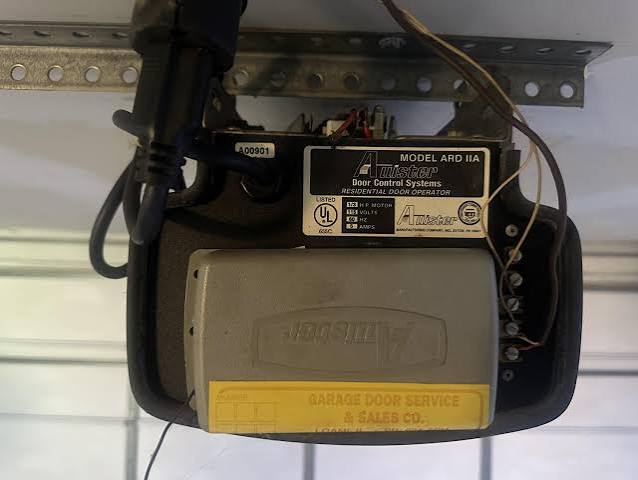
The next step is to locate the battery compartment on your Liftmaster Garage Door Opener. This is typically situated on the back or side of the unit. If you’re having trouble finding it, consult your user manual for guidance.
Step 3: Remove the Old Batteries
Once you’ve found the battery compartment, use the screwdriver to open it. Liftmaster Garage Door Openers usually have a user-friendly design, making it easy to access the batteries. Carefully remove the old batteries and dispose of them according to your local regulations.
Step 4: Insert the New Batteries
Take your fresh set of batteries and insert them into the compartment, following the correct polarity as indicated. Ensure a snug fit to guarantee proper contact and functionality.
Step 5: Secure the Battery Compartment
After inserting the new batteries, securely close the battery compartment using the screwdriver. This step is crucial to protect the batteries and prevent any dust or debris from affecting the performance of your Liftmaster Garage Door Opener.
Maintenance Tips for Your Liftmaster Garage Door Opener
Aside from regular battery replacement, there are other maintenance tips to keep your Liftmaster Garage Door Opener in top-notch condition:
1. Lubricate Moving Parts
Periodically lubricate the moving parts of your garage door, such as the rollers and hinges. This simple step can significantly extend the lifespan of your opener.
2. Check for Wear and Tear
Inspect the cables, springs, and other components for signs of wear and tear. Replace any damaged parts promptly to avoid more extensive and costly repairs.
3. Clean the Sensors
Most modern garage door openers, including Liftmaster, are equipped with safety sensors. Ensure these sensors are clean and free from any obstructions to guarantee proper functioning.
4. Test the Auto-Reverse Feature
Regularly test the auto-reverse feature of your garage door opener. This safety feature is designed to reverse the door’s direction if it encounters an obstruction, preventing accidents and injuries.
Conclusion
In conclusion, knowing “How To Change Battery In Liftmaster Garage Door Opener” is a simple yet essential skill for every homeowner. By following these easy steps and incorporating regular maintenance into your routine, you can ensure that your Liftmaster Garage Door Opener operates smoothly and reliably, providing you with the convenience you need. Take the time to care for your garage door opener, and it will continue to serve you efficiently for years to come.
Leave a Reply