A garage door opener remote is an essential convenience for homeowners, allowing seamless access to their garages with just the press of a button. However, like any battery-powered device, it requires occasional maintenance to ensure it functions properly. If your Overhead garage door opener remote is becoming unresponsive or showing a weak signal, it might be time to replace the battery.
In this comprehensive guide, we’ll walk you through how to change the battery in an Overhead garage door opener remote and provide useful tips to keep your remote working efficiently.
Read too: How to Perform a Chamberlain Garage Door Opener Code Change? Mastering Security
Why Replacing the Battery in Your Overhead Garage Door Opener Remote is Important
Over time, the battery in your Overhead garage door opener remote will deplete, reducing the range and reliability of the device. Here’s why replacing the battery on time is crucial:
- Ensures smooth operation – A fresh battery keeps your remote responsive.
- Prevents unexpected lockouts – Avoid getting stuck outside your garage due to a dead battery.
- Extends the lifespan of your remote – Regular battery replacement keeps your remote working efficiently.
If your remote is slow to respond, has a reduced range, or stops working entirely, replacing the battery is the first step in troubleshooting the issue.
Signs That Your Overhead Garage Door Opener Remote Battery Needs Replacement
Before learning how to change the battery in an Overhead garage door opener remote, it’s important to recognize the signs of a weak or failing battery. Here are some common indicators:
- Slow Response Time – The garage door opens or closes with a delay after pressing the button.
- Intermittent Functioning – Sometimes the remote works, other times it doesn’t.
- Reduced Signal Range – You need to stand closer to the garage door for the remote to work.
- Complete Remote Failure – The remote does not work at all, even after multiple attempts.
If you notice any of these symptoms, it’s time to replace the battery in your Overhead garage door opener remote.
How To Change Battery In Overhead Garage Door Opener Remote
Now, let’s go through the step-by-step process to replace the battery in your Overhead garage door opener remote.
Step 1: Gather the Necessary Supplies
Before starting, make sure you have the following items:
- A replacement battery – Most Overhead garage door opener remotes use a CR2032, CR2025, or CR2016 coin-cell battery. Check your remote model to confirm.
- A small flathead screwdriver – This will help you open the battery compartment if necessary.
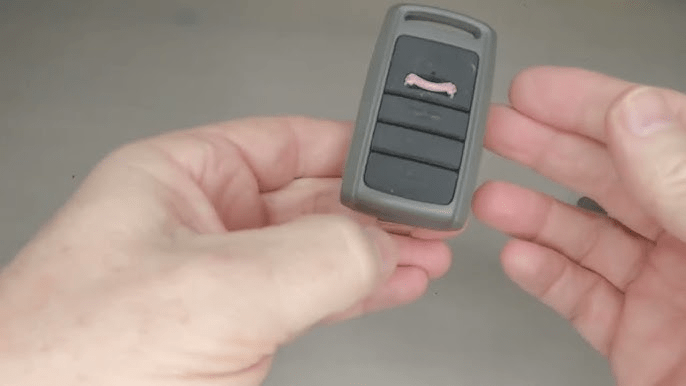
Step 2: Locate the Battery Compartment
Flip the remote over and find the battery compartment. The exact location may vary depending on the model, but it is typically on the back of the remote.
Step 3: Open the Battery Cover
- If your remote has a sliding cover, push it gently to open.
- If the battery cover is secured with screws, use a small screwdriver to remove them.
- If your remote has a snap-on cover, carefully pry it open with a flathead screwdriver.
Be careful while opening the cover to avoid damaging the remote casing.
Step 4: Remove the Old Battery
Once the compartment is open, carefully remove the old battery. Take note of the battery orientation before taking it out—usually, the positive (+) side faces up.
Step 5: Insert the New Battery
Take a new CR2032 (or the correct battery type for your remote) and place it into the compartment. Make sure the positive (+) side is facing up to ensure proper operation.
Step 6: Close the Battery Compartment
Secure the battery cover back onto the remote:
- If your remote has a sliding cover, push it back into place.
- If it has screws, tighten them carefully.
- If it has a snap-on cover, press firmly until it clicks into place.
Step 7: Test the Remote
Press a button on your Overhead garage door opener remote and check if the garage door responds. If it operates normally, the battery replacement was successful.
What to Do If the Remote Still Doesn’t Work?
If your Overhead garage door opener remote does not work after replacing the battery, try the following troubleshooting steps:
- Check the Battery Orientation – Ensure the battery is inserted correctly with the positive (+) side up.
- Inspect the Battery Contacts – Clean any dust or corrosion on the metal contacts inside the battery compartment.
- Try a Different Battery – The new battery may be faulty, so test with another fresh battery.
- Reprogram the Remote – Some remotes require reprogramming after a battery replacement. Check your user manual for reprogramming instructions.
- Check the Garage Door Opener – If none of the above steps work, the issue might be with the garage door opener itself, not the remote.
How Often Should You Replace the Battery in an Overhead Garage Door Opener Remote?
The battery life of an Overhead garage door opener remote varies based on usage but typically lasts 1 to 2 years. To prevent unexpected failures, consider replacing the battery annually or as soon as you notice performance issues.
Tips to Extend the Battery Life of Your Overhead Garage Door Opener Remote
To maximize the battery life of your Overhead garage door opener remote, follow these tips:
- Avoid Pressing Buttons Unnecessarily – Repeated presses can drain the battery quickly.
- Store the Remote in a Cool, Dry Place – Extreme temperatures can shorten battery life.
- Keep a Spare Battery on Hand – Having a backup battery ensures you’re never stuck outside your garage.
Frequently Asked Questions (FAQs)
1. Can I Use a Different Battery Model in My Overhead Remote?
No, it’s best to use the exact battery type specified in your remote’s manual. Most models use CR2032, CR2025, or CR2016 batteries.
2. Do I Need to Reprogram My Overhead Remote After Replacing the Battery?
Some models may require reprogramming. If your remote doesn’t work after replacing the battery, check your user manual for programming instructions.
3. How Do I Know If My Remote Is Not Working Due to a Dead Battery or Another Issue?
Try replacing the battery first. If the remote still doesn’t work, test it near the garage door opener or check for any signal interference.
4. Where Can I Buy Replacement Batteries for My Overhead Garage Door Opener Remote?
You can find CR2032 and other coin-cell batteries at most hardware stores, supermarkets, or online retailers like Amazon, Walmart, and Home Depot.
Conclusion
Replacing the battery in your Overhead garage door opener remote is a simple but essential maintenance task. By following this step-by-step guide, you can quickly swap out the battery and restore the functionality of your remote.
A well-maintained remote ensures smooth garage door operation, prevents unexpected failures, and extends the device’s lifespan. If you experience issues even after replacing the battery, troubleshooting steps like checking battery orientation or reprogramming the remote may be necessary.
With proper care and timely battery replacements, your Overhead garage door opener remote will provide years of reliable service.


Leave a Reply