Garage door openers are incredibly convenient—until they stop working at the most inconvenient time. If your LiftMaster garage door opener remote or wall control has suddenly become unresponsive, chances are the battery needs replacing. This article will walk you through how to change the battery on LiftMaster garage door opener devices with ease, whether you’re replacing the battery in the remote control, the wall-mounted control panel, or the backup battery system inside the motor unit.
If you’re unsure where to start or have never changed the battery before, don’t worry. This comprehensive guide is designed to help homeowners of all experience levels.
Read too: How To Replace Garage Door Roller Like a Pro? Step-by-Step Guide
Why Changing the Battery Is Important
A functional garage door opener is essential for both security and convenience. When your LiftMaster device stops working due to a low or dead battery, it may:
- Fail to respond to your remote commands
- Lose its backup power during outages
- Stop syncing with other smart home systems
Replacing the battery on time ensures that your garage door system stays reliable, especially in emergencies or during power failures.
Identifying Which Battery Needs Replacement
Before diving into the guide on how to change battery on LiftMaster garage door opener, it’s important to understand where the battery is located and what type of battery you’re replacing. LiftMaster systems can include:
- Remote Control Batteries – For handheld clickers or keychain remotes.
- Keypad or Wall Control Batteries – Some wall-mounted or keypad units use batteries.
- Backup Battery in the Opener Unit – Internal battery that powers the opener during an outage.
Each type has a different process, and we’ll cover all three in detail.
How To Change Battery On Liftmaster Garage Door Opener Remote, Wall Panel, and Backup Power Unit
Let’s break down each method step-by-step so you can identify and replace the correct battery in your LiftMaster garage door opener system.
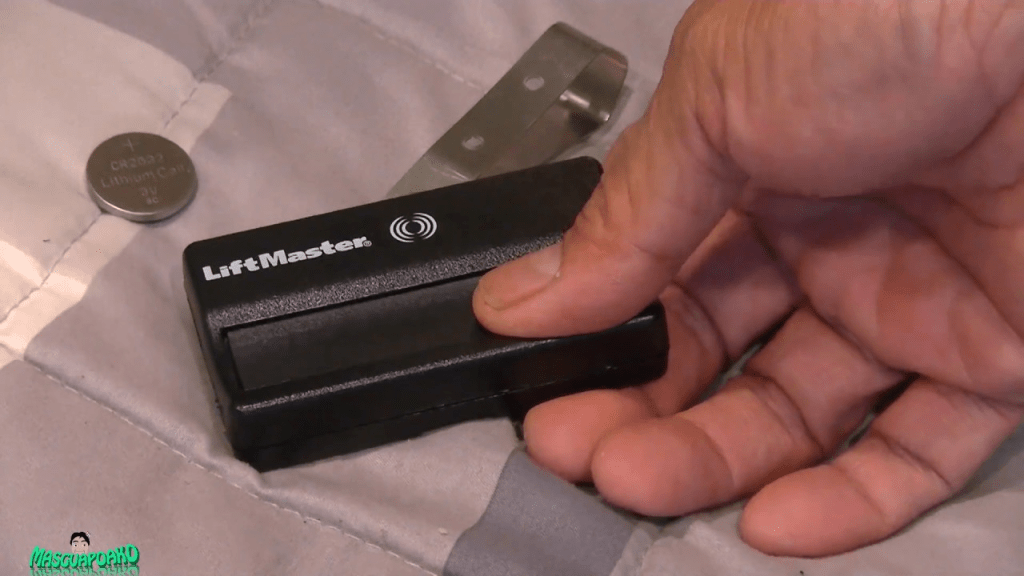
1. How to Change Battery on a LiftMaster Remote Control
Most LiftMaster remotes use coin cell batteries (CR2032 or CR2016), while older remotes might use 9V or AAA batteries.
Step-by-Step Instructions:
- Locate the Battery Compartment
Flip the remote over. You’ll see a small notch or seam along the side or back cover. - Open the Remote
Use a small flathead screwdriver or a coin to gently pry open the case. - Remove the Old Battery
Note the battery type and how it’s placed (positive side up or down). - Insert the New Battery
Use the correct type—usually a CR2032—and place it in the same orientation. - Snap the Remote Closed
Reassemble the remote and press the button to test functionality.
Tip: If your remote still doesn’t work, try reprogramming it by pressing the “Learn” button on the garage door opener unit and then pressing the remote button.
2. How to Change Battery on LiftMaster Wall Control or Wireless Keypad
Many LiftMaster wall-mounted keypads and control panels operate with 9V batteries.
Instructions:
- Open the Control Panel or Keypad
Slide the keypad or control panel up and off its mounting base. - Access the Battery Compartment
Usually located on the back of the unit. - Remove the Old Battery
Pull out the 9V battery and inspect for corrosion. - Install the New Battery
Ensure tight terminal connections and proper alignment. - Reattach the Panel to the Wall
Slide it back into place and test the keypad or control functionality.
Note: If your keypad has trouble after replacing the battery, consider clearing and reprogramming it for accuracy.
3. How to Replace the Backup Battery in the LiftMaster Opener Unit
Some LiftMaster openers come equipped with a 12V 4.5Ah rechargeable backup battery inside the motor housing. This backup keeps the door functional during power outages.
Instructions:
- Unplug the Garage Door Opener
For safety, disconnect the opener from the power outlet. - Remove the Light Cover or Battery Compartment Door
Located on the side or rear of the motor unit. - Locate the Battery
You’ll see a rectangular battery with red and black wires attached. - Disconnect the Wires
Gently pull the terminals off the battery posts—note which is positive and negative. - Remove the Old Battery and Install the New One
Insert a LiftMaster-compatible replacement battery and reconnect the terminals. - Close the Compartment and Plug the Unit Back In
The system may beep for a few minutes as it begins charging the new battery.
Battery Life Tip: Backup batteries typically last 3–5 years and should be tested regularly.
Signs That Your LiftMaster Battery Needs Replacing
Here are some signs your garage opener battery (in the remote, keypad, or opener) may be dying:
- Remote only works intermittently
- Keypad doesn’t respond at all
- Motor unit beeps or flashes red
- Backup battery indicator light stays on
- Slow response when pressing the button
Replacing the battery at the first sign of weakness will keep your opener working smoothly.
Safety Tips When Changing Batteries
While the process of changing the battery on a LiftMaster garage door opener is straightforward, keep these safety tips in mind:
- Unplug the motor unit when accessing the internal backup battery.
- Do not mix old and new batteries.
- Dispose of batteries properly at a local recycling center.
- Handle battery terminals carefully to avoid damage or short-circuiting.
Recommended Battery Types for LiftMaster Devices
Here are the most commonly used batteries across LiftMaster’s product line:
| Device Type | Battery Type |
|---|---|
| Remote Controls | CR2032, CR2016, 9V |
| Wireless Keypad | 9V |
| Wall Control Panel | AAA or 9V |
| Backup Battery | 12V 4.5Ah Sealed Lead Acid (LiftMaster 485LM) |
Always check your device model or consult the user manual to confirm compatibility.
Where to Buy LiftMaster Replacement Batteries
You can find replacement batteries both online and in-store:
Online Retailers:
- Amazon
- Home Depot
- Lowe’s
- LiftMaster Official Website
Local Options:
- Hardware stores
- Garage door repair services
- Battery specialty shops
Look for OEM batteries for the best compatibility, especially for backup units.
Maintenance Tips for LiftMaster Battery Systems
To avoid being caught off guard by a dead battery:
- Test remotes and keypads monthly
- Replace batteries every 1–2 years
- Label the battery installation date
- Check for corrosion in compartments
- Listen for alerts from the motor unit indicating low power
Consistent battery maintenance ensures that your garage door functions even during unexpected power failures.
Final Thoughts
Knowing how to change the battery on a LiftMaster garage door opener is essential for any homeowner relying on garage automation. Whether it’s a simple remote replacement or installing a new backup battery in the opener unit, the process is straightforward and can be done in minutes.
This guide covered:
- Step-by-step instructions for changing the battery in remotes, keypads, and motor units
- Troubleshooting tips if your device still doesn’t work
- Battery type recommendations
- Safety and maintenance best practices
By replacing batteries proactively, you’ll avoid lockouts, system failures, and ensure your home stays secure and convenient.


Leave a Reply