Is your garage door showing signs of wear and tear, such as difficulty opening or closing smoothly? It could be time to replace the torsion spring. Changing a garage door torsion spring may seem like a daunting task, but with the right tools and knowledge, it’s a manageable DIY project. In this comprehensive guide, we’ll walk you through the process of how to change a garage door torsion spring safely and effectively, saving you time and money on professional repairs.
Understanding Garage Door Torsion Spring
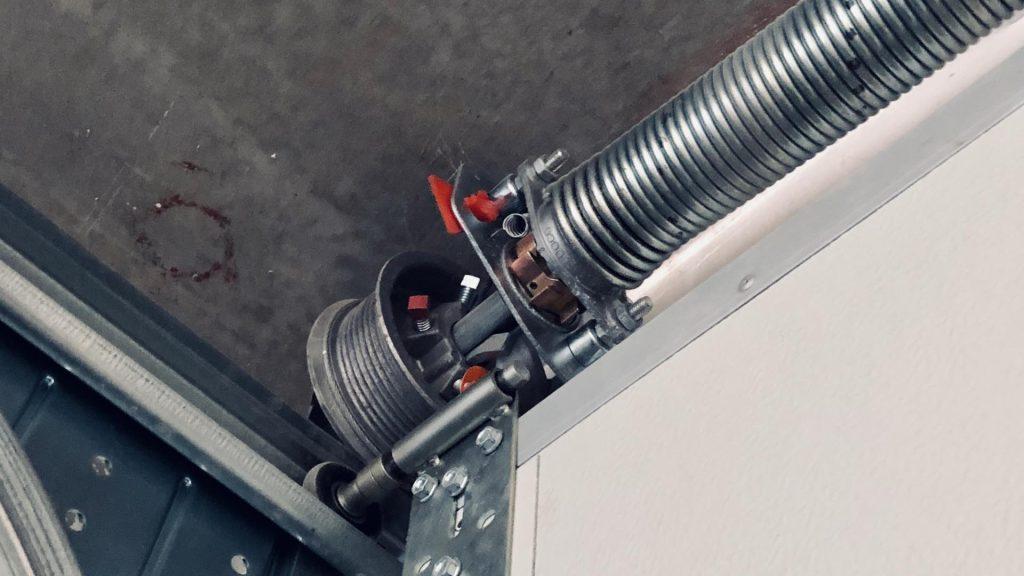
Before we delve into the step-by-step process of replacing a garage door torsion spring, let’s first understand what it is and why it’s essential. Torsion springs are tightly wound coils of metal that are mounted above the garage door opening. They work by storing mechanical energy when the door is closed and releasing it to help lift the door when it’s opened. Over time, torsion springs can wear out due to repeated use, exposure to the elements, or metal fatigue, resulting in decreased performance and potential safety hazards.
How To Change Garage Door Torsion Spring
Now, let’s get into the nitty-gritty of replacing a garage door torsion spring. Follow these step-by-step instructions carefully to ensure a safe and successful DIY project:
Step 1: Gather Your Tools and Materials
Before you begin, make sure you have all the necessary tools and materials on hand. You’ll need:
- Safety goggles and gloves
- Winding bars or winding rods
- Vice grips or locking pliers
- Adjustable wrench or socket wrench set
- Replacement torsion spring (make sure it matches the specifications of your old spring)
- Ladder or step stool
- Helper (optional but recommended for safety)
Step 2: Release Tension from the Existing Spring
Start by closing the garage door fully and disconnecting the power to the automatic garage door opener to prevent accidental activation. Next, locate the winding cones at each end of the torsion spring shaft. Use winding bars or rods to slowly unwind and release tension from the spring. Be cautious and keep a firm grip on the winding bars at all times to avoid injury.
Step 3: Remove the Old Spring
Once the tension is released, use vice grips or locking pliers to secure the torsion spring to the shaft. Then, carefully remove any hardware, such as bolts or brackets, that are securing the spring to the door or track. With the help of a helper if needed, carefully slide the old spring off the torsion shaft and set it aside.
Step 4: Install the New Spring
Handle the new torsion spring with care as you slide it onto the torsion shaft, ensuring proper orientation with the winding cone facing the correct direction. Reconnect any hardware that fastens the spring to the door or track, making sure to tighten it securely. Use winding bars or rods to slowly wind the spring and apply tension, following the manufacturer’s recommendations for the number of turns required based on the size and weight of your garage door.
Step 5: Test the Door
Once the new torsion spring is installed and tensioned, test the garage door’s operation by manually opening and closing it a few times. Ensure that the door moves smoothly and evenly without any jerking or binding. If necessary, make any adjustments to the tension or alignment of the spring to achieve optimal performance.
Step 6: Reconnect the Power
Finally, reconnect the power to the automatic garage door opener and test the door’s operation using the opener remote or wall-mounted controls. Ensure that the opener responds correctly and that the door opens and closes smoothly without any issues.
Read too: The Complete Guide to Tighten Chain On Garage Door Opener for Smooth Operation
Conclusion
Congratulations! You’ve successfully replaced the torsion spring on your garage door, restoring its functionality and ensuring safe and reliable operation. By following these step-by-step instructions and taking proper safety precautions, you’ve saved yourself the time and expense of hiring a professional repair service. Now you can enjoy the peace of mind knowing that your garage door is in top condition and ready to serve you for years to come.


Leave a Reply