Garage doors are an essential part of our homes, providing security and convenience for our vehicles and belongings. When it comes to choosing a garage door, roll-up garage doors have become increasingly popular due to their space-saving design and ease of use. In this article, we will guide you through the step-by-step process of installing a roll-up garage door, ensuring that you can enjoy the benefits of this modern garage door system. So, let’s get started on “How To Install A Roll Up Garage Door.“
Selecting the Right Roll-Up Garage Door
Before you start the installation process, it’s crucial to choose the right roll-up garage door for your specific needs. Roll-up garage doors come in various materials, sizes, and designs, so it’s essential to select one that complements your home’s aesthetic and suits your lifestyle. Measure your garage opening accurately and consider factors like insulation, security features, and maintenance requirements when choosing your garage door.
Gathering the Necessary Tools and Materials
Installing a roll-up garage door requires several tools and materials to ensure a smooth and successful installation process. You will need the following:
- Roll-up garage door kit (includes door panels, tracks, and hardware)
- Electric screwdriver or drill
- Screwdriver set
- Level
- Ladder
- Tape measure
- C-clamps
- Wrenches
- Safety glasses
- Helper (for assistance during installation)
Make sure you have all these tools and materials readily available before you start the installation process.
Preparation and Safety Measures
Safety is paramount when installing a roll-up garage door. Here are some essential safety measures to follow:
- Wear safety glasses to protect your eyes from debris and potential accidents.
- Ensure the ladder is stable and on a level surface when working at heights.
- Avoid working alone – having a helper can make the installation process safer and more manageable.
- Disconnect power to the garage door opener to prevent any accidental activation during installation.
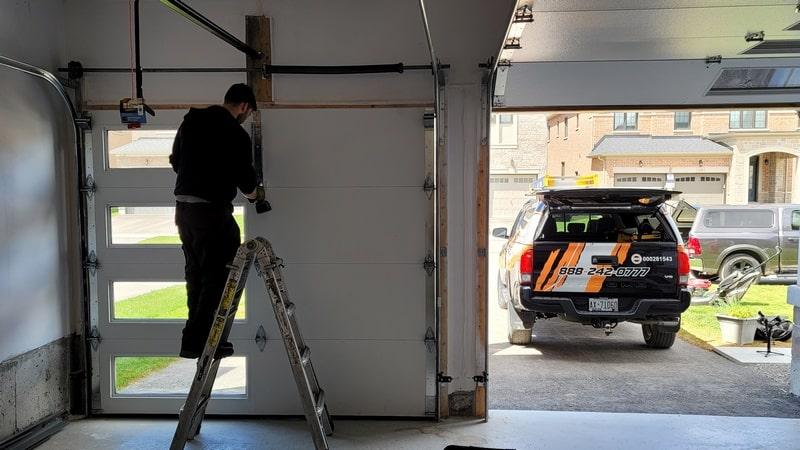
Step-by-Step Installation Guide
- Attach the Tracks: Begin by attaching the vertical tracks to both sides of the garage door opening. Use a level to ensure they are plumb and secure them with the provided hardware. It’s essential to follow the manufacturer’s instructions for this step, as track installation may vary based on the door model.
- Install the Bottom Bar: The bottom bar of the door should be attached to the bottom of the vertical tracks. Make sure it’s centered and level, and secure it with the provided hardware.
- Assemble the Door Panels: Assemble the roll-up door panels according to the manufacturer’s instructions. Ensure the hinges and rollers are correctly attached to each panel. This is a critical step, as it affects the door’s functionality and durability.
- Attach the Door to the Tracks: Carefully lift the assembled door panels and slide them into the vertical tracks. Use a ladder and a helper to guide the door into place. Secure the door to the tracks with the provided fasteners.
- Install the Torsion Spring Assembly: The torsion spring assembly is responsible for counterbalancing the weight of the door. This is a complex and potentially dangerous step, so it’s highly recommended to seek professional assistance or consult the manufacturer’s instructions.
- Test the Door’s Functionality: Before completing the installation, test the door’s functionality by manually raising and lowering it a few times. Ensure that it moves smoothly and stays in place when raised and lowered.
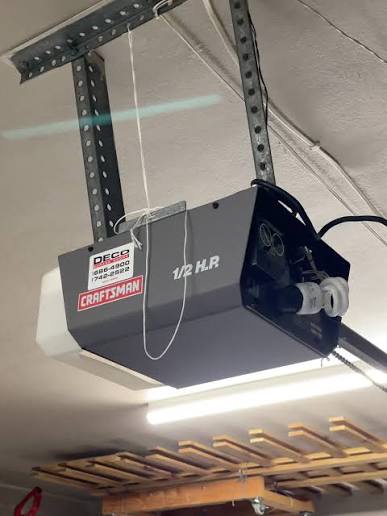
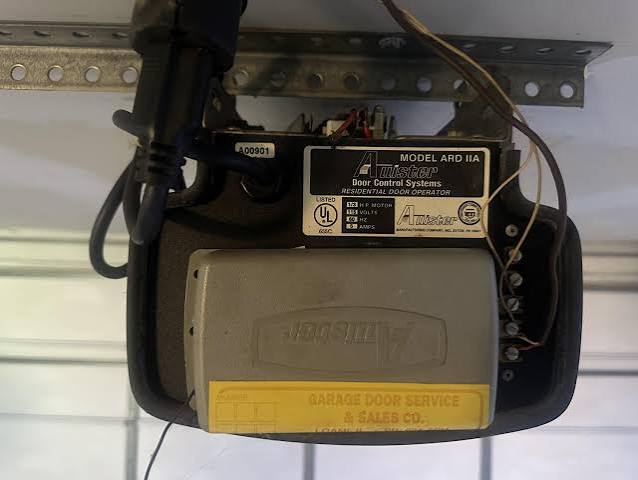
- Install the Opener (Optional): If you have a garage door opener, follow the manufacturer’s instructions to install it. Ensure it’s securely attached to the ceiling and connected to the door.
- Adjust and Fine-Tune: Make any necessary adjustments to the door’s tension and alignment, as specified in the manufacturer’s instructions. This step is crucial for the door’s long-term performance.
Conclusion
Installing a roll-up garage door may seem like a daunting task, but with the right tools, materials, and careful attention to safety, it can be a manageable DIY project. Keep in mind that the specific steps and requirements can vary depending on the manufacturer and model of your garage door, so always consult the provided instructions. By following this guide, you can enjoy the benefits of a roll-up garage door, adding convenience and security to your home. Now that you know “How To Install A Roll Up Garage Door,” you can take on this project with confidence and enhance your garage’s functionality.

Leave a Reply