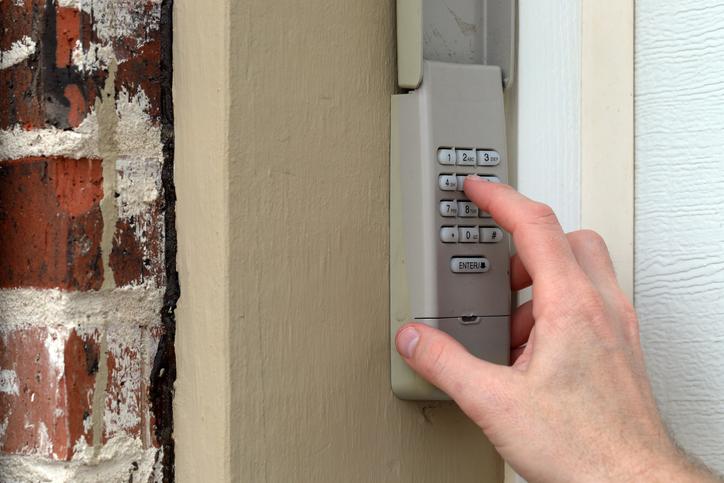
Are you looking to enhance the security and convenience of your garage? Installing a garage door keypad is a great way to achieve both. Follow our step-by-step guide on How To Install a Garage Door Keypad and enjoy seamless access to your garage.

Understanding the Benefits of a Garage Door Keypad
Before diving into the installation process, let’s explore why installing a garage door keypad is a smart investment:
- Convenience: With a keypad installed, you can enter your garage without the need for keys or remotes, making it convenient for family members and guests.
- Security: Keypads offer secure access to your garage, eliminating the risk of lost or stolen keys.
- Remote Access: Some keypads are equipped with smart technology, allowing you to control your garage door remotely from your smartphone.
- Customizable Codes: You can program multiple access codes for different users, providing flexibility and control over who can enter your garage.
How To Install Garage Door Keypad: Step-by-Step Guide
Follow these simple steps to install your garage door keypad:
1. Choose the Right Location
Select a suitable location for the keypad near your garage door. Ensure it is easily accessible but out of reach of potential intruders.
2. Prepare the Surface
Clean the surface where you will be mounting the keypad to ensure proper adhesion. Use a mild detergent and water to remove any dirt or debris.
3. Mount the Keypad
Use the mounting screws provided with the keypad to securely attach it to the surface. Make sure it is level and flush against the wall.
4. Connect the Wires
If your keypad requires wiring, follow the manufacturer’s instructions to connect the wires to the appropriate terminals on the keypad and the garage door opener.
5. Program the Keypad
Once the keypad is securely mounted and connected, it’s time to program it. Follow the manufacturer’s instructions to set up access codes and customize settings as needed.
6. Test the Keypad
After programming, test the keypad to ensure it is functioning correctly. Enter the access code and verify that the garage door opens and closes as expected.
Tips for Successful Installation
- Double-check the compatibility of the keypad with your garage door opener before purchasing.
- Follow the manufacturer’s instructions carefully to avoid any installation errors.
- Test the keypad regularly to ensure it continues to work properly over time.
- Keep the access code confidential and change it periodically for added security.
Conclusion
Installing a garage door keypad is a simple yet effective way to enhance the security and convenience of your garage. By following our step-by-step guide on How To Install a Garage Door Keypad, you can enjoy easy access to your garage while keeping it secure at all times.
Read too: No Power to Genie Garage Door Opener – Resolving the Issue with Ease: Troubleshooting Guide


Leave a Reply