A Liftmaster Security 2.0 Garage Door Opener is an essential tool for homeowners who seek a blend of convenience, security, and modern technology in their garage door systems. Over the years, Liftmaster has continued to evolve, and their Security 2.0 system offers superior technology that enhances security with encrypted signals, ensuring your garage remains safe from potential intruders. Programming your Liftmaster Security 2.0 garage door opener may seem intimidating at first, but it’s a straightforward process that can be done without professional help. This guide will walk you through the steps required to program your Liftmaster opener, making sure you understand each step and can confidently complete the task.
Understanding the Liftmaster Security 2.0 System
Before diving into how to program your Liftmaster Security 2.0 garage door opener, it’s important to understand what this system offers. The Liftmaster Security 2.0 system is known for its advanced technology, including the rolling code feature, which enhances the security of your garage door opener. This system automatically changes the code each time it’s used, making it nearly impossible for someone to hack the system and gain unauthorized access to your garage.
Read too: Door and Garage Door Companies: Choosing the Right Partner for Your Needs
The primary benefits of using the Liftmaster Security 2.0 Garage Door Opener include:
- Encrypted Signals: Each signal is encrypted, making it highly secure.
- Rolling Code Technology: It changes the access code each time the door is opened or closed, protecting against code theft.
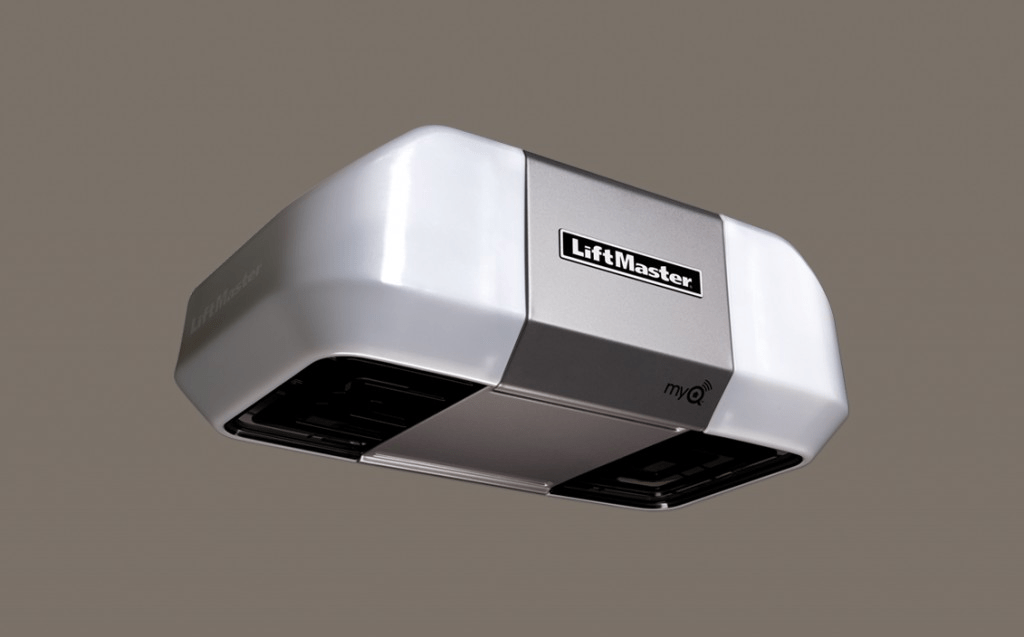
- Compatibility with MyQ Technology: Allows for smartphone control of your garage door opener.
How To Program A Liftmaster Security 2.0 Garage Door Opener
Programming your Liftmaster Security 2.0 garage door opener can be completed in just a few simple steps. Here’s a detailed guide on how to do it yourself.
Step 1: Check Your Liftmaster Model
Before beginning the programming process, it’s essential to confirm that your garage door opener is compatible with the Liftmaster Security 2.0 system. The system may work slightly differently depending on the model, so knowing the exact model number will help guide you through the process. Most Liftmaster models will have a sticker with the model number located on the back of the opener.
Step 2: Locate the “Learn” Button
To program your Liftmaster Security 2.0 Garage Door Opener, you’ll need to locate the “Learn” button on the opener. This button is typically located on the back or side of the unit. Once you find it, you may need to remove a small cover to access it. This button is critical for the programming process, as it tells the opener to begin syncing with your remote or keypad.
Step 3: Clear Previous Programming (Optional)
If you have already programmed devices (such as remotes or keypads) into your opener and wish to reset it, you’ll need to clear the previous codes. This is done by pressing and holding the “Learn” button for about 10 seconds until the indicator light turns off. This will erase any previously programmed devices, ensuring that you start fresh.
Step 4: Program Your Remote Control
To program your remote control to the Liftmaster Security 2.0 Garage Door Opener, follow these steps:
- Press the “Learn” button on the opener. The indicator light will begin blinking.
- Within 30 seconds, press and hold the button on your remote that you want to program. Hold it down until the opener lights blink or you hear a click. This typically takes about 2-3 seconds.
- Release the button on the remote. The blinking light on the opener will stop, and you should see a steady light indicating successful programming.
Step 5: Program Your Keypad
Programming your keypad to work with the Liftmaster Security 2.0 Garage Door Opener is another easy step to follow. Here’s how to do it:
- Press the “Learn” button on the opener, just like you did with the remote. The indicator light will begin blinking.
- Within 30 seconds, enter your desired 4-digit PIN on the keypad and press the “Enter” button. The opener light will blink once, indicating the programming is successful.
- To test the keypad, enter your PIN and press the “Enter” button again. Your garage door should begin to move, confirming that the keypad has been correctly programmed.
Step 6: Test the System
After you’ve programmed your Liftmaster Security 2.0 Garage Door Opener, it’s important to test the system to ensure everything is working correctly. Test your remote control and keypad by pressing the programmed buttons to see if the garage door responds as expected. If the door does not open or close properly, check the programming steps to ensure you followed the instructions correctly.
Step 7: Reprogram or Troubleshoot (If Necessary)
If something goes wrong during the programming process or your Liftmaster Security 2.0 Garage Door Opener is not responding as expected, don’t panic. First, make sure you followed the steps closely. If necessary, you can repeat the programming steps. In case the issue persists, consult the user manual or contact customer service for troubleshooting tips.
Why You Should Program Your Liftmaster Security 2.0 Garage Door Opener
Programming your Liftmaster Security 2.0 Garage Door Opener is not just about convenience, but also about security. By programming your opener correctly, you ensure that only authorized individuals have access to your garage, whether through a remote, keypad, or mobile app. Additionally, the Security 2.0 system offers rolling codes that change each time the door opens, making it a top choice for homeowners looking for enhanced protection.
Programming also ensures that your devices (such as remotes and keypads) sync perfectly with the system, providing a smooth and uninterrupted experience whenever you need to use your garage door.
Troubleshooting Common Programming Issues
Even though programming your Liftmaster Security 2.0 Garage Door Opener is relatively straightforward, issues can sometimes arise. Here are some common problems and how to troubleshoot them:
- Remote Not Working: Ensure the remote battery is fresh and try reprogramming the device. Sometimes, a weak battery can cause communication problems.
- Keypad Not Responding: Double-check that the PIN was correctly entered, and ensure the keypad was properly programmed. A new battery may also resolve any issues.
- Opener Not Responding to Commands: Make sure the opener is plugged in and that the power is functioning properly. If there’s an issue with the opener’s circuitry, you may need professional assistance.
Conclusion
Programming your Liftmaster Security 2.0 Garage Door Opener is a relatively easy process when you follow the proper steps. By taking the time to do it yourself, you gain the benefits of increased security and convenience. The Liftmaster Security 2.0 system is designed with advanced encryption and rolling code technology to keep your garage secure, so you can feel confident in your ability to control your garage door opener. With the help of this guide, you can program your Liftmaster Security 2.0 Garage Door Opener in no time and enjoy a secure and functional garage system.


Leave a Reply