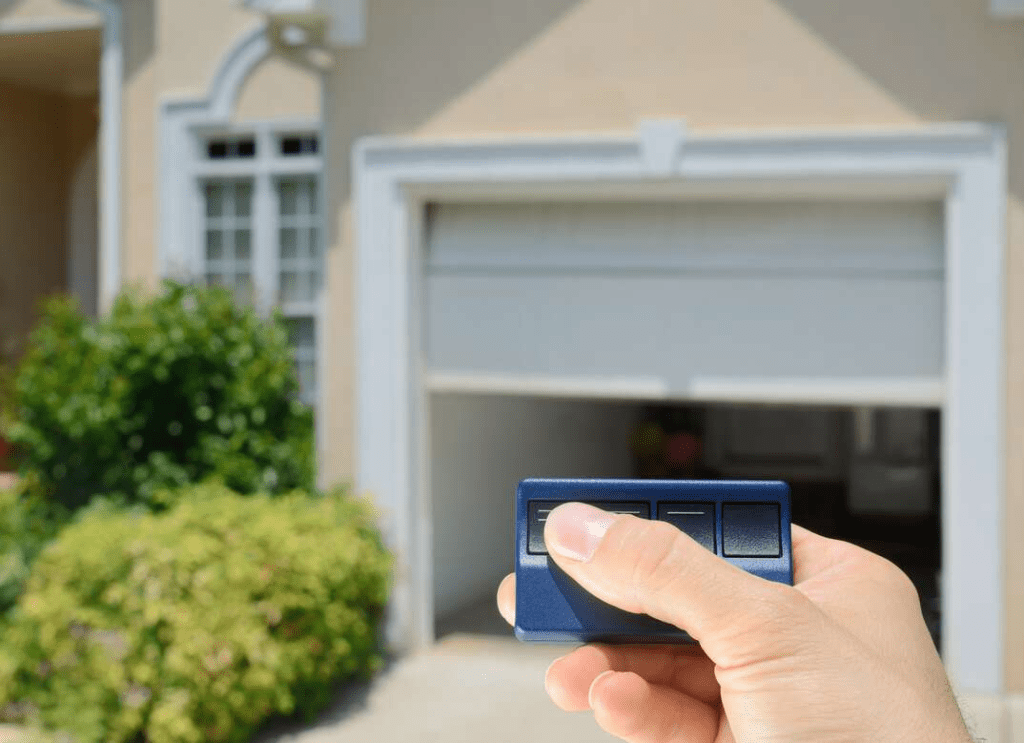
When it comes to maintaining your home, few things are more frustrating than a garage door remote that suddenly stops working—or one that’s lost or broken. Learning how to program a new remote for garage door opener can save you time, money, and hassle. Whether you’ve recently purchased a replacement remote or just added a new one to your system, programming it correctly is essential.
In this comprehensive guide, we’ll walk you through every step to get your new garage door remote up and running, no matter the model or brand. Plus, we’ll cover some troubleshooting tips, safety advice, and common questions homeowners often have.
Read too: Mastering Quantum Garage Door Opener Programming: A Comprehensive Guide
Why You Might Need to Program a New Garage Door Remote
Before diving into the how to program a new remote for garage door opener steps, it’s helpful to understand the common reasons you might need to program one:
- Lost or stolen remote
- Upgrading to a universal remote
- Replacing a broken remote
- Adding a second or third remote for other household members
- After a garage door opener reset or power failure
Regardless of your situation, programming a new garage remote isn’t as complicated as it might seem.
How To Program A New Remote For Garage Door Opener: Step-by-Step Instructions
Most modern garage door openers follow a fairly standard process for remote programming. Here’s a general method that works with many brands like LiftMaster, Chamberlain, Genie, and Craftsman.
1. Locate the “Learn” Button on the Garage Door Opener
Every garage door opener has a central unit typically mounted on the ceiling of your garage. This unit houses the Learn button, which is essential for programming new remotes.
- Tip: You might need a ladder to reach the opener.
- The Learn button is usually found near the antenna wire or under a light cover. It could be yellow, red, orange, purple, or green, depending on the manufacturer.
2. Press and Release the Learn Button
Once you’ve found the Learn button, press and release it. This will put your opener into programming mode. You typically have 30 seconds to complete the next step.
- A light might blink or a small LED may turn on to indicate it’s ready.
3. Press the Button on Your New Remote
Within 30 seconds of activating the Learn mode, press and hold the button on your new remote control that you want to program.
- Hold it for 3–5 seconds until the light on the garage opener blinks again or you hear a click. This confirms the remote has been successfully programmed.
4. Test the Remote
Once programmed, test the remote by pressing the same button to see if the garage door opens or closes. If it does, you’re done!
Alternative Programming Methods for Older or Universal Remotes
If your system is older or you’re using a universal remote, the process might vary slightly.
DIP Switch Systems (Pre-1993 Openers)
Some older openers use DIP (dual in-line package) switches:
- Look inside the remote for a set of tiny switches.
- Match their positions to those on the garage door opener’s receiver unit.
- This manual pairing ensures both devices speak the same language.
Programming a Universal Remote
Universal remotes often have a multi-step programming sequence. Check the manual for:
- Brand-specific codes
- Button combination to enter programming mode
- LED flashing patterns to confirm success
Troubleshooting Tips When Programming a Garage Remote
If your new remote isn’t working, don’t panic. Try the following:
1. Check the Battery
A weak or dead battery is a common issue. Always start with a fresh battery.
2. Make Sure You’re Within Range
Stay within 10–20 feet of the opener while programming.
3. Clear Existing Remotes
If your opener memory is full, you may need to erase all existing remotes:
- Press and hold the Learn button until the LED turns off.
- This resets the system and allows fresh programming.
4. Recheck the Frequency Compatibility
Ensure the remote is compatible with your opener’s frequency (usually listed in MHz on the remote and opener).
Garage Door Safety: Why Proper Programming Matters
Understanding how to program a new remote for garage door opener also ties into home safety. Incorrect or failed programming can:
- Leave your garage door vulnerable to unauthorized access.
- Cause the opener to operate erratically.
- Interfere with other home devices.
Always secure your remote and erase lost or stolen ones immediately to protect your home.
Frequently Asked Questions (FAQs)
Can I program more than one remote?
Yes! Most garage door openers support multiple remotes—often up to five. Just repeat the programming steps for each one.
Do I need to reprogram after a power outage?
Generally, no. Modern openers have memory chips that retain settings during power loss. But if the memory is reset, reprogramming may be necessary.
Can I use a smartphone as a remote?
Absolutely! Many newer openers are compatible with apps like MyQ or Aladdin Connect, allowing smartphone control.
What if I don’t have a Learn button?
Some very old models rely on DIP switches only. If you can’t find a Learn button, refer to the original manual or consider upgrading your system.
Maintaining Your Garage Door Opener System
Beyond knowing how to program a new remote for garage door opener, it’s wise to regularly maintain your garage door system. Tips include:
- Lubricating hinges and tracks twice a year
- Checking the opener’s sensors for alignment and cleanliness
- Replacing batteries in remotes annually
- Tightening hardware to avoid mechanical wear
Final Thoughts: Programming a Garage Remote Is Easier Than You Think
By now, you should feel confident about how to program a new remote for garage door opener and troubleshoot any common issues. Whether you’re upgrading to a smart remote or replacing a lost one, the process can usually be completed in under five minutes.
With just a bit of guidance, a new garage door remote can bring back the convenience and security you rely on. Happy programming!


Leave a Reply