Programming your car’s built-in remote system to your Chamberlain garage door opener can drastically simplify your daily routine. Imagine pulling into your driveway and opening your garage door with a button built right into your vehicle—no fumbling for a separate remote. If you’re wondering how to program car remote to Chamberlain garage door opener, you’re not alone. Many homeowners and drivers seek a reliable, step-by-step process to make this smart connection.
This guide will walk you through everything you need to know, including the tools required, compatibility details, and potential troubleshooting tips. Whether you’re setting it up for the first time or reprogramming after a battery change, this informational guide is tailored for both new and experienced users.
Read too: The Complete Guide to Tighten Chain On Garage Door Opener for Smooth Operation
Understanding Your Garage Door and Vehicle Remote Systems
Before getting into the steps, it’s essential to understand the basic systems involved:
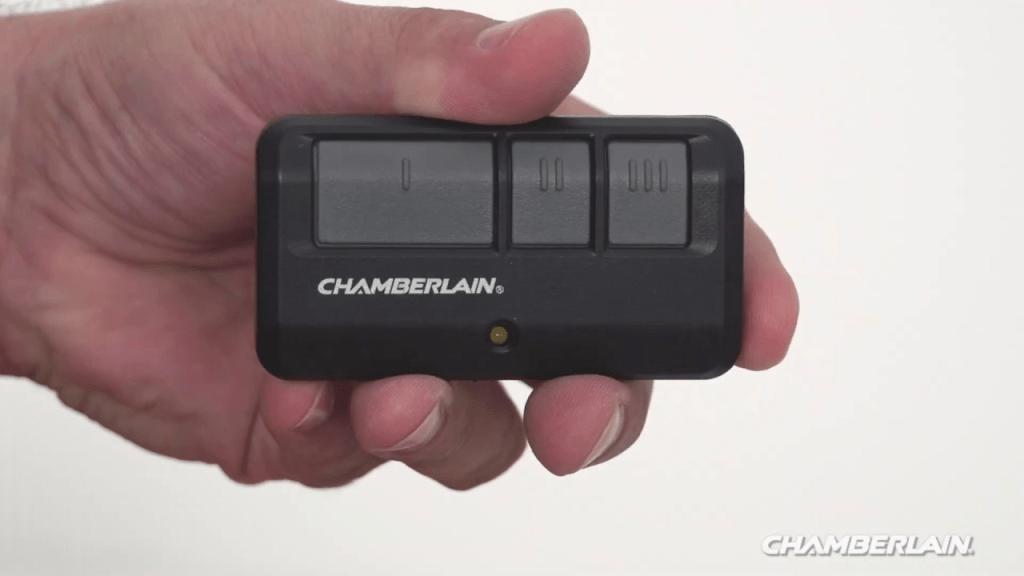
Chamberlain Garage Door Openers
Chamberlain is a leading brand known for its smart and secure garage openers. Most modern Chamberlain units use Security+ 2.0® technology, which relies on rolling codes to prevent code theft. This is a key factor in ensuring safety when connecting a vehicle’s remote.
In-Car Garage Door Remotes (HomeLink or Car2U)
Many newer vehicles include integrated remote systems such as HomeLink or Car2U. These systems are typically located on the overhead console, rearview mirror, or visor area, and feature up to three programmable buttons.
If you’re using HomeLink or Car2U, it’s very possible to program your in-car remote to sync with your Chamberlain garage door opener without needing a handheld transmitter—though having one can sometimes simplify the process.
Compatibility: Is Your Vehicle Compatible?
Before beginning the programming process, you should:
- Check if your vehicle uses HomeLink (most common) or Car2U.
- Ensure that your Chamberlain garage opener is compatible with these systems. Most units made after 1997 with a “Learn” or “Smart” button are compatible.
- If needed, visit HomeLink’s official website to use their compatibility checker tool by entering your vehicle’s make, model, and year.
Tools and Prep Work
What You’ll Need:
- Your vehicle with a built-in remote system (HomeLink or Car2U)
- Access to your Chamberlain garage door opener motor (typically mounted on your garage ceiling)
- A ladder (to reach the Learn button)
- A few uninterrupted minutes
Optional: If you have the original handheld garage door remote, it may help in the programming process.
How To Program Car Remote To Chamberlain Garage Door Opener
Follow these steps to program your in-car remote to your Chamberlain garage door system:
1: Clear Existing Settings (If Necessary)
If your car has previously been programmed with another garage door:
- Hold down the two outer buttons on your car’s built-in remote system.
- Continue holding until the indicator light begins to blink rapidly (about 20 seconds).
- This clears any previous programming.
Note: Skip this step if you’re programming a new vehicle.
2: Enter Programming Mode in Your Vehicle
- Press and hold the desired HomeLink button you wish to program.
- While holding the button, observe the indicator light:
- A slow blink means it’s in learn mode.
- A rapid blink typically means the system is ready to pair.
If your car is newer, you may not need a handheld remote. However, in some cases, the vehicle must “learn” from an existing remote. If so, hold your handheld Chamberlain remote close to the HomeLink button and press both buttons simultaneously until the light flashes rapidly.
3: Locate the Learn Button on the Chamberlain Opener
- Use a ladder to reach the motor unit mounted in your garage.
- Find the Learn, Smart, or Program button (usually red, yellow, or purple).
- Press and release this button. A small LED light near the button may turn on to signal it’s ready to pair.
You now have 30 seconds to complete the process in your vehicle.
4: Complete the Programming from the Vehicle
- Return to your car and press the previously selected HomeLink button.
- Hold it down for 2 seconds, release, then press it again.
- Repeat this step up to 3 times or until the garage door moves.
Once your garage door activates, your programming was successful!
Verifying Successful Programming
To confirm that the setup is complete:
- Press the programmed button from various locations (inside and just outside your garage).
- Make sure the signal reaches the Chamberlain unit every time.
- If the garage door opens and closes smoothly, your in-car remote is now synced.
Troubleshooting: When Things Don’t Go As Planned
Even with careful setup, a few common issues may arise:
Issue 1: Garage Door Doesn’t Respond
Fix: Confirm that your Chamberlain unit uses rolling code technology. Older units may require a different process or use fixed codes.
Issue 2: Indicator Light Doesn’t Blink
Fix: Ensure your vehicle’s ignition is ON during programming. Some systems won’t enter learn mode unless the car is powered.
Issue 3: No Learn Button on Opener
Fix: Older Chamberlain units without a Learn button may require programming using the original remote as a bridge. Refer to the opener’s manual or Chamberlain support.
Issue 4: Still Doesn’t Work After Multiple Tries
Fix: Reset the HomeLink or Car2U system and start the process again from Step 1. You may also need to replace the remote battery if using a handheld to assist with programming.
Benefits of Programming Car Remote to Chamberlain Garage Opener
1. No More Lost Remotes
Your vehicle becomes your remote, so you never need to worry about misplacing or replacing a separate device.
2. Increased Convenience
With the push of a built-in button, you gain smooth access to your home—especially useful during bad weather or when your hands are full.
3. Enhanced Security
Chamberlain’s rolling code technology ensures that the signal between your car and the garage door is encrypted and changes constantly, making it nearly impossible to duplicate.
4. Clutter-Free Vehicle
Eliminating extra remotes means a neater, cleaner vehicle interior.
Bonus Tip: Programming Multiple Garage Doors
Did you know your vehicle’s built-in system can often control up to three different garage doors or gates?
To do this:
- Repeat the programming process for a different button.
- Press the Learn button on the second garage opener.
- Complete the in-car pairing process again.
Each button on your car can be uniquely assigned, giving you complete control.
Frequently Asked Questions
Q: Does my car need to be running for programming?
A: No, but the ignition should be in the ON position (electrical systems activated) during setup.
Q: Can I erase one button without affecting the others?
A: Yes. Just reprogram the specific button, and it will overwrite the old settings.
Q: Is this method safe for all vehicle models?
A: Yes, as long as your car is compatible with HomeLink or Car2U and the Chamberlain opener supports rolling codes.
Conclusion
Now that you know exactly how to program car remote to Chamberlain garage door opener, you can enjoy a seamless, wireless connection between your vehicle and your home. Whether you’re setting this up for the first time or troubleshooting an old system, this guide is your go-to reference for success.
Modern life is all about convenience, and syncing your vehicle’s built-in remote with your Chamberlain opener is a smart, secure upgrade. In just a few simple steps, you can eliminate the need for extra devices and enjoy the comfort of keyless garage access every day.


Leave a Reply