If your garage door opener has become noisy, jerky, or stops midway, the belt may be worn or damaged. Learning how to replace belt on Chamberlain garage door opener can save you hundreds of dollars in service fees while restoring smooth and quiet operation. This guide is designed for homeowners in the US who want a clear, safe, and beginner-friendly tutorial that actually solves the problem.
Why Does the Belt on a Chamberlain Garage Door Opener Wear Out?
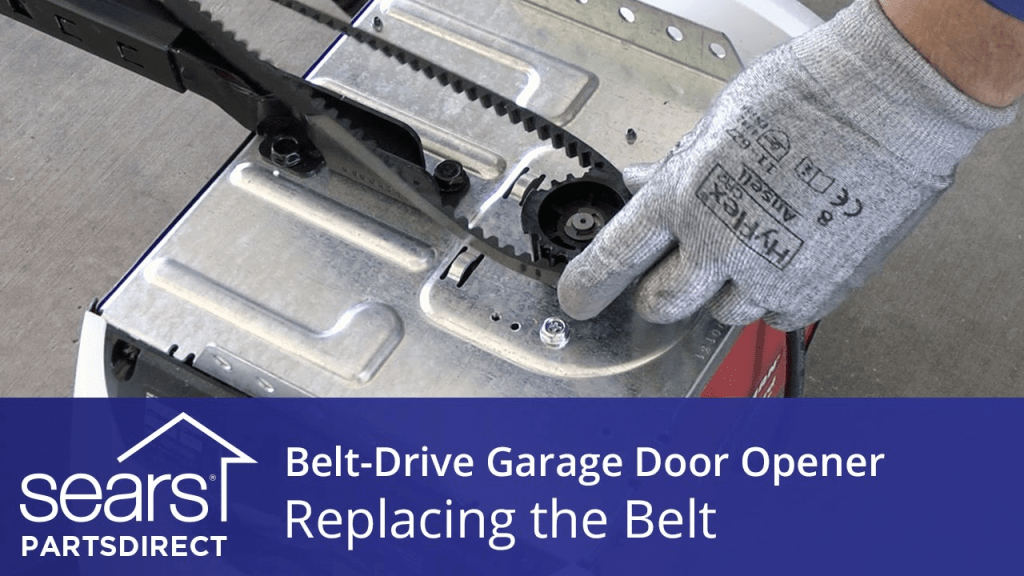
A belt-drive garage door opener relies on a reinforced rubber or polyurethane belt to move the trolley along the rail. Over time, several factors can cause belt deterioration:
- Normal wear and tear after 7–12 years of use
- Temperature fluctuations (hot summers and cold winters)
- Improper door balance, which puts extra strain on the belt
- Dust and debris buildup inside the rail
Read too: Mastering the Art of Adjusting a Chamberlain Garage Door Opener for Smooth Operation and Safety
According to general mechanical wear principles documented on Wikipedia, rubber-based drive components degrade faster when exposed to repeated friction and tension cycles.
Signs You Need to Replace the Belt
Before starting the replacement, confirm that the belt is truly the issue. Common warning signs include:
- Loud slapping or clicking sounds during operation
- The garage door hesitates or moves unevenly
- Visible cracks, fraying, or stretching in the belt
- The motor runs, but the door does not move
Expert Tip: If the door itself is heavy or hard to lift manually, fix the door balance first. Replacing the belt alone will not solve the problem.
Which Chamberlain Models Use a Belt Drive?
Most modern Chamberlain residential openers are belt-driven, including popular series such as:
- Whisper Drive models
- B-series smart garage door openers
- Ultra-Quiet belt drive systems
Always check the model number (usually located on the motor housing) before purchasing a replacement belt. Using the wrong belt length can cause improper tension and premature failure.
Tools and Materials You Will Need
Prepare everything before starting to ensure a smooth workflow.
Required Tools
- Step ladder (6–8 feet recommended)
- Adjustable wrench or 1/2-inch socket wrench
- Flathead screwdriver
- Safety gloves and eye protection
Materials
- Genuine Chamberlain replacement belt (model-specific)
- Clean cloth (for wiping rail dust)
Safety Precautions Before You Start
Garage door openers involve moving parts and electrical components. Follow these rules carefully:
- Unplug the opener from the power outlet
- Disconnect the door from the opener using the emergency release cord
- Ensure the garage door is fully closed
- Never work alone if the opener is mounted very high
How To Replace Belt On Chamberlain Garage Door Opener (Step-by-Step Guide)
Step 1: Remove the Opener Cover
Using a screwdriver, carefully remove the light cover and outer housing to access the belt and sprocket assembly.
Step 2: Release Belt Tension
Locate the tension nut or adjustment bolt near the trolley assembly.
Turn it counterclockwise until the belt becomes loose.
Typical loosening requires 8–12 full turns, depending on the model.
Step 3: Detach the Old Belt
- Slide the belt off the motor sprocket
- Pull it out from the rail and trolley
- Inspect the sprocket teeth for wear or damage
Step 4: Install the New Belt
- Feed the new belt through the rail in the same orientation
- Ensure the ribbed side engages the sprocket properly
- Attach the belt to the trolley connector
Step 5: Re-Tension the Belt
Tighten the adjustment nut clockwise until:
- The belt sits about 1/4 inch above the rail at the midpoint
- It is firm but not overly tight
Important: Over-tightening can damage the motor bearings.
Step 6: Reassemble and Test
- Reinstall the opener cover and light lens
- Plug the unit back in
- Reconnect the door and run 2–3 full open/close cycles
Correct Belt Tension: Quick Reference Table
| Belt Condition | Result |
|---|---|
| Too Loose | Slapping noise, slipping |
| Too Tight | Motor strain, premature wear |
| Proper Tension | Quiet, smooth operation |
Common Mistakes to Avoid
- Using a generic belt instead of a Chamberlain-specific part
- Forgetting to unplug the opener
- Ignoring worn sprockets or trolley components
- Skipping test cycles after installation
Maintenance Tips to Extend Belt Life
To maximize the lifespan of your new belt:
- Clean the rail every 6 months
- Check belt tension annually
- Keep garage temperature between 22–28°C (72–82°F) when possible
- Lubricate metal components (never the belt itself)
When Should You Call a Professional Instead?
DIY belt replacement is safe for most homeowners, but consider professional help if:
- The opener is mounted unusually high
- The motor sprocket is stripped
- The door itself is bent or off-track
In these cases, replacing only the belt may not solve the underlying issue.
FAQ – How To Replace Belt On Chamberlain Garage Door Opener
Q1: How long does it take to replace a Chamberlain garage door belt?
A: Most homeowners complete the job in 45–90 minutes, depending on experience.
Q2: How often should the belt be replaced?
A: On average, every 7–12 years, or sooner if visible damage appears.
Q3: Can I use a chain instead of a belt?
A: No. Belt and chain systems are not interchangeable without replacing the entire rail assembly.
Q4: Why is my new belt still noisy?
A: Noise usually indicates incorrect tension, rail debris, or an unbalanced door.
Q5: Do smart Chamberlain openers use the same belt?
A: Some do, but always verify the exact model number before purchasing.
Conclusion
Learning how to replace belt on Chamberlain garage door opener empowers you to fix a common household problem safely and affordably. With the right tools, correct belt tension, and proper maintenance, your opener can operate quietly and reliably for years.
If you found this guide helpful, share it on social media to help other homeowners avoid unnecessary repair costs and keep their garages running smoothly.


Leave a Reply