When your garage door opener starts acting up, knowing how to reset it can save you time and frustration. In this comprehensive guide, we’ll walk you through the step-by-step process of “How To Reset a Liftmaster Garage Door Opener.” Explore troubleshooting tips, gain insights into common issues, and empower yourself to reset your Liftmaster garage door opener confidently.
Introduction: Navigating the Solution – Resetting Your Liftmaster Garage Door Opener
Facing challenges with your Liftmaster garage door opener can be a common occurrence, but the solution often lies in a simple reset. In this article, we aim to demystify the process of resetting a Liftmaster garage door opener, providing you with the knowledge and tools to address common issues and restore smooth functionality.
Understanding the Need to Reset: Common Scenarios
Before delving into the reset process, it’s essential to recognize situations that may warrant a reset for your Liftmaster garage door opener. Common scenarios include:
- Lost Synchronization: If your remote control or keypad is no longer synchronized with the opener.
- Power Outages: A power outage can disrupt the normal functioning of your garage door opener.
- Programming Changes: Changes in user settings or programming may require a reset to take effect.
How To Reset A Liftmaster Garage Door Opener – A Step-by-Step Guide
Now, let’s explore the detailed steps to reset your Liftmaster garage door opener and address various scenarios effectively.
1. Resetting Remote Controls and Keypads: Synchronization Process
If your remote control or keypad is out of sync with the garage door opener, follow these steps to reset and reprogram them:
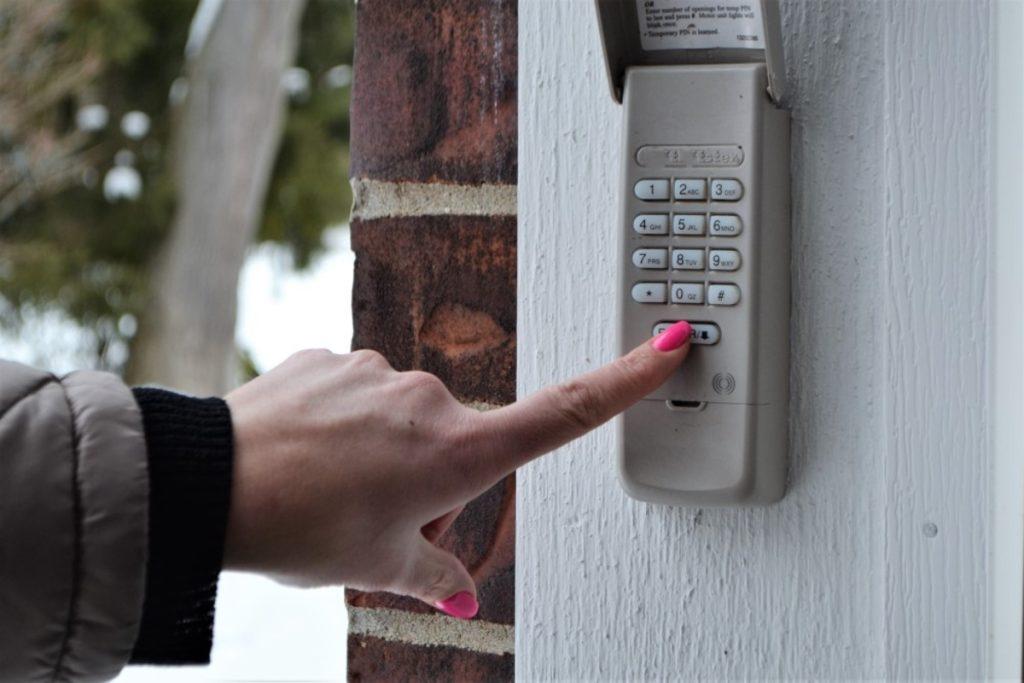
- Locate the “Learn” button on the opener.
- Press and release the “Learn” button. The indicator light will illuminate.
- Within 30 seconds, press and hold the button on the remote or keypad you want to sync until the lights on the opener flash, indicating successful synchronization.
- Repeat the process for additional remotes or keypads.
2. Power Cycle: Addressing Issues After Power Outages
Power outages can sometimes lead to communication issues between the garage door opener and its accessories. To reset the system after a power outage:
- Unplug the garage door opener from the power outlet.
- Wait for at least 30 seconds to ensure a complete power cycle.
- Plug the opener back in and wait for it to initialize. Test the functionality with the remote or keypad.
3. Factory Reset: Returning to Default Settings
In cases where extensive programming changes or persistent issues occur, a factory reset may be necessary. Keep in mind that a factory reset erases all programmed remotes and keypads. To perform a factory reset:
- Locate the “Learn” button on the opener.
- Press and hold the “Learn” button until the indicator light turns off (approximately 6 seconds).
- Release the button, and the indicator light will flash, indicating a successful reset.
4. Adjusting Force and Limits: Fine-Tuning Performance
If your garage door encounters resistance or has trouble closing or opening, resetting force and limit settings may help:
- Locate the force and limit adjustment knobs on the opener.
- Adjust the force knob to control the amount of force exerted by the opener.
- Adjust the limit knobs to set the upper and lower travel limits of the door.
- Test the door’s movement after adjustments to ensure smooth operation.
5. Seeking Professional Assistance: When to Call In the Experts
If you encounter challenges or technical issues beyond the scope of basic resets, it’s advisable to seek professional assistance. Garage door technicians have the expertise to diagnose and address complex problems, ensuring the optimal performance of your Liftmaster garage door opener.
Conclusion: Empowering Yourself with Knowledge
In conclusion, understanding “How To Reset a Liftmaster Garage Door Opener” empowers you to address common issues swiftly and effectively. Whether it’s synchronizing remotes, power cycling after outages, performing a factory reset, or fine-tuning force and limits, these steps allow you to take control of your garage door opener’s functionality. By following this step-by-step guide, you can troubleshoot with confidence and ensure your Liftmaster garage door opener operates smoothly for years to come.


Leave a Reply