If you’ve recently purchased a LiftMaster system and are wondering how to set up a LiftMaster garage door opener, you’re not alone. While LiftMaster is known for its reliable and advanced garage door technology, setting it up correctly is key to long-term performance and security. Whether you’re installing a new opener from scratch or replacing an old system, this step-by-step guide will walk you through the entire setup process—from unboxing the opener to syncing remotes and smart controls.
This article is tailored to homeowners, DIYers, and technicians who want clear, easy-to-follow instructions. We’ll cover essential tools, safety tips, mounting techniques, and how to program the opener to your remotes and smartphone.
Why Choose a LiftMaster Garage Door Opener?
Before jumping into how to set up a LiftMaster garage door opener, it’s helpful to understand why so many homeowners choose LiftMaster in the first place.
LiftMaster, a product of Chamberlain Group, is one of the most trusted brands in garage door automation. Known for:
- Quiet operation with belt-drive and chain-drive options
- Durable motors with long lifespans
- Integrated Wi-Fi and MyQ technology for smart home compatibility
- Security+ 2.0® technology to prevent hacking or unauthorized access
- Battery backup systems on select models
Whether you’re upgrading an old system or installing a new one, LiftMaster delivers excellent performance and reliability.
Read too: Mastering Quantum Garage Door Opener Programming: A Comprehensive Guide
Tools and Equipment Needed Before Setup
Before you begin the actual setup, gather the following tools and components. Most LiftMaster openers include basic installation hardware, but you’ll need:
Tools:
- Power drill
- Screwdriver set
- Adjustable wrench
- Tape measure
- Level
- Pliers
- Stepladder
Included in the Box:
- Garage door opener motor unit
- Rail assembly
- Safety reversing sensors
- Trolley and pulley system
- Remote control(s)
- Wall-mounted control panel
- Mounting brackets and fasteners
- Instruction manual
How To Set Up A LiftMaster Garage Door Opener – Step-by-Step Guide
Let’s break down how to set up a LiftMaster garage door opener into manageable steps. Be sure to follow the manufacturer’s manual specific to your model, as design and features may vary slightly.
Step 1: Assemble the Rail and Attach to the Motor
- Lay out the rail components on the garage floor.
- Connect the rail sections as instructed (snap-together or bolt-on depending on model).
- Slide the trolley onto the rail and attach the pulley and belt or chain.
- Secure the rail to the motor unit using the provided bolts.
- Make sure all parts are aligned and tightened properly.
Step 2: Mount the Opener to the Ceiling
- Locate the center point of the garage door.
- Measure and mount the header bracket above the garage door opening.
- Connect the rail to the header bracket using a clevis pin and secure with a cotter pin.
- Lift the motor unit and secure it to the ceiling joists using angle iron or hanging brackets.
- Use a level to ensure the opener is aligned horizontally.
Step 3: Connect the Door Arm and Trolley
- Manually open the garage door halfway.
- Attach the straight and curved door arms to the garage door and trolley.
- Secure with provided bolts and pins.
- Check that the arm moves freely and is aligned correctly.
Step 4: Install Safety Sensors
- Mount the safety reversing sensors on each side of the garage door frame, about 6 inches above the floor.
- Ensure they are facing each other and aligned perfectly.
- Run the low-voltage wires along the wall and secure them to the opener terminals as indicated:
- White wire → White terminal
- White/Black wire → Gray terminal
Step 5: Install the Wall Control Panel
- Mount the wall-mounted control button near the entrance to your garage.
- Use provided wire or 22-gauge bell wire to connect the control panel to the opener motor.
- Run the wire neatly along the wall and ceiling, securing it with staples or wire clips.
- Connect:
- Red wire → Red terminal
- White wire → White terminal
Step 6: Plug In the Opener and Power On
- Plug the opener into a GFCI-protected outlet.
- Wait for the lights to flash or display screen to activate.
- Ensure the safety sensors and control panel are functioning correctly.
Step 7: Program Travel Limits
Travel limits define how far your door moves up and down.
- Press and hold the Adjustment button until the up arrow blinks.
- Use the Up and Down arrows to set how far the door should move.
- Press the Set button to save the limit.
- Repeat the same steps for the down limit.
Step 8: Set the Force Limits
Force settings determine how much pressure the opener uses to move the door. Most LiftMaster openers calibrate this automatically during travel setup.
- Open and close the door fully using the control panel.
- If the door reverses or stops midway, adjust the force settings as detailed in your manual.
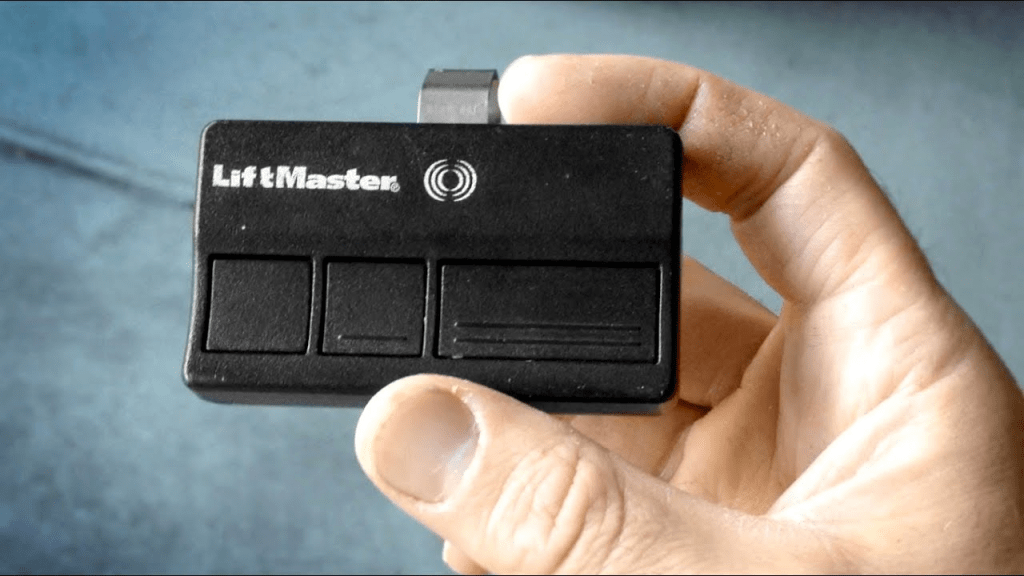
Step 9: Program the Remote Control
Now that the hardware is installed, it’s time to program your remote.
- Press the “Learn” button on the motor unit (usually behind the light cover).
- Within 30 seconds, press and hold the desired button on your remote control.
- The motor unit light will flash to indicate successful programming.
Repeat for any additional remotes.
Step 10: Connect to MyQ App for Smart Control
If your LiftMaster model is Wi-Fi enabled, connect it to your smartphone:
- Download the MyQ app from the App Store or Google Play.
- Create an account or log in.
- Tap “Add Device” and follow the in-app instructions.
- Press the Wi-Fi Learn button on the opener when prompted.
- Complete the pairing and test door operation from your phone.
Now, you can monitor, open, and close your garage door remotely.
Safety Tips During Setup
- Always disconnect power before making wiring connections.
- Keep children and pets away from the garage door during installation.
- Test safety reversal system by placing an object under the door—ensure it reverses upon contact.
- Use eye protection when drilling or working overhead.
Troubleshooting Tips for Setup Problems
Problem: Remote doesn’t operate the door
Solution: Reprogram the remote and check battery.
Problem: Door won’t fully close
Solution: Check travel limit and sensor alignment.
Problem: Sensors not responding
Solution: Ensure wiring is correct and lenses are clean.
Problem: MyQ won’t connect to Wi-Fi
Solution: Ensure your 2.4GHz network is active and in range. Reset Wi-Fi settings on the opener if needed.
When to Call a Professional
If you’ve followed all the steps on how to set up a LiftMaster garage door opener and the system still isn’t functioning, it may be time to seek help. Call a certified LiftMaster technician if:
- The garage door is unbalanced or difficult to move manually
- You suspect electrical wiring problems
- Your opener motor is making unusual sounds
- You cannot connect to the MyQ app after multiple attempts
Summary: How To Set Up A LiftMaster Garage Door Opener with Confidence
Setting up your LiftMaster garage door opener can be a straightforward process when done carefully. From installing the rail and motor unit to programming remotes and setting up Wi-Fi control, you now have all the knowledge needed for a successful setup.
Quick Recap:
- Gather all tools and components
- Assemble and mount the opener
- Install safety sensors and wall controls
- Program travel limits and remotes
- Connect to MyQ for smartphone access
- Test all functions and troubleshoot if needed
By following this guide on how to set up a LiftMaster garage door opener, you can enjoy peace of mind, security, and modern convenience right from your driveway.


Leave a Reply