If your garage door opener is malfunctioning, noisy, or completely unresponsive, you may be asking How To Take Apart A Chamberlain Garage Door Opener to inspect or repair it yourself. This is a common need among homeowners who want to save money, understand the problem, or replace worn components without immediately calling a technician.
This comprehensive guide explains how to safely disassemble a Chamberlain garage door opener, what tools you’ll need, which parts to watch out for, and when you should stop and call a professional. The instructions are beginner-friendly, detailed, and optimized for common residential models used across the U.S.
Read too: Why Are My Garage Doors Opening By Themselves? Troubleshooting Guide
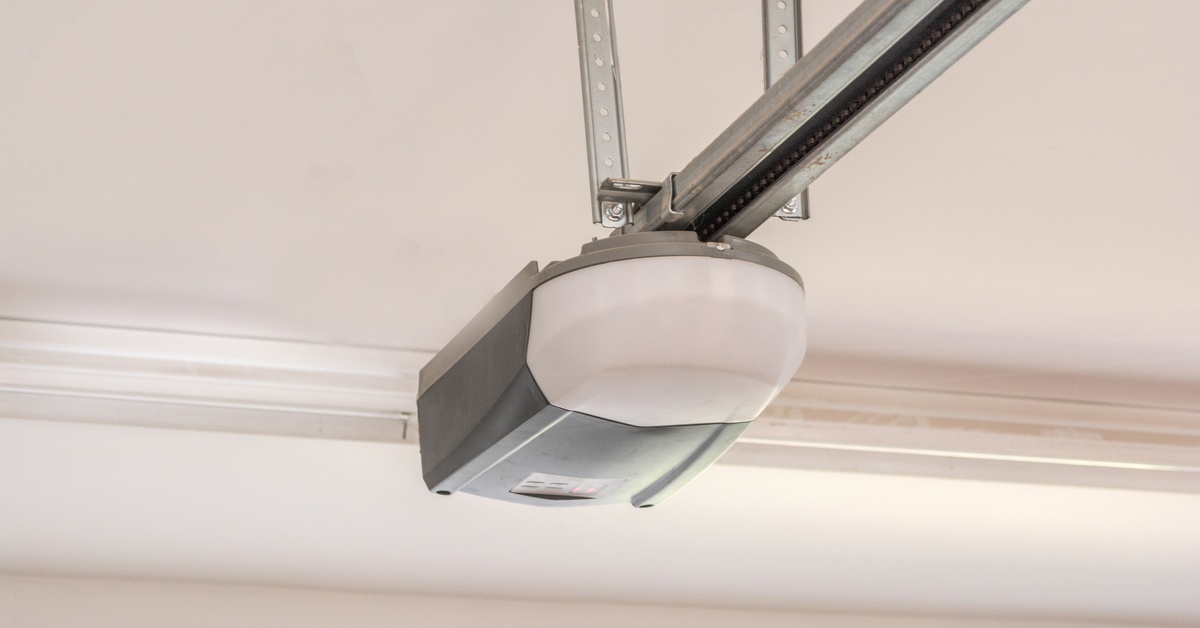
What Is a Chamberlain Garage Door Opener?
A Chamberlain garage door opener is a motorized device that automatically opens and closes a garage door using a chain drive, belt drive, or screw drive mechanism. Chamberlain products are widely used in U.S. homes due to their reliability, safety features, and compatibility with smart home systems from the Chamberlain Group.
For general background on garage door openers, you can also reference
https://en.wikipedia.org/wiki/Garage_door_opener
Why Would You Need to Take Apart a Chamberlain Garage Door Opener?
People usually disassemble a garage door opener for diagnosis, repair, or replacement.
Common reasons include:
- Motor runs but door doesn’t move
- Excessive grinding or rattling noise
- Gear or sprocket wear
- Burnt circuit board smell
- Remote or wall control failure
- Preparing for full replacement
Understanding the internal components helps you decide whether a repair is worth it.
Safety First: Important Warnings Before You Start
Taking apart a garage door opener involves electrical and mechanical risks. Safety must be your top priority.
Critical safety precautions:
- Disconnect power completely (unplug from outlet)
- Disengage the garage door from the opener
- Wear gloves and eye protection
- Use a stable ladder rated for your weight
- Never touch exposed wiring when plugged in
Important: Garage door springs are extremely dangerous, but the opener unit itself does not contain torsion or extension springs. Still, caution is essential.
Tools You’ll Need Before Disassembly
Prepare all tools in advance to avoid interruptions.
Basic tools checklist:
- Phillips screwdriver
- Flathead screwdriver
- Nut driver (1/4” and 5/16”)
- Adjustable wrench
- Needle-nose pliers
- Small container for screws
- Clean cloth
Having the right tools reduces the risk of stripped screws or damaged parts.
Step 1: Disconnect Power and Door Linkage
This is the most important step.
What to do:
- Unplug the opener from the wall outlet
- Pull the emergency release cord (red handle)
- Ensure the garage door moves freely by hand
This step prevents accidental activation during disassembly.
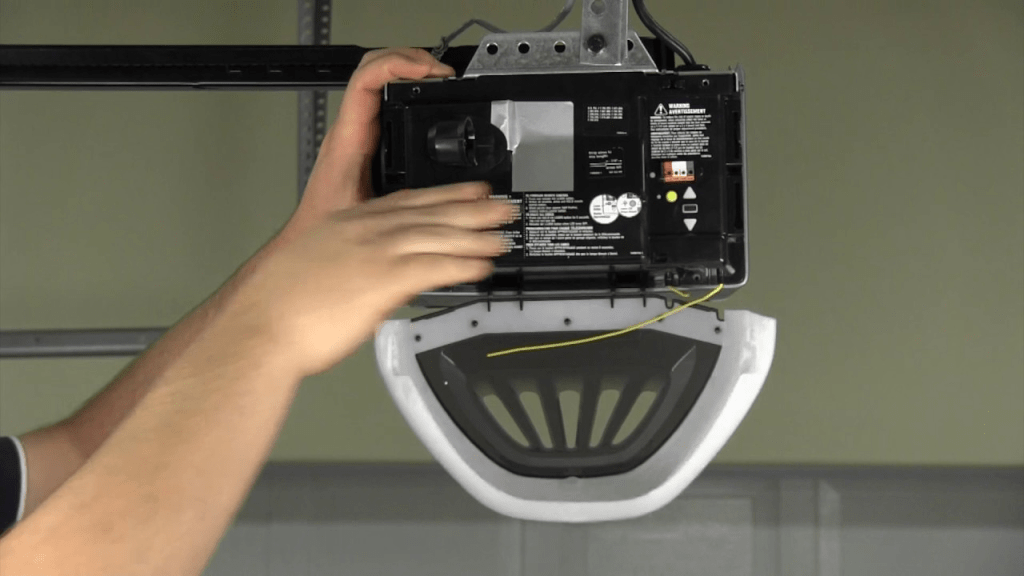
Step 2: Remove the Opener Cover (Housing)
The motor unit is enclosed in a metal or plastic housing.
How to remove it:
- Locate the screws on the sides or bottom
- Use a Phillips screwdriver to remove them
- Support the cover with one hand as you loosen screws
- Carefully lower and set aside the housing
Tip: Place screws in a labeled container to avoid losing them.

4
Step 3: Identify the Main Internal Components
Once the cover is off, you’ll see several key parts.
Common internal components:
- Electric motor
- Drive gear and sprocket
- Logic board (circuit board)
- Capacitor
- Limit switch assembly
- Wiring harness
Take photos with your phone before touching anything. This helps during reassembly.
Step 4: Disconnect the Wiring Harness Safely
Most Chamberlain openers use plug-style connectors.
Safe wiring removal:
- Identify each connector
- Gently pull by the plastic plug—not the wires
- Label connectors if needed
Never force a connector. If it doesn’t come out easily, recheck the locking tab.
Step 5: Remove the Logic Board (If Needed)
The logic board controls signals from remotes and sensors.
Steps:
- Locate the board mounted with screws or clips
- Remove screws using a nut driver
- Gently lift the board out
Signs of a bad logic board:
- Burn marks
- Melted plastic
- Corrosion
Replacing only this part can often restore full functionality.
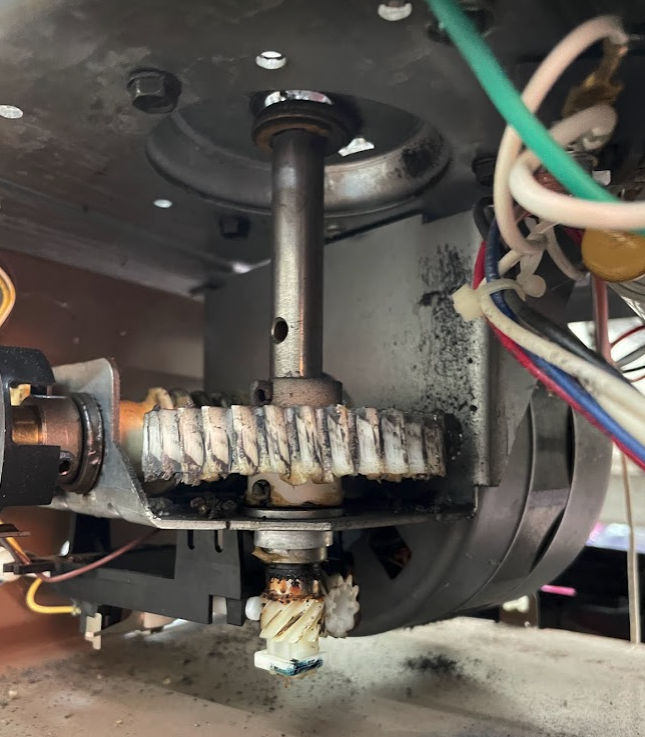
Step 6: Access the Drive Gear and Sprocket Assembly
The drive gear is a common failure point in Chamberlain openers.
How to access it:
- Locate the gear on top of the motor
- Remove retaining clips or screws
- Lift the gear assembly carefully
Worn gears usually appear:
- Stripped
- Cracked
- Covered in plastic shavings
Step 7: Remove the Motor (Advanced Step)
Only do this if motor replacement is necessary.
Motor removal process:
- Disconnect remaining wiring
- Support the motor with one hand
- Remove mounting bolts
- Lift the motor straight out
Motors are heavy—maintain a firm grip.
Step 8: Inspect Components for Damage
Now that the opener is apart, inspect each component carefully.
What to look for:
- Broken gears
- Burnt electrical smells
- Loose connections
- Oil or grease leakage
- Frayed wires
This inspection determines whether repair or replacement is more cost-effective.
Repair vs Replacement: Which Makes More Sense?
Comparison Table
| Situation | Repair | Replace |
|---|---|---|
| Worn gear only | ✅ Yes | ❌ No |
| Bad logic board | ✅ Yes | ❌ No |
| Burnt motor | ❌ No | ✅ Yes |
| Unit over 15 years old | ❌ No | ✅ Yes |
| Multiple failed parts | ❌ No | ✅ Yes |
If multiple components are failing, replacement is usually smarter.
Common Mistakes to Avoid During Disassembly
Avoid these frequent DIY errors:
- Forgetting to unplug power
- Pulling wires instead of connectors
- Mixing screw sizes
- Skipping photos before removal
- Overtightening screws during reassembly
Patience and organization are key.
Reassembly Tips (Short Overview)
Reassembly is essentially the reverse of disassembly.
Best practices:
- Follow photos you took earlier
- Reconnect wiring firmly
- Tighten screws snug—not overly tight
- Test unit before fully closing the housing
Always test the opener with the door disengaged first.
When Should You Call a Professional?
DIY repair is not always the best option.
Call a professional if:
- You smell burning insulation
- Wiring is severely damaged
- The opener trips breakers repeatedly
- You’re unsure about reassembly
Safety and reliability matter more than saving a few dollars.
FAQ: Chamberlain Garage Door Opener Disassembly
How To Take Apart A Chamberlain Garage Door Opener Safely?
Always unplug the unit, disengage the door, wear safety gear, and work methodically with proper tools.
Can I Take Apart My Garage Door Opener Without Special Tools?
Yes. Basic hand tools like screwdrivers and nut drivers are usually sufficient.
Is It Worth Fixing an Old Chamberlain Opener?
If it’s under 10–12 years old and only one part has failed, repair is often worth it.
Will Disassembly Void the Warranty?
Yes. Opening the housing typically voids any remaining manufacturer warranty.
How Long Does Disassembly Take?
For beginners, expect 60–90 minutes, depending on experience and model.
Conclusion
Learning how to take apart a Chamberlain garage door opener empowers homeowners to diagnose issues, replace worn parts, and make informed repair decisions. With the right tools, safety precautions, and step-by-step approach, many common problems can be handled at home.
However, knowing your limits is just as important. When in doubt, professional help ensures safety and long-term reliability.
If this guide helped you, share it on social media so other homeowners can confidently tackle garage door opener issues the right way.


Leave a Reply