How to Tighten Garage Door Springs? Garage door springs play a crucial role in the smooth operation of your garage door. Over time, however, they may lose tension, leading to issues such as difficulty in opening or closing the door. In this comprehensive guide, we will walk you through the process of tightening garage door springs safely and effectively, helping you restore your garage door’s functionality without the need for professional assistance.
Understanding Garage Door Springs
Before delving into the process of tightening garage door springs, it’s essential to understand the two primary types of springs commonly found in garage doors: torsion springs and extension springs.
- Torsion Springs: These springs are typically mounted above the garage door and are responsible for counterbalancing its weight. Torsion springs operate by winding and unwinding as the door opens and closes, providing the necessary tension to facilitate smooth movement.
- Extension Springs: Extension springs are usually installed along the tracks on either side of the garage door. They stretch and contract to support the weight of the door as it moves up and down.
How to Tighten Garage Door Springs
Tightening garage door springs requires precision and caution to ensure safety and prevent damage to the door or injury to yourself. Follow these steps carefully to tighten your garage door springs effectively:
- Preparation: Before starting, gather the necessary tools and equipment, including winding bars, a ladder, safety glasses, and gloves. Ensure that the area around the garage door is clear of any obstructions.
- Identify the Type of Springs: Determine whether your garage door is equipped with torsion springs or extension springs. The tightening process may vary slightly depending on the type of springs you have.
- Locate the Adjustment Points: For torsion springs, locate the winding cones at each end of the spring shaft. For extension springs, identify the pulleys and safety cables near the tracks.
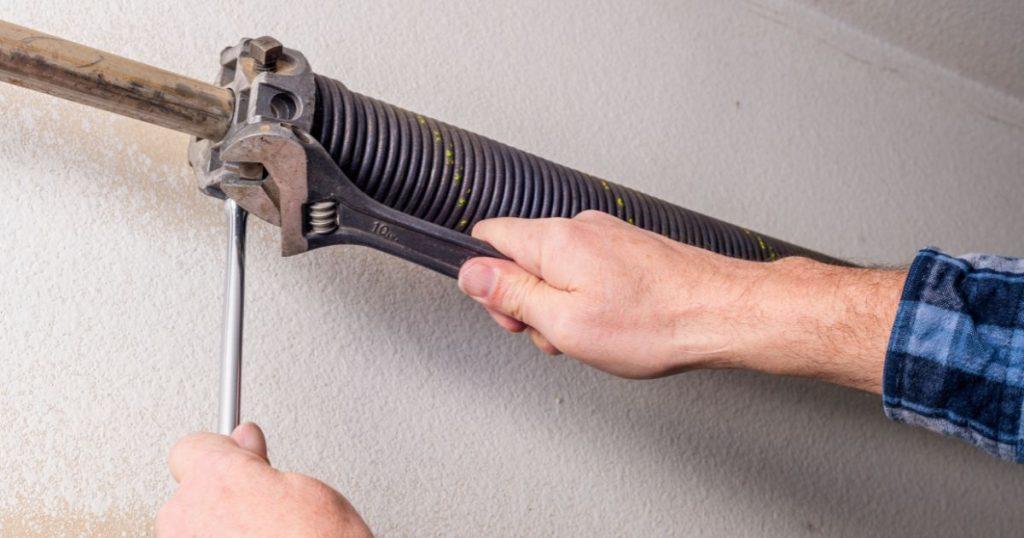
- Release Tension: Use winding bars to loosen the tension on the springs gradually. Insert the winding bars into the holes on the winding cones and turn them in the direction that reduces tension. Exercise caution to avoid sudden release of tension, which can cause the spring to unwind rapidly.
- Adjust Tension Settings: Depending on the specific requirements of your garage door, tighten the springs by adjusting the tension settings. Refer to the manufacturer’s instructions or consult a professional for guidance on the appropriate tension levels for your door.
- Test the Door: Once you have tightened the springs to the desired tension, test the garage door to ensure that it opens and closes smoothly. Make any necessary adjustments to achieve optimal performance.
Conclusion
By following the steps outlined in this guide, you can effectively tighten your garage door springs and restore your door’s functionality with confidence. However, it’s essential to prioritize safety throughout the process and seek professional assistance if you encounter any difficulties or uncertainties. With the right tools, knowledge, and precautions, you can master the art of tightening garage door springs like a pro!
Read too: How to Perform a Chamberlain Garage Door Opener Code Change? Mastering Security


Leave a Reply