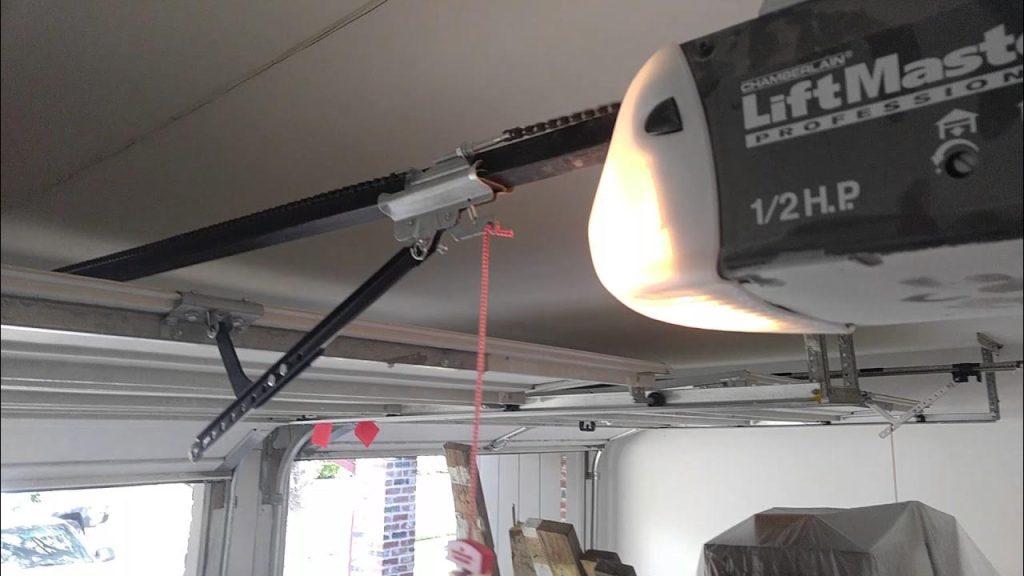
Are you experiencing frustration with your Liftmaster garage door opener? Is it refusing to open all the way, causing inconvenience and potential safety concerns? In this comprehensive guide, we will delve into the reasons why your Liftmaster garage door opener won’t open all the way and provide practical solutions to get it back in working order.

Common Reasons Why Liftmaster Garage Door Opener Won’t Open All the Way
When your garage door opener starts acting up, it’s crucial to understand the potential causes. Here are some common issues associated with Liftmaster garage door openers not opening all the way:
- Sensor Misalignment: One of the primary reasons for incomplete door opening is sensor misalignment. Liftmaster garage door openers are equipped with safety sensors that can detect obstructions in the door’s path. If these sensors are misaligned, the door might not open fully.
- Limit Switch Settings: The limit switch on your Liftmaster opener determines how far the door should travel during opening and closing. If the settings are incorrect, the door may stop short of fully opening. Adjusting the limit switch can resolve this issue.
- Obstructions in the Door Track: Debris or obstructions in the door track can impede the smooth movement of your garage door. Regularly inspect the tracks and remove any debris that might be causing the problem.
- Worn-out Rollers or Hinges: Over time, the rollers and hinges of your garage door can wear out, affecting the smoothness of operation. Inspect these components for wear and tear, and replace them if necessary.
How to Troubleshoot and Fix Liftmaster Garage Door Opener Issues
Now that we’ve identified some common issues, let’s discuss how to troubleshoot and fix them to ensure your Liftmaster garage door opener opens all the way:
- Sensor Realignment: Begin by checking the alignment of the safety sensors. Ensure that they are facing each other and that there are no obstructions blocking their view. Adjust them if needed and test the door opener.
- Adjusting Limit Switch Settings: Consult your Liftmaster opener’s manual to locate the limit switch settings. Make small adjustments to the settings until the door opens fully. Test the door after each adjustment to find the optimal setting.
- Clearing Door Track Obstructions: Inspect the entire door track for any debris or obstructions. Clean the track thoroughly and ensure there are no hindrances to the door’s movement.
- Inspecting Rollers and Hinges: Examine the rollers and hinges for signs of wear and tear. If you notice any damaged components, replace them with compatible parts from Liftmaster. This simple maintenance can significantly improve your opener’s performance.
Conclusion:
In conclusion, a Liftmaster garage door opener that won’t open all the way can be a frustrating issue, but it’s often solvable with some troubleshooting and maintenance. By addressing common issues such as sensor misalignment, limit switch settings, and door track obstructions, you can restore your garage door opener to optimal functionality.
Remember, regular maintenance is key to preventing such problems in the future. By following the tips and solutions provided in this guide, you can enjoy smooth and reliable operation from your Liftmaster garage door opener for years to come. If issues persist, don’t hesitate to consult the Liftmaster customer support or seek professional assistance to ensure the safety and functionality of your garage door opener.


Leave a Reply