Unlock the mysteries of Liftmaster garage door trouble codes with our comprehensive guide. Learn how to troubleshoot common issues and keep your garage door operating smoothly.
Understanding Liftmaster Garage Door Trouble Codes
What Are Trouble Codes?
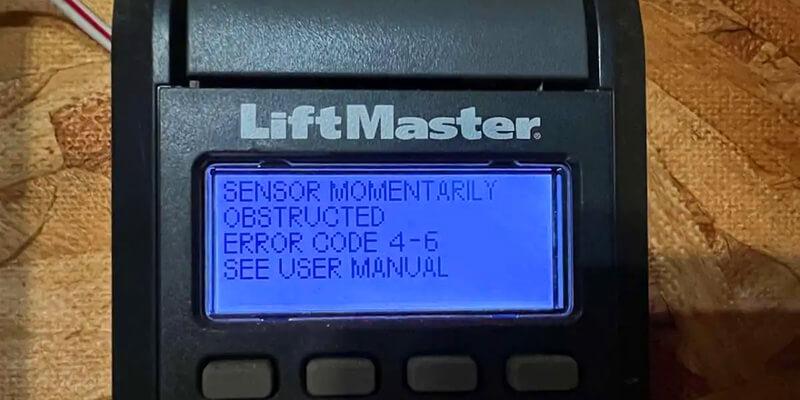
Liftmaster garage door openers are equipped with a diagnostic system that uses trouble code to indicate potential issues with the operation of the door. These codes are displayed on the opener unit or through a connected smartphone app, providing valuable information for troubleshooting purposes.
Importance of Troubleshooting Codes
Properly interpreting and addressing trouble code is essential for maintaining the functionality and safety of your Liftmaster garage door opener. By understanding what each code signifies, you can quickly diagnose and resolve issues before they escalate.
Common Liftmaster Garage Door Trouble Codes
1. Error Code 15:
Error code 15 indicates a problem with the garage door opener’s motor control circuit. This could be due to a wiring issue, a faulty motor control board, or a problem with the motor itself.
Read too: No Power to Genie Garage Door Opener – Resolving the Issue with Ease: Troubleshooting Guide
2. Error Code 41:
Error code 41 signifies a communication error between the opener and the remote control. This could be caused by interference from nearby electronic devices, a weak battery in the remote, or a malfunctioning receiver in the opener.
3. Error Code 42:
Error code 42 indicates a problem with the safety sensors that prevent the door from closing when an obstruction is detected. This could be due to misalignment, dirt or debris blocking the sensor’s view, or a faulty sensor component.
Troubleshooting Liftmaster Garage Door Trouble Codes
Step 1: Refer to the Owner’s Manual
Consult the owner’s manual for your Liftmaster garage door opener to identify the specific meaning of the trouble code you’re encountering. The manual will provide detailed instructions on how to address each code.
Step 2: Perform Visual Inspections
Inspect the opener unit and all related components for any visible signs of damage, wear, or obstruction. Pay close attention to wiring connections, sensor alignment, and the condition of moving parts.
Step 3: Reset the Opener
Try resetting the garage door opener by unplugging it from the power source for a few minutes, then plugging it back in. This can sometimes clear temporary errors and reset the system.
Step 4: Contact Customer Support
If you’re unable to resolve the issue on your own, contact Liftmaster customer support for further assistance. They can provide additional troubleshooting guidance or arrange for professional service if necessary.
Conclusion
Understanding Liftmaster garage door trouble codes is key to maintaining the optimal performance of your garage door opener. By following the troubleshooting tips outlined in this guide, you can quickly identify and address common issues, ensuring smooth and reliable operation for years to come.


Leave a Reply