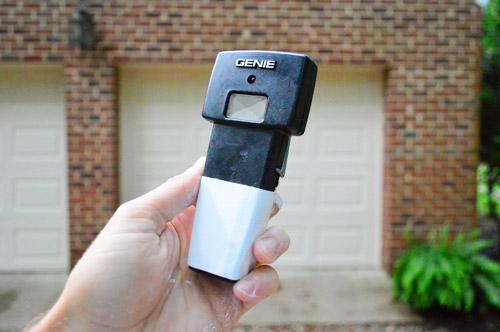
Are you tired of juggling multiple remotes or keypads to operate your garage doors? Discover the convenience of programming multiple garage door openers to streamline your access and simplify your life. In this comprehensive guide, we’ll walk you through the process step by step, ensuring that you can effortlessly control all your garage doors with ease.
Understanding the Need to Program Multiple Garage Door Openers
In households with multiple vehicles or garages, programming multiple garage door openers becomes essential for convenience and efficiency. Instead of managing separate remotes for each door, programming allows you to synchronize all your garage door openers to a single device, eliminating clutter and confusion.

How to Program Multiple Garage Door Openers
Step 1: Gather Necessary Equipment
Before you begin, ensure you have all the necessary equipment on hand. This typically includes the garage door opener remote(s), ladder, and the instruction manual for your garage door opener system.
Step 2: Access the Programming Mode
Each garage door opener system has its own method for entering programming mode. Refer to the instruction manual for specific instructions, as the process may vary depending on the manufacturer and model. In most cases, you’ll need to locate the “Learn” or “Program” button on the main unit.
Step 3: Program the First Remote
Press and hold the “Learn” or “Program” button on the main unit until the indicator light begins to flash. Then, within 30 seconds, press and hold the button on the remote you wish to program. Once the indicator light on the main unit stops flashing or turns solid, the remote is successfully programmed.
Read too: Mastering the Art of How to Open a Garage Door Safely and Efficiently
Step 4: Program Additional Remotes
Repeat the same process for each additional remote you wish to program. Be sure to complete the programming steps within the designated time frame to ensure successful synchronization.
Step 5: Test the Remotes
After programming all the remotes, test each one to ensure they are functioning correctly. Stand within range of the garage door and press the button on each remote to verify that the door responds accordingly.
Tips for Successful Programming
- Ensure that all remotes are within range of the garage door opener when programming.
- Follow the manufacturer’s instructions carefully to avoid errors.
- If you encounter any issues, refer to the troubleshooting section of the instruction manual or contact customer support for assistance.
Programming Multiple Garage Door Openers with Smart Technology
For added convenience, consider upgrading to smart garage door opener systems that offer built-in compatibility with multiple devices. These systems allow you to program and control your garage doors remotely using a smartphone app, eliminating the need for separate remotes altogether.
Conclusion
Programming multiple garage door openers is a simple yet effective way to streamline access to your garage and enhance convenience in your daily routine. By following the steps outlined in this guide, you can ensure that all your garage doors are synchronized and easily controlled with a single device. Say goodbye to the hassle of managing multiple remotes – with programmed garage door openers, you’ll enjoy seamless access and peace of mind every time you come and go.


Leave a Reply