Programming an overhead garage door opener might seem like a daunting task for many homeowners, but with the right guidance, it can be a straightforward process. Whether you’re setting up a new opener or reprogramming an existing one, understanding how to program your overhead garage door opener is essential for smooth and efficient operation. In this comprehensive guide, we’ll walk you through everything you need to know about programming your overhead garage door opener, providing expert tips and insights along the way.

Understanding Your Overhead Garage Door Opener
Before diving into the programming process, it’s essential to have a basic understanding of how your overhead garage door opener works. An overhead garage door opener consists of several components, including a motor, a drive mechanism, and a control system. The control system allows you to operate the garage door remotely using a handheld remote or keypad.
Program Overhead Garage Door Opener: Step-by-Step Guide
Programming your overhead garage door opener typically involves a series of simple steps that can vary depending on the make and model of your opener. Here’s a general step-by-step guide to help you navigate through the programming process:
Step 1: Locate the Programming Button
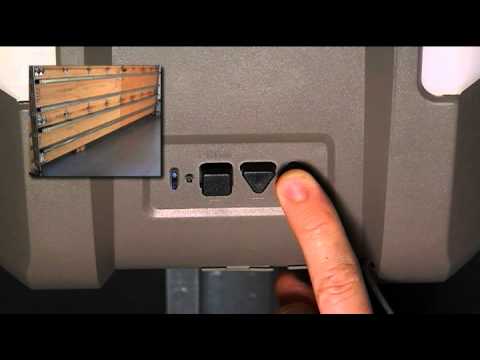
Most overhead garage door openers have a “Learn” or “Program” button located on the motor unit. This button is usually found near the back of the unit and may be labeled with a symbol or text indicating its function.
Step 2: Press the Programming Button
Press and release the programming button on the motor unit. The indicator light on the unit will begin to flash, indicating that the opener is in programming mode.
Step 3: Activate the Remote Control
Within 30 seconds of pressing the programming button, press and hold the button on your handheld remote control. Continue holding the button until the indicator light on the motor unit flashes again, confirming that the remote control has been successfully programmed.
Step 4: Test the Remote Control
Once programming is complete, test the remote control by pressing the button to open or close the garage door. Ensure that the door operates smoothly and responds correctly to the remote signal.
Additional Tips for Programming Success
- Ensure that the batteries in your remote control are fresh and properly installed.
- Keep the remote control within close proximity to the motor unit during programming to ensure a strong signal.
- If you have a keypad or wall-mounted control panel, follow similar steps to program them after programming the remote control.
Conclusion
Programming your overhead garage door opener is a simple yet essential task that can enhance the functionality and convenience of your garage door system. By following the steps outlined in this guide and consulting the manufacturer’s instructions for your specific opener, you can program your overhead garage door opener with confidence and ease. Say goodbye to manual operation and enjoy the convenience of remote-controlled access to your garage.
Read too: No Power to Genie Garage Door Opener – Resolving the Issue with Ease: Troubleshooting Guide


Leave a Reply