A visor garage door opener adds convenience and security to your home by allowing you to open and close your garage door with the touch of a button. However, to enjoy this convenience, you need to know how to program your visor garage door opener effectively. In this comprehensive guide, we will walk you through the steps to program your visor garage door opener, ensuring seamless access to your garage.
Understanding Program Visor Garage Door Openers
Programming your visor garage door opener involves syncing it with your garage door opener system, allowing it to send signals to open and close the door. While the process may vary slightly depending on the brand and model of your garage door opener, the basic steps remain the same. Below, we’ll outline the general steps to program your visor garage door openers for smooth operation.
Program Visor Garage Door Opener: Step-by-Step Guide
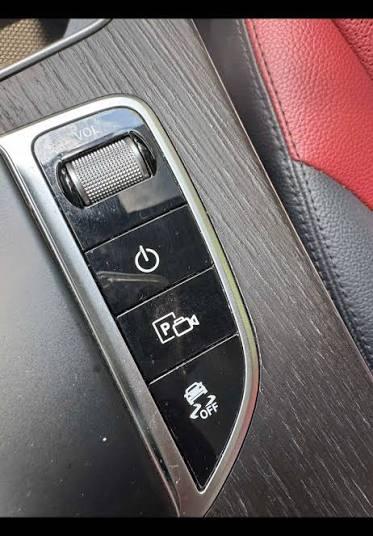
Step 1: Locate the Program Button
The first step in programming your visor garage door opener is to locate the program button on your garage door opener system. This button is typically located on the back or side of the main unit. Consult your garage door opener manual if you’re having trouble finding the program button.
Step 2: Press the Program Button
Once you’ve located the program button, press and release it to enter programming mode. You may need to hold down the button for a few seconds, depending on your garage door opener system. Look for a light or indicator on the main unit to confirm that you’ve entered programming mode.
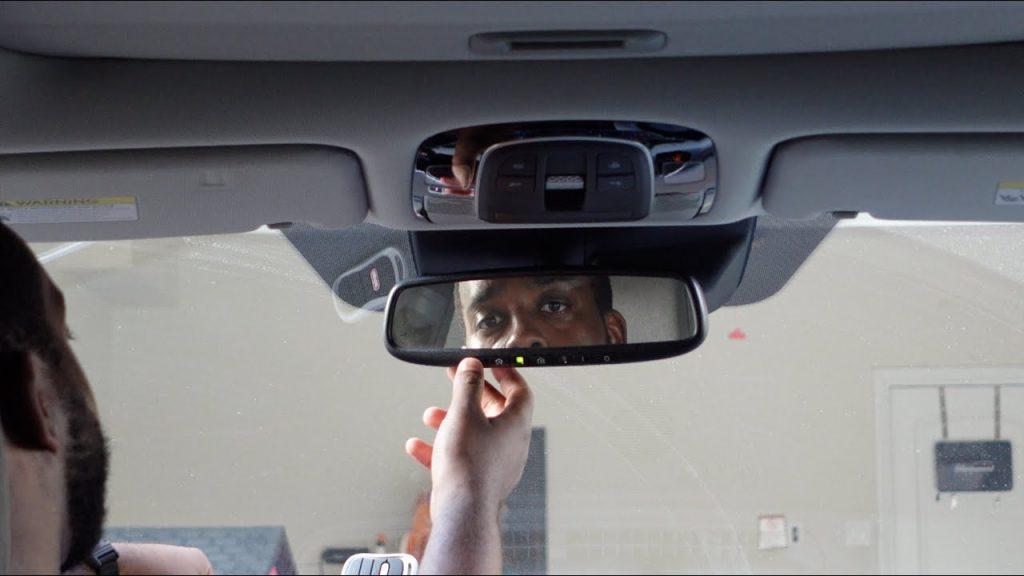
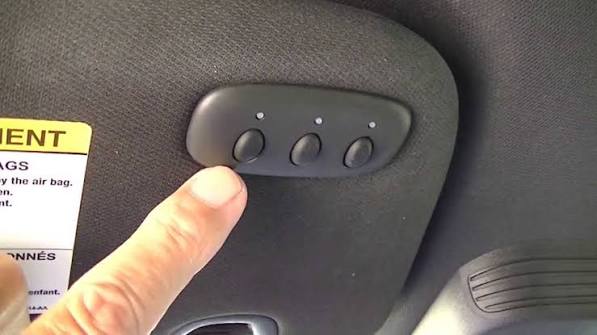
Step 3: Press the Button on Your Visor Garage Door Opener
With your garage door opener system in programming mode, it’s time to program your visor garage door opener. Press and release the desired button on your visor garage door opener, then wait for a confirmation signal from the main unit. This signal may be a beep, a flashing light, or a combination of both.
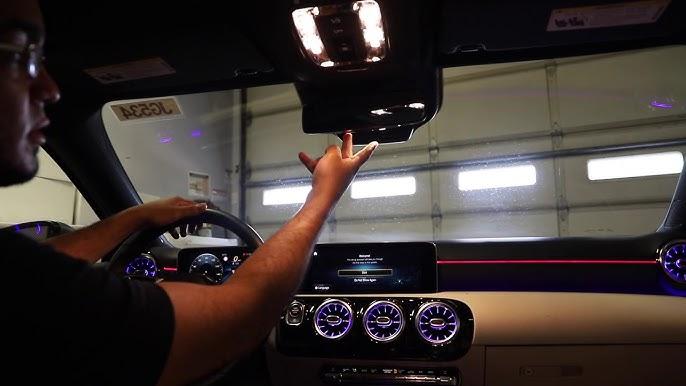
Step 4: Test the Opener
Once you’ve programmed your visor garage door opener, it’s important to test it to ensure it’s working correctly. Stand within range of your garage door opener system and press the button on your visor garage door opener. The door should open or close smoothly, indicating that the programming was successful.
Conclusion
Programming your visor garage door opener is a simple process that can be completed in just a few minutes. By following the steps outlined in this guide, you can enjoy seamless access to your garage and added convenience in your daily life.
Read too: Why Are My Garage Doors Opening By Themselves? Troubleshooting Guide
Leave a Reply