The Clicker garage door opener is a popular and convenient device that allows you to operate your garage door with ease. However, if you’ve recently purchased a Clicker opener or need to reprogram it for any reason, you may be wondering how to go about it. In this article, we will provide you with a step-by-step guide on programming a Clicker garage door opener.
Understanding Your Clicker Garage Door Opener:
Before diving into the programming process, it’s essential to familiarize yourself with your Clicker garage door opener and its components.
1. Remote Control:
The Clicker garage door opener typically comes with a handheld remote control that allows you to open and close your garage door from a distance. It’s this remote control that you’ll be programming.
2. Garage Door Opener Unit:
Your garage door opener unit, which is usually mounted on the ceiling of your garage, contains the motor and other essential components responsible for opening and closing the garage door.
Step-by-Step Guide to Programming:
1. Locate the “Learn” Button:
Most Clicker garage door openers have a “Learn” button on the opener unit. This button is usually located near the antenna wire. It’s essential to find and identify this button before proceeding.
2. Clear Previous Codes (If Necessary):
If you’re reprogramming your Clicker remote or if you’ve recently moved into a new home with an existing Clicker remote, it’s a good idea to clear any previous codes. To do this, press and hold the “Learn” button on the opener unit until the indicator light turns off. This typically takes about 6 seconds.
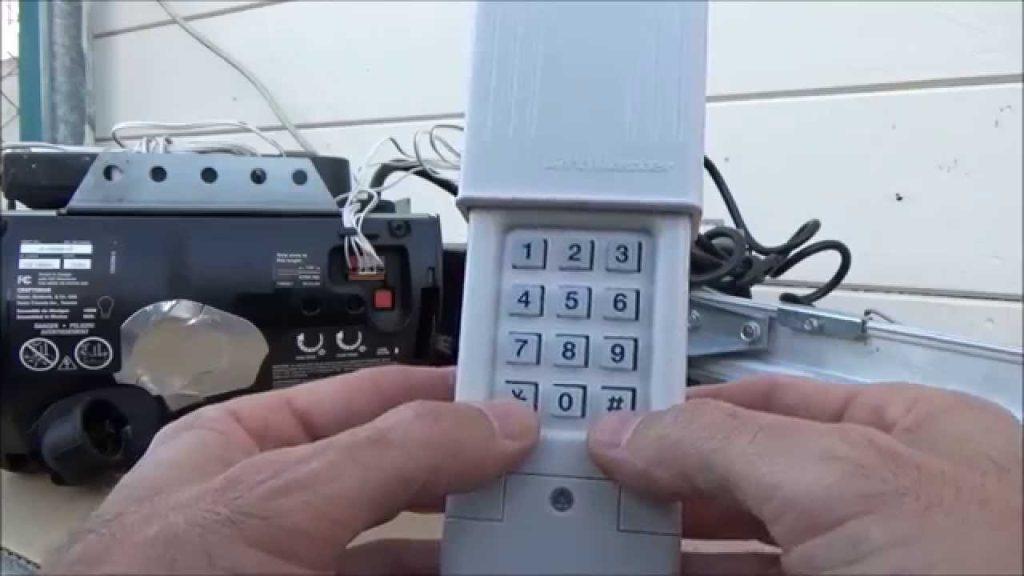
3. Choose a Personal Identification Number (PIN):
Before programming your Clicker remote, decide on a personal identification number (PIN) that you’ll use to operate the garage door. This PIN should be something you can easily remember but not too predictable for security reasons.
4. Program the Clicker Remote:
Now it’s time to program your Clicker remote. Follow these steps:
a. Press and release the “Learn” button on the opener unit. The indicator light should come on.
b. Within 30 seconds, press the button on your Clicker remote that you want to use to open and close the garage door. Hold the remote close to the opener unit while doing this.
c. Release the remote button once the garage door opener unit’s indicator light blinks or flashes. This indicates that the remote has been successfully programmed.
5. Test the Remote:
To ensure that your Clicker remote is programmed correctly, test it by pressing the button you programmed. The garage door should respond by opening or closing. If it doesn’t, you may need to repeat the programming process.
6. Repeat for Additional Remotes (If Needed):
If you have multiple Clicker remotes that you want to program for the same garage door opener, repeat steps 4 and 5 for each remote.
Conclusion: Enjoy the Convenience
Programming a Clicker garage door opener is a straightforward process that allows you to enjoy the convenience of operating your garage door remotely. Whether you’re setting up a new remote or reprogramming an existing one, following these steps will ensure that your Clicker garage door opener functions smoothly and securely.
In this article, we’ve provided a step-by-step guide to programming a Clicker garage door opener, helping you set up your remote control for easy and convenient access to your garage.


Leave a Reply