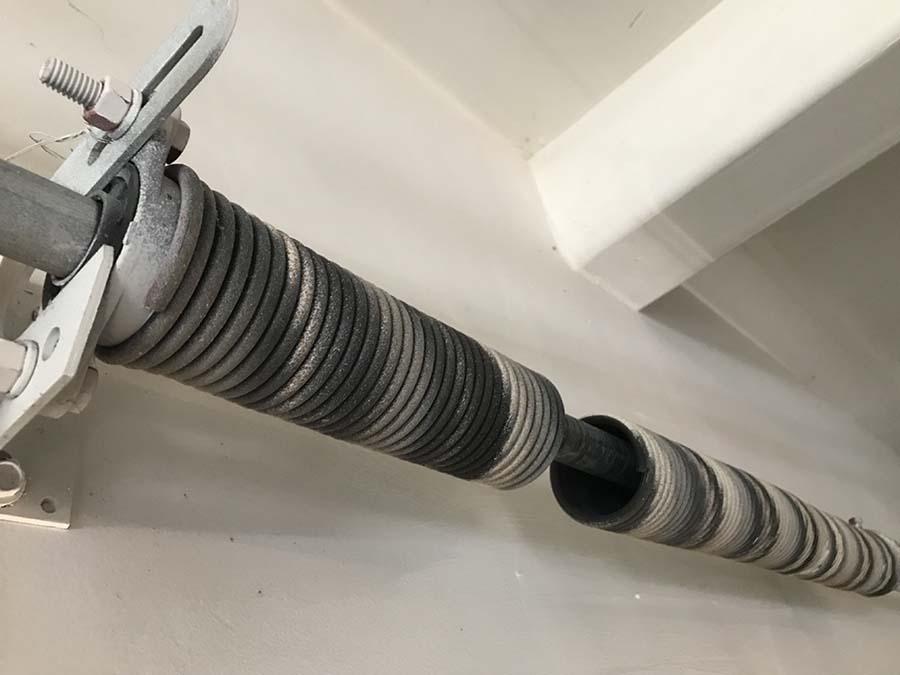
Are you experiencing issues with your garage door spring and need to release tension for repair or maintenance? Safely releasing tension on a garage door spring is crucial for ensuring your safety and the effectiveness of any repair work. In this comprehensive guide, we’ll explore essential tips and techniques for safely releasing tension on garage door spring, helping you maintain and repair your garage door with confidence.

Understanding the Importance of Releasing Tension On Garage Door Spring
Before we delve into the techniques for releasing tension on a garage door spring, let’s understand why it’s essential to do so:
Why Release Tension On Garage Door Spring?
- Safety: Garage door springs are under extreme tension and can cause serious injury or property damage if not handled properly. Releasing tension before performing maintenance or repair work reduces the risk of accidents and ensures a safer working environment.
- Effective Repair: Releasing tension allows for easier removal and replacement of garage door components, such as springs, cables, and rollers. Proper tension release ensures that repairs are performed accurately and effectively, minimizing the risk of further damage or malfunction.
- Longevity: Regular maintenance, including releasing tension on garage door springs, helps prolong the lifespan of your garage door system. By relieving stress on the springs and other components, you can prevent premature wear and tear and extend the longevity of your garage door.
Release Tension On Garage Door Spring: Techniques and Tips
Now that we understand the importance of releasing tension on a garage door spring, let’s explore some techniques and tips for doing so safely and effectively:
1. Disconnect the Garage Door Opener
Before attempting to release tension on the garage door spring, disconnect the garage door opener from the power source and disengage the opener from the door. This prevents the opener from activating accidentally while you’re working on the spring.
2. Secure the Door
Use locking pliers or clamps to secure the garage door in the open position. This prevents the door from falling unexpectedly while you’re releasing tension on the spring. Ensure that the door is securely supported and cannot move freely.
3. Identify the Type of Spring
Garage doors typically use two types of springs: torsion springs and extension springs. The method for releasing tension varies depending on the type of spring used. Identify the type of spring installed on your garage door before proceeding with tension release.
4. Use Proper Tools and Safety Gear
When releasing tension on a garage door spring, use appropriate tools and safety gear, such as winding bars, gloves, and safety glasses. Avoid using makeshift tools or inadequate safety equipment, as this can increase the risk of injury.
5. Follow Manufacturer’s Instructions
Refer to the manufacturer’s instructions or consult a professional technician for guidance on releasing tension on your specific type of garage door spring. Follow the recommended procedures and safety precautions to ensure a safe and effective tension release.
Read too: Why Your Liftmaster Garage Door Won’t Stay Closed and How to Fix It? Troubleshooting Tips
Conclusion
Safely releasing tension on a garage door spring is essential for maintaining a safe and functional garage door system. By understanding the importance of tension release and following the proper techniques and tips outlined in this guide, you can perform maintenance and repairs with confidence. Remember to prioritize safety at all times and seek professional assistance if you’re unsure or uncomfortable with the process.


Leave a Reply