In today’s fast-paced world, where convenience meets security, having a reliable garage door opener system is paramount. Liftmaster has been a trusted name in the industry for decades, offering cutting-edge technology to safeguard your home while providing ease of access. One of the key features of Liftmaster garage door openers is their keypad entry system, allowing homeowners to enter a secure code to operate their garage doors conveniently. However, there may come a time when you need to reprogram your Liftmaster garage door keypad, either due to security reasons or simply to update your access code. In this comprehensive guide, we’ll walk you through the process of reprogramming your Liftmaster garage door keypad step by step.
Understanding Your Liftmaster Garage Door Keypad
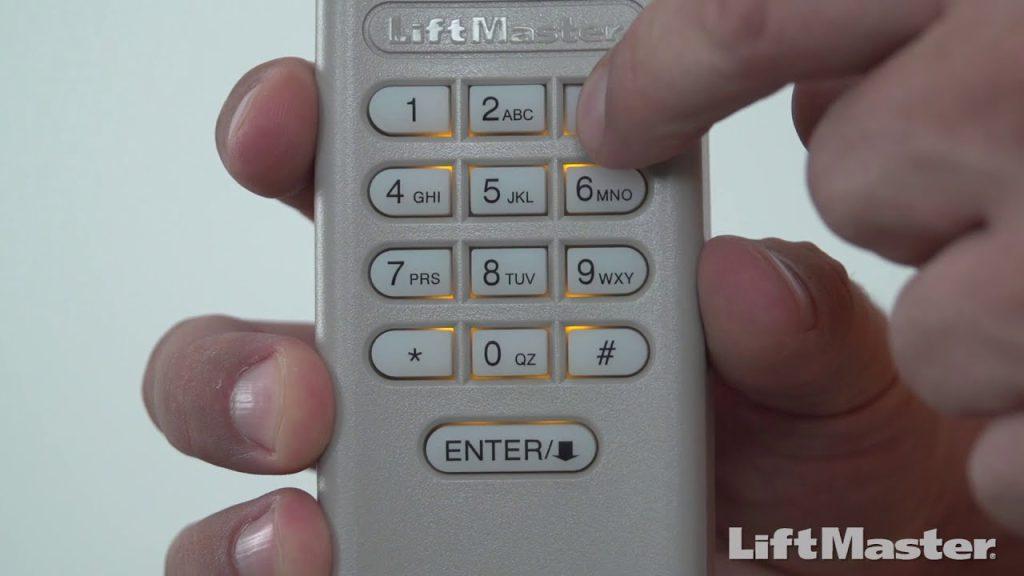
Before diving into the reprogramming process, it’s essential to understand the basics of your Liftmaster garage door keypad. Typically located outside your garage, the keypad allows you to input a code to open or close the garage door. This code serves as an additional layer of security, preventing unauthorized access to your home. Liftmaster keypads are designed to withstand various weather conditions and are equipped with backlighting for easy use during nighttime.
Read too: No Power to Genie Garage Door Opener – Resolving the Issue with Ease: Troubleshooting Guide
Reprogramming Your Liftmaster Garage Door Keypad: Step-by-Step Guide
- Accessing the Keypad Programming Mode
- Begin by locating the “Learn” button on your Liftmaster garage door opener. This button is usually found on the motor unit.
- Press and release the “Learn” button. You’ll notice an indicator light or LED on the motor unit will illuminate for approximately 30 seconds, indicating that the opener is in programming mode.
- Entering a New Access Code
- Stand within range of the keypad and enter your desired new access code. Make sure to choose a code that is easy for you to remember but difficult for others to guess.
- After entering the new access code, press the “Enter” button on the keypad.
- Syncing the Keypad with the Opener
- Return to the motor unit of your Liftmaster garage door opener.
- Press and release the “Learn” button once again. The indicator light or LED will turn off, signifying that the new access code has been successfully programmed into the opener.
- Testing the New Access Code
- Exit programming mode by pressing any button on the keypad. Then, test the new access code by entering it on the keypad and pressing the “Enter” button. Your garage door should open or close accordingly.
- Additional Tips and Considerations
- It’s recommended to change your access code periodically to enhance security.
- If you encounter any issues during the reprogramming process, consult your Liftmaster garage door opener’s user manual or contact Liftmaster customer support for assistance.
Conclusion
By following this step-by-step guide, you can easily reprogram your Liftmaster garage door keypad to ensure the security and convenience of your home. Whether you’re updating your access code or enhancing your home security measures, taking the time to reprogram your keypad is a simple yet effective way to protect your property and loved ones.


Leave a Reply