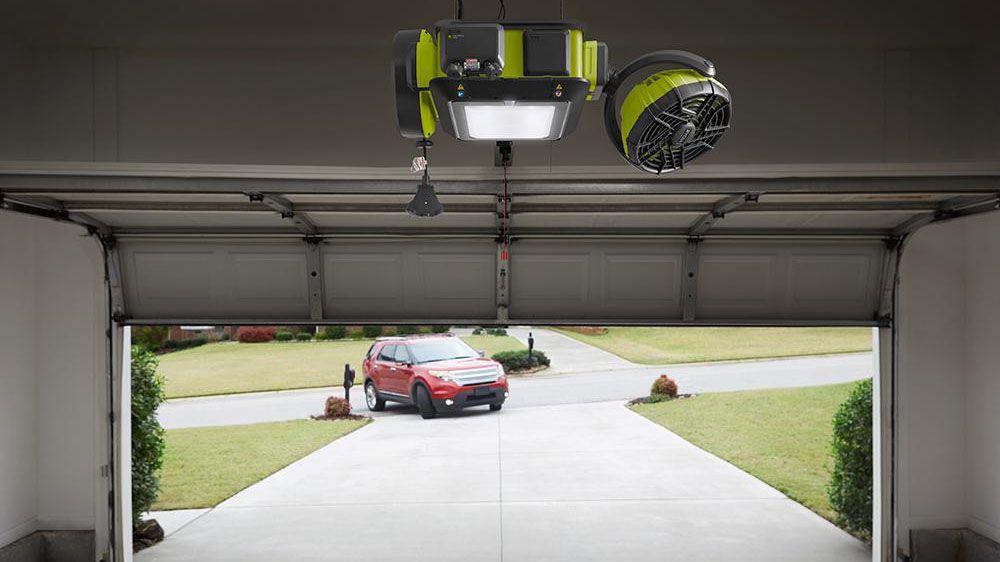
Have you ever struggled with the hassle of manually operating your garage door? Ryobi Garage Door Opener Homelink programming is here to save the day! Say goodbye to fumbling with remotes and welcome the seamless integration of Homelink with your Ryobi garage door opener. In this article, we will guide you through the step-by-step process of programming Homelink and unleash the true potential of your garage door opener.
Understanding Homelink
Imagine a world where your garage door opens with just a click of a button inside your vehicle. That’s precisely what Homelink offers! Homelink is a wireless control system integrated into many vehicles that allows you to operate garage doors, gates, and other compatible devices. By programming Homelink with your Ryobi garage door opener, you can enjoy the convenience of opening and closing your garage door without the need for a separate remote control.
Preparing for Programming
Before diving into the programming process, let’s make sure you have everything you need. First, check your vehicle’s manual to ensure it is equipped with Homelink functionality. Next, gather essential information such as the model and brand of your garage door opener, as well as any existing remotes. Finally, ensure that your vehicle is safely parked within range of the garage door opener.
Step-by-Step Homelink Programming
Now that you’re ready, let’s get started with the Homelink programming process. Locate the Homelink buttons in your vehicle; typically, they are found on the overhead console or the sun visor. Begin by pressing and holding the desired Homelink button and the corresponding button on your Ryobi garage door opener. This initiates the synchronization process. Follow the specific programming steps based on your Ryobi model, which may include pressing additional buttons or entering specific codes. Once programmed, test the Homelink button to ensure it operates your garage door smoothly.
Programming Multiple Garage Doors
If you have multiple garage doors or gates, don’t worry Homelink can handle it! You can assign different Homelink buttons to control specific garage doors or gates. By distinguishing between the buttons, you can effortlessly manage multiple access points. Refer to your vehicle’s manual for instructions on assigning and programming different Homelink buttons.
Maintaining and Troubleshooting Homelink
To keep your Homelink system in top shape, a few maintenance practices are recommended. Replace the battery periodically to ensure consistent performance. If you need to clear the programmed codes on your Homelink buttons, consult your vehicle’s manual for the proper procedure. In case you encounter any issues, such as unresponsive Homelink buttons or interference problems, we have some troubleshooting tips for you. Check for any obstructions blocking the signal, verify the programming steps, and ensure there are no conflicting frequencies in the vicinity.
Conclusion
Congratulations! You are now equipped with the knowledge to program Homelink with your Ryobi garage door opener. Say goodbye to the hassle of searching for remotes or struggling with a manual garage door. With Homelink, opening and closing your garage door becomes a seamless experience. Follow the step-by-step guide provided in this article, and enjoy the convenience and ease that Homelink brings to your daily life. Embrace the future of garage door operation with Ryobi and Homelink!
Remember, if you have any questions or encounter any issues, refer to your vehicle’s manual or consult the Ryobi customer support for further assistance. Happy programming!


Leave a Reply