In today’s fast-paced world, technology has become an integral part of our daily lives, even in the most mundane aspects. One such convenience that many homeowners enjoy is the automatic garage door opener. However, there are times when these technological marvels can encounter issues, leading to the need to “Unprogram Garage Door Opener.” In this article, we will delve into the reasons behind unprogramming, how to troubleshoot common problems, and the step-by-step process of reconfiguring your garage door opener for seamless operation.

Understanding the Need to Unprogram Garage Door Opener
Unprogramming a garage door opener might seem counterintuitive, but there are valid reasons why you might need to do so. One common scenario is when you move into a new home or purchase a new remote. The existing programming might interfere with the new remote, causing confusion and operational glitches. Additionally, if you suspect a security breach or lost remote, unprogramming ensures that unauthorized individuals cannot access your garage.
Troubleshooting: Identifying the Issues
Before you jump to unprogramming your garage door opener, it’s crucial to troubleshoot the issues you’re facing. Common problems include the remote not working despite fresh batteries, the door not responding to the remote, or erratic behavior of the garage door. Start by checking the batteries, ensuring they are correctly placed and have sufficient power. Next, inspect the sensors located near the base of the garage door. These sensors detect obstacles and prevent accidents. Ensure they are clean and properly aligned.
If the door still doesn’t respond, check for any physical obstructions along the tracks or wheels. Sometimes, accumulated debris can hinder smooth operation. Lubricate the moving parts to prevent friction-related problems. If the issue persists, it might be time to unprogram the garage door opener.
Unprogramming the Garage Door Opener: Step-by-Step Guide
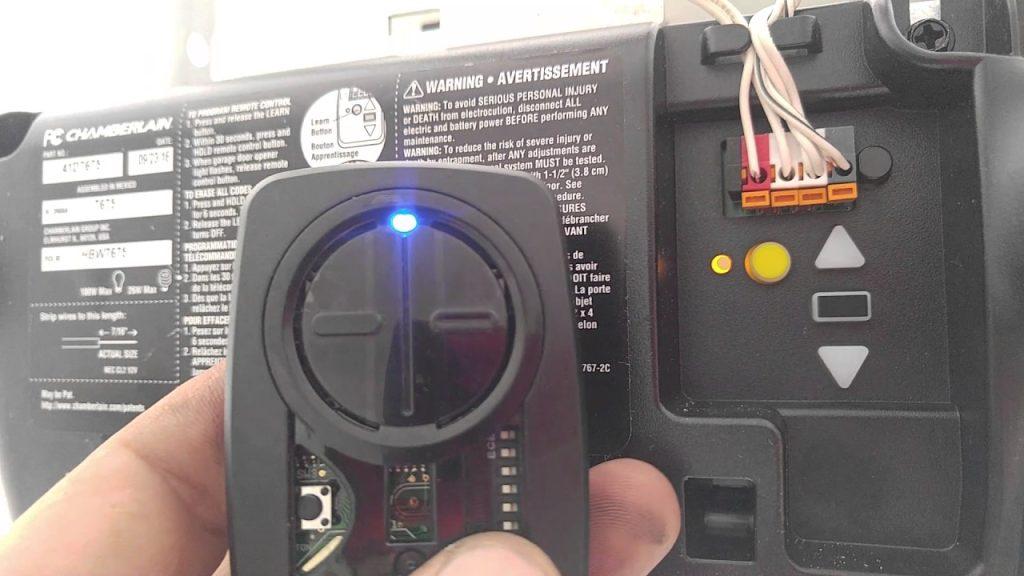
- Locate the “Learn” Button: The first step is to find the “Learn” or “Program” button on your garage door opener unit. This button is usually located near the motor or on the opener’s remote control itself.
- Clear Existing Programming: Press and hold the “Learn” button until the indicator light turns off. This action erases all existing codes and remotes from the opener’s memory.
- Reprogramming Remotes: With the programming cleared, you can now reprogram your remotes. Hold down the button on the remote you want to program while simultaneously pressing the “Learn” button on the opener. Release both buttons when the indicator light on the opener blinks, indicating successful programming.
- Testing: Test the remote to ensure it operates the garage door as intended. If successful, repeat the process for any additional remotes.
Conclusion
In a world dominated by smart technology, even the simplest devices like a garage door opener can sometimes pose challenges. The need to “Unprogram Garage Door Opener” arises from the necessity to resolve conflicts between existing and new remotes, enhance security, or troubleshoot persistent issues. By following the step-by-step guide to unprogramming and reprogramming, you can regain control over your garage door’s functionality. Remember that proper maintenance, occasional lubrication, and prompt troubleshooting are key to ensuring the smooth operation of your garage door opener.


Leave a Reply