Setting your garage door opener in your car can make your daily routine more convenient and hassle-free. Instead of fumbling for a remote, you can simply press a button integrated into your vehicle to open or close your garage door. In this comprehensive guide, we’ll show you how to set your garage door opener in your car easily and effectively, whether you have a modern system or an older model.
Why Set Your Garage Door Opener in Your Car?
Many vehicles today come with built-in garage door opener buttons, typically located on the visor or dashboard. Pairing your car with your garage door opener provides several benefits:
- Convenience: No need to carry a separate remote.
- Security: Built-in systems are less prone to theft.
- Streamlined Access: A single button operation for seamless entry.
By setting up this feature, you enhance both comfort and safety in your daily life.
How To Set Your Garage Door Opener In Your Car
Follow these steps to sync your car’s integrated system with your garage door opener:
Step 1: Identify Your System Type
Garage door openers typically fall into two categories:
- Rolling Code Systems: These change the security code each time the remote is used.
- Fixed Code Systems: These use the same code for every operation.
Check your garage door opener’s manual or motor unit for details about its type.
Read too: Door and Garage Door Companies: Choosing the Right Partner for Your Needs
Step 2: Locate Your Car’s Garage Door Opener Buttons
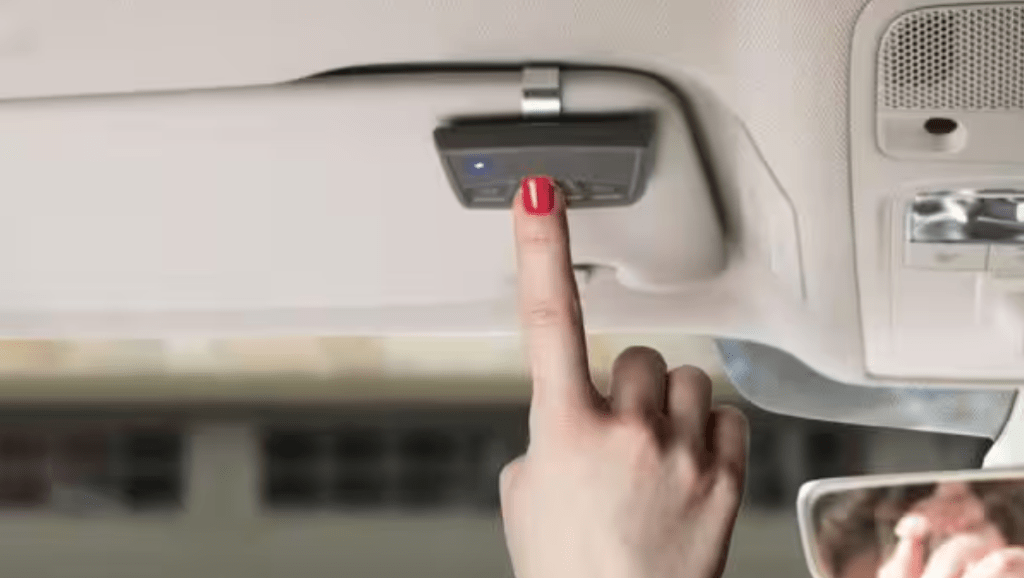
Most cars with built-in openers, like HomeLink or Car2U systems, have buttons located:
- On the ceiling console.
- In the rearview mirror.
- On the driver-side visor.
Refer to your car’s user manual for the exact location and setup instructions.
Step 3: Prepare the System
Before programming, ensure the following:
- Your car is parked outside the garage to prevent accidents.
- The garage door is fully closed.
- Both the car’s ignition and the garage door opener are powered on.
Step 4: Program the Car’s System
For Rolling Code Systems:
- Press and hold the desired button in your car until the indicator light begins to flash.
- Go to the garage door opener motor unit and locate the “Learn” or “Smart” button.
- Press the Learn button (a light on the unit will typically start flashing).
- Return to your car and press the programmed button twice or as instructed in the manual.
For Fixed Code Systems:
- Set your car opener to “Training Mode” (refer to the manual).
- Use your garage remote to transmit the signal by holding it near the car’s button.
- Wait for the car’s indicator light to confirm the programming.
Step 5: Test the System
Once the programming is complete:
- Press the newly programmed button in your car.
- Ensure the garage door responds by opening or closing.
If the setup isn’t successful, repeat the programming steps or consult the troubleshooting section of your manual.
Tips for Programming Garage Door Openers
Here are some tips to ensure a smooth setup:
- Clear Previous Codes: If the car opener was previously paired, clear old codes by holding the button until the indicator light turns off.
- Keep Manuals Handy: Use the garage door opener and vehicle manuals for model-specific guidance.
- Battery Check: Replace the remote’s battery if the signal isn’t strong enough during programming.
Troubleshooting Common Issues
Sometimes, setting your garage door opener in your car can be tricky. Here’s how to address common challenges:
1. Button Not Responding
- Ensure the car’s ignition is on during programming.
- Verify the Learn button on the garage door opener was pressed correctly.
2. Door Only Opens, Not Closes
- Check the alignment of the garage door sensors.
- Ensure the car’s button is fully programmed by repeating the process.
3. Compatibility Issues
- Some older garage openers may not be compatible with modern car systems. Consider purchasing a compatibility bridge if needed.
Benefits of Using Built-In Garage Door Opener Systems
Here’s why integrating your garage door opener into your car is worth the effort:
- Increased Safety: Built-in systems are harder to duplicate compared to standalone remotes.
- Declutter Your Vehicle: No need to carry or store an additional remote in your car.
- Modern Features: Some systems allow integration with smart home devices for voice or app control.
Frequently Asked Questions (FAQs)
Q1: Can I program multiple garage doors to my car’s system?
Yes, most systems allow programming for up to three doors. Each button can be assigned to a different door.
Q2: How long does it take to set up?
The process usually takes 5–10 minutes per door.
Q3: Is it possible to set up a built-in system in older cars?
Older cars without built-in systems can use third-party devices like HomeLink kits for integration.
Conclusion
Learning how to set your garage door opener in your car not only saves time but also enhances security and convenience. By following the steps outlined in this guide, you can program your car to work seamlessly with your garage door opener. Remember to consult your vehicle and opener manuals for model-specific instructions, and don’t hesitate to troubleshoot if needed.
With your garage door opener synced to your car, you’ll enjoy effortless access to your garage, making your daily routine smoother and stress-free.


Leave a Reply