If your Craftsman 1/2 HP garage door opener suddenly stops working, fails to respond to remote signals, or shows erratic behavior, the logic board might be the culprit. Replacing a faulty logic board is often more cost-effective than replacing the entire unit, especially when your opener’s motor and other components are still in good shape.
In this in-depth guide, we’ll walk you through everything you need to know about the Craftsman 1/2 HP garage door opener logic board replacement, from understanding the symptoms of a failing board to choosing the right part and performing the replacement yourself.
What is a Logic Board in a Craftsman Garage Door Opener?
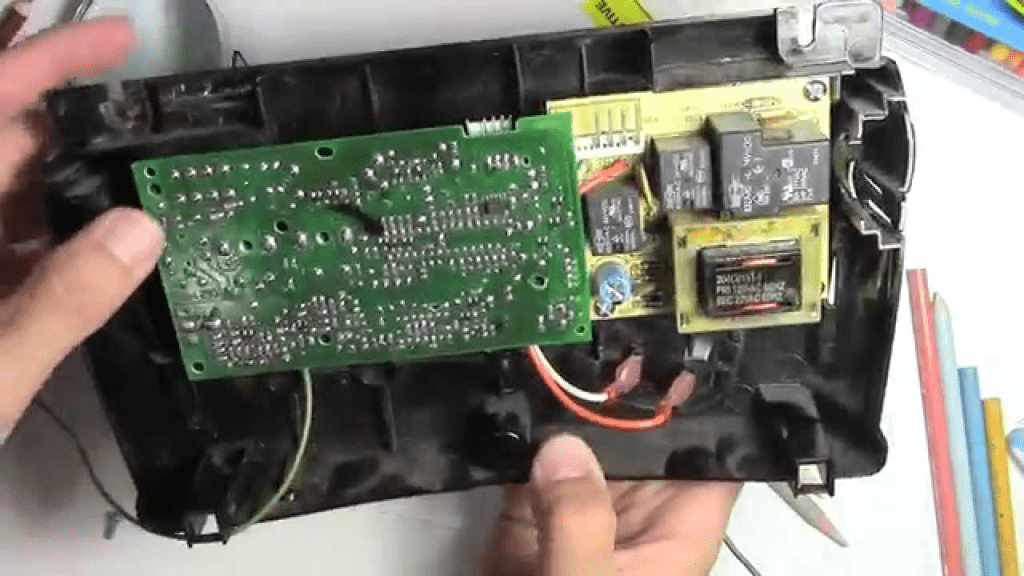
The logic board, also known as the circuit board or control board, is the brain of your garage door opener. It processes the commands sent from your remote control, wall switch, or keypad and tells the motor what to do.
Read too: Mastering the Art of Adjusting a Chamberlain Garage Door Opener for Smooth Operation and Safety
For a Craftsman 1/2 HP garage door opener, the logic board handles:
- Receiving signals from remote controls or keypads
- Regulating the motor’s start, stop, and reverse actions
- Monitoring safety sensors
- Controlling the built-in lighting system
When the logic board malfunctions, your garage door opener may behave unpredictably or not respond at all. That’s why identifying logic board failure early and knowing how to replace it can save you time, money, and hassle.
Common Signs You Need a Craftsman 1/2 HP Garage Door Opener Logic Board Replacement
Not every malfunction is due to a bad logic board, but here are some of the most common symptoms that indicate replacement may be necessary:
- Remote or wall switch doesn’t activate the opener
- Garage door opens or closes intermittently or stops mid-cycle
- The opener light flashes but the door doesn’t move
- You hear clicking noises from the opener without any movement
- Burnt smell or visible damage on the circuit board
- Keypad or wireless entry devices stop working despite new batteries
- No response from the unit even after resetting power
If you’ve already checked batteries, remotes, wall controls, and safety sensors, then the logic board is the next component to inspect.
Choosing the Right Logic Board Replacement for Craftsman 1/2 HP Garage Door Openers
Craftsman garage door openers often share components with Chamberlain and LiftMaster models since they’re manufactured under the same parent company. That’s why part numbers and compatibility are critical.
How to Identify Your Model and Compatible Logic Board
- Locate the model number on the motor unit—usually found on a label near the light cover or the rear panel.
- Check the part number of your existing logic board (you may need to open the housing).
- Cross-reference with manufacturer documentation or online databases to ensure compatibility.
Some commonly used Craftsman logic board part numbers include:
- 41A5021-1
- 41A5483B
- 41A5021-3M-315
- 41A4315-7D
Always ensure the replacement logic board matches both the motor specs and receiver frequency (like 315 MHz or 390 MHz) to ensure full functionality with remotes and wireless devices.
Where to Buy Craftsman 1/2 HP Garage Door Opener Logic Board Replacements
You can find replacement logic boards from:
- Official Sears PartsDirect website
- Amazon, eBay, or Walmart (online marketplaces)
- Garage door repair shops
- Home improvement stores like Lowe’s or Home Depot
- Directly from Chamberlain or LiftMaster (if cross-compatible)
Be cautious with third-party sellers—read reviews to ensure you’re getting genuine OEM parts. Avoid unbranded knockoffs that could lack proper safety certifications.
Tools You’ll Need for Logic Board Replacement
Replacing a Craftsman 1/2 HP garage door opener logic board is a moderately easy DIY job. Here are the tools you’ll need:
- Phillips-head screwdriver
- Flathead screwdriver
- Nut driver set
- Electrical tape (optional)
- Safety gloves
- Stepladder
- Smartphone or camera (to take pictures of wiring before disconnection)
Craftsman 1/2 HP Garage Door Opener Logic Board Replacement – Step-by-Step Guide
Before starting, unplug the garage door opener to ensure safety.
Step 1: Remove the Opener Cover
Use a screwdriver or nut driver to remove the screws holding the plastic housing. Carefully detach the light lens or cover.
Step 2: Document Existing Wiring
Take a photo of the wire connections to make reinstallation easier. Note the color coding and terminal labels.
Step 3: Disconnect the Wires
Remove all wire connections from the old logic board using a flathead screwdriver. Don’t force the wires—they should slide out easily when pressed at the connector.
Step 4: Unscrew the Logic Board
Unscrew the mounting screws or clips that hold the logic board to the unit frame.
Step 5: Install the New Board
Position the new logic board in place and secure it using the same screws. Reconnect the wires exactly as before, referring to your photo for guidance.
Step 6: Replace Housing and Plug In
Reattach the plastic cover or lens. Plug the opener back in and restore power.
Step 7: Reprogram Remotes and Keypads
Most logic board replacements require you to re-sync your remotes, keypads, or HomeLink system. Press the “Learn” button on the opener and follow the instructions provided with the logic board.
Post-Installation Tips and Troubleshooting
After installing your new logic board:
- Test the system by operating the garage door with both the wall switch and remote control.
- Check safety sensor alignment—misaligned sensors can prevent the door from closing properly.
- Re-adjust the force and limit settings if the door doesn’t open/close fully.
- If the opener still doesn’t work, double-check wiring, fuse integrity, and compatibility.
How Long Does a Craftsman Logic Board Last?
The average logic board can last 8–15 years, depending on usage, voltage spikes, and weather conditions. Power surges and lightning are leading causes of premature failure, so using a surge protector on your garage outlet is highly recommended.
Benefits of Doing a Logic Board Replacement Instead of Buying a New Opener
- Cost Savings: Replacing a logic board costs between $30 and $100, while a new opener can run $200–$400 plus installation.
- Environmental Benefits: Reduces electronic waste by reusing existing components.
- Faster Turnaround: Replacing a board takes less than an hour, compared to the longer time needed for full system replacement.
- Maintains Remote and Sensor Compatibility: No need to reconfigure your entire garage access system.
When to Call a Professional
While many homeowners complete this project themselves, consider professional help if:
- You’re unsure about electrical wiring.
- The logic board is deeply embedded or hard to access.
- Your garage door system has other mechanical issues like a worn-out motor, faulty chain, or broken springs.
Professional installers can also inspect other components during the service, ensuring your entire opener system works optimally.
Conclusion: Is Craftsman 1/2 HP Garage Door Opener Logic Board Replacement Worth It?
Absolutely. If your opener’s motor and mechanical components are still in working condition, replacing a faulty logic board can breathe new life into your garage door system for a fraction of the cost of a full replacement.
The Craftsman 1/2 HP garage door opener logic board replacement is a straightforward, budget-friendly project that restores your garage access system and keeps your home secure. With a bit of DIY effort and the right replacement part, you’ll have your opener running like new in no time.


Leave a Reply