Struggling to sync your new remote or keypad? Learning how to program a Chamberlain Liftmaster garage door opener doesn’t have to be a frustrating weekend chore. We understand the hassle of a disconnected garage, so we’ve created this simple, step-by-step guide to get you back inside in minutes.
How To Program A Chamberlain Liftmaster Garage Door Opener: Step-by-Step
Before we dive into the steps, it helps to understand your hardware. According to the International Door Association (IDA), the average American uses their garage door over 1,500 times a year. Because of this heavy usage, having a reliable connection is essential.
While the basic concept of a garage door opener has remained similar for decades, modern Chamberlain and Liftmaster models use advanced rolling-code technology for enhanced security. This means you cannot just copy an old remote; you must officially sync it to the motor.
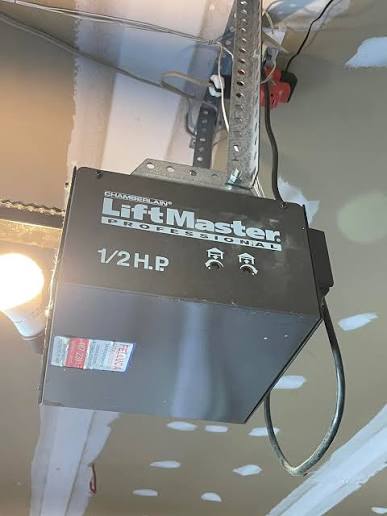
Identify Your “Learn” Button Color
The programming process depends entirely on the color of the “Learn” button on your motor head. Here is a quick comparison table to help you identify your system:
| Learn Button Color | Technology Type | Compatible Remote Series |
|---|---|---|
| Yellow | Security+ 1.0 (315 MHz) | Remotes starting with ‘1’ |
| Purple | Security+ 2.0 (315 MHz) | Remotes starting with ‘3’ |
| Red/Orange | Security+ 3.0 (Multi-Freq) | Remotes starting with ‘4’ |
| Green | Older Models (390 MHz) | Fixed-code or older remotes |
Note: The Learn button is typically located on the back or side of the motor unit hanging from your garage ceiling.
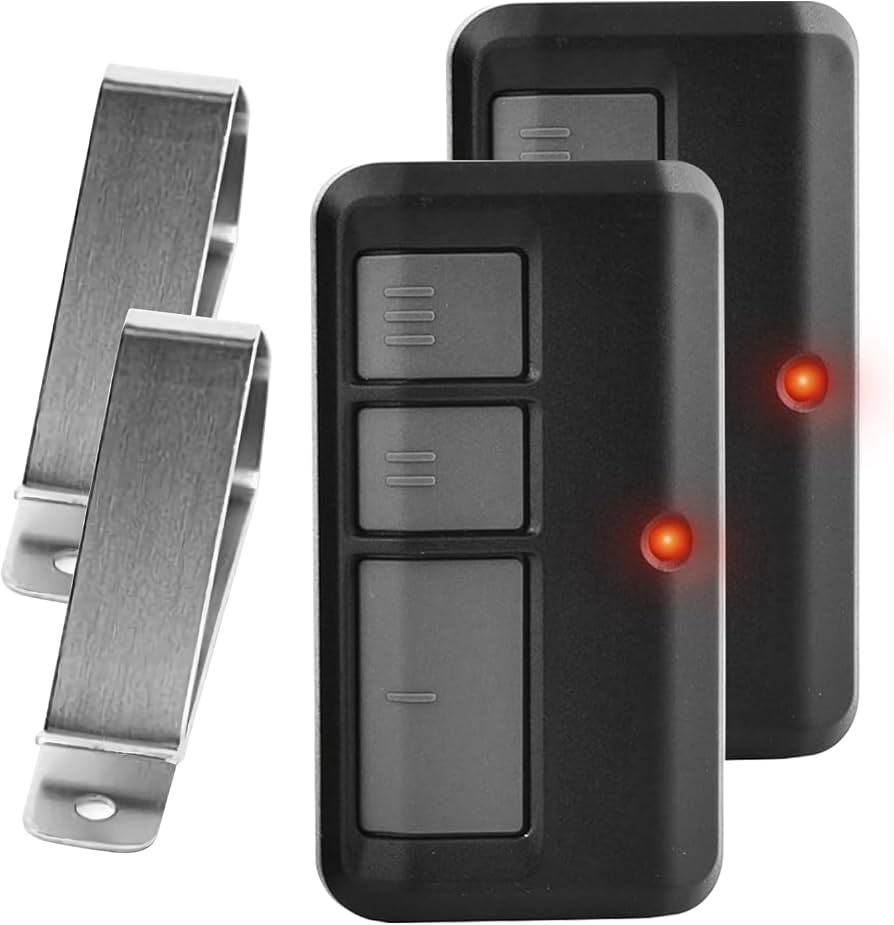
Step 1: Syncing a Standard Remote Control
Once you know your button color, you are ready to sync your remote. Follow these exact steps:
- Locate the motor unit: Use a sturdy stepladder to safely reach the Chamberlain or Liftmaster motor head.
- Clear old codes (Optional but recommended): Press and hold the Learn button for exactly 6 seconds until the LED indicator turns off. This wipes the memory clean.
- Enter pairing mode: Press the Learn button once more and release it immediately. The LED next to the button will start blinking, indicating it is listening for a signal. You have a 30-second window to complete the next step.
- Program the remote: Stand within 10 feet of the motor. Press and hold the desired button on your handheld remote.
- Confirm the sync: Watch the motor unit. When the overhead lights on the motor flash or the LED stops blinking, release the remote button. Your remote is now successfully programmed!
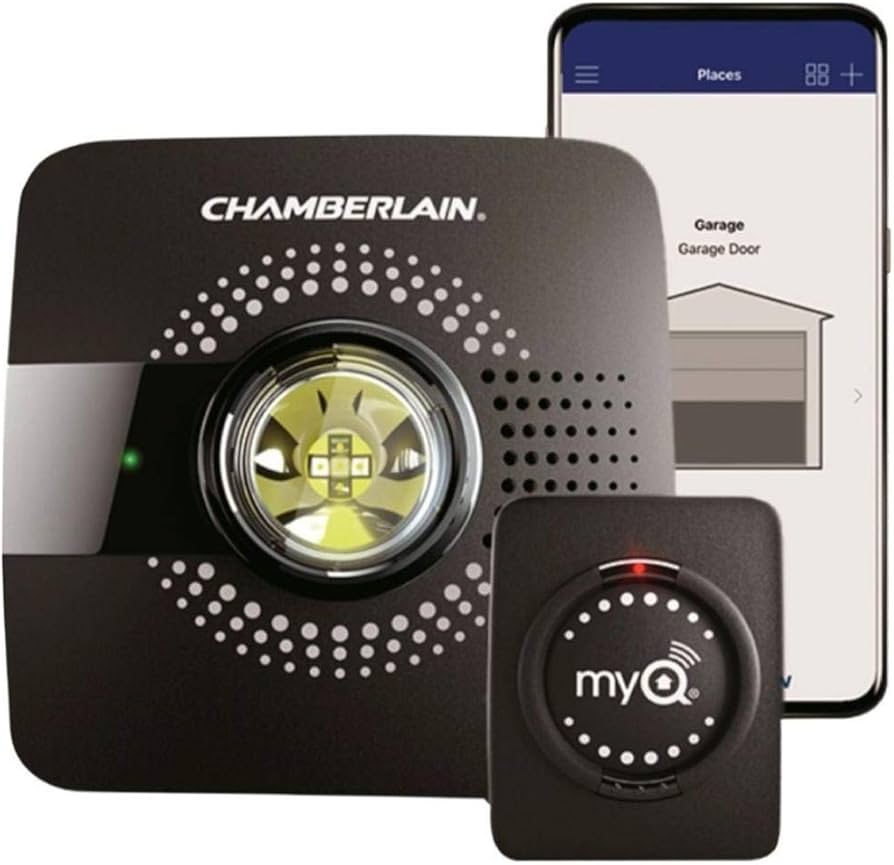
Step 2: Setting Up an External Keypad
If you prefer keyless entry, setting up an external keypad is incredibly convenient. Here is how to link it to your opener:
- Enter your PIN: On your new wireless keypad, type in your preferred 4-digit Personal Identification Number (PIN).
- Activate the motor: Go back to the motor head and press the Learn button once. The LED will blink.
- Transmit the PIN: Return to your keypad within 30 seconds. Press and hold the Enter (or Arrow) button on the keypad.
- Wait for confirmation: Keep holding the button until the motor unit’s lights flash or you hear a distinct “click” sound from the motor.
- Test the connection: Enter your newly created 4-digit PIN and press Enter. The door should activate immediately.
How to Reset and Reprogram a Liftmaster Garage Door
Sometimes, technology glitches. If your remote stops working, you might need to perform a hard reset. This is especially useful if you have moved into a new house and want to ensure previous owners’ remotes no longer work.
To perform a hard reset, locate the Learn button on the motor. Press and hold it for 10 full seconds until the LED next to it turns off completely.
Once the light goes out, release the button. All previously programmed remotes, keypads, and HomeLink systems are now erased from the memory. You will need to repeat the programming steps above for every device you wish to reconnect.
Troubleshooting Common Programming Issues
Even with perfect instructions, you might run into a hiccup. Here are the most common problems and how to fix them:
- The LED doesn’t blink when pressing the Learn button: You might be pressing it too quickly. Ensure you are giving the button a firm, distinct press. If it still fails, check if the logic board needs a hard reboot by unplugging the motor for 60 seconds.
- The remote only works from extremely close range: This usually indicates dying batteries. Replace the remote’s battery with a fresh CR2032 coin cell. Ensure the metal contacts are facing the correct direction.
- The door reverses immediately after closing: This is not a programming issue, but a safety sensor alignment issue. Check the small “eyes” near the floor on both sides of the door track. Ensure nothing is blocking the infrared beam and that the indicator lights are glowing solid.
Programming Your In-Car HomeLink Visor
Many drivers prefer using their car’s built-in HomeLink system. To program this without a ladder, you will need a handheld remote that is already working.
- Clear the car’s memory: Press and hold the two outer HomeLink buttons in your car for 10 to 20 seconds until the indicator light flashes rapidly.
- Initiate the motor: Press the Learn button on your garage motor head.
- Transmit the signal: Hold your working handheld remote 1 to 3 inches away from the HomeLink buttons in your car.
- Sync the devices: Press and hold the button on the handheld remote while simultaneously pressing the desired HomeLink button in your car.
- Finalize: Hold both until the HomeLink indicator light turns solid or flashes rapidly. Test the button in your vehicle.
FAQ Section
How do I know if my Chamberlain garage door opener is compatible with my remote?
Check the color of the Learn button on your motor head and match it to the remote’s packaging. Generally, yellow buttons require Security+ 1.0 remotes, purple requires Security+ 2.0, and red/orange requires Security+ 3.0. You can also check the model number on the motor and cross-reference it on the Chamberlain website.
Why won’t my Chamberlain Liftmaster garage door opener program?
The most common reasons include weak remote batteries, standing too far from the motor (stay within 10 feet), or failing to press the Learn button on the motor first. Ensure you are completing the steps within the 30-second pairing window.
How do I clear the memory on my Liftmaster garage door opener?
To erase all paired devices, press and hold the Learn button on the back of the motor head for exactly 6 to 10 seconds until the LED indicator light turns off. This wipes the memory completely, allowing you to start fresh.
Can I program my Chamberlain garage door opener without a ladder?
If you are programming an in-car HomeLink system, you can do it from the driver’s seat using an already-working remote. However, to put the motor head into pairing mode initially, you will almost always need a ladder to press the physical Learn button on the ceiling unit.
Conclusion
Mastering how to program a Chamberlain Liftmaster garage door opener is a straightforward process once you understand your specific motor’s Learn button color. By following these precise steps, you can easily sync your handheld remotes, external keypads, and in-car visor systems, ensuring your home remains secure and accessible.
We hope this guide saved you time and frustration today! If you found this tutorial helpful, please share it on your social media or send it to a friend who might be struggling with their garage door. Happy syncing!
Leave a Reply