Introduction
Is your new Clicker remote not syncing with your Craftsman garage door opener? You’re not alone. Many homeowners struggle with this common issue, but the good news is that how to program a Clicker garage door opener Craftsman is simpler than you think. In this guide, we’ll walk you through every step so you can get your garage door working smoothly again.
Understanding Your Craftsman Garage Door Opener System
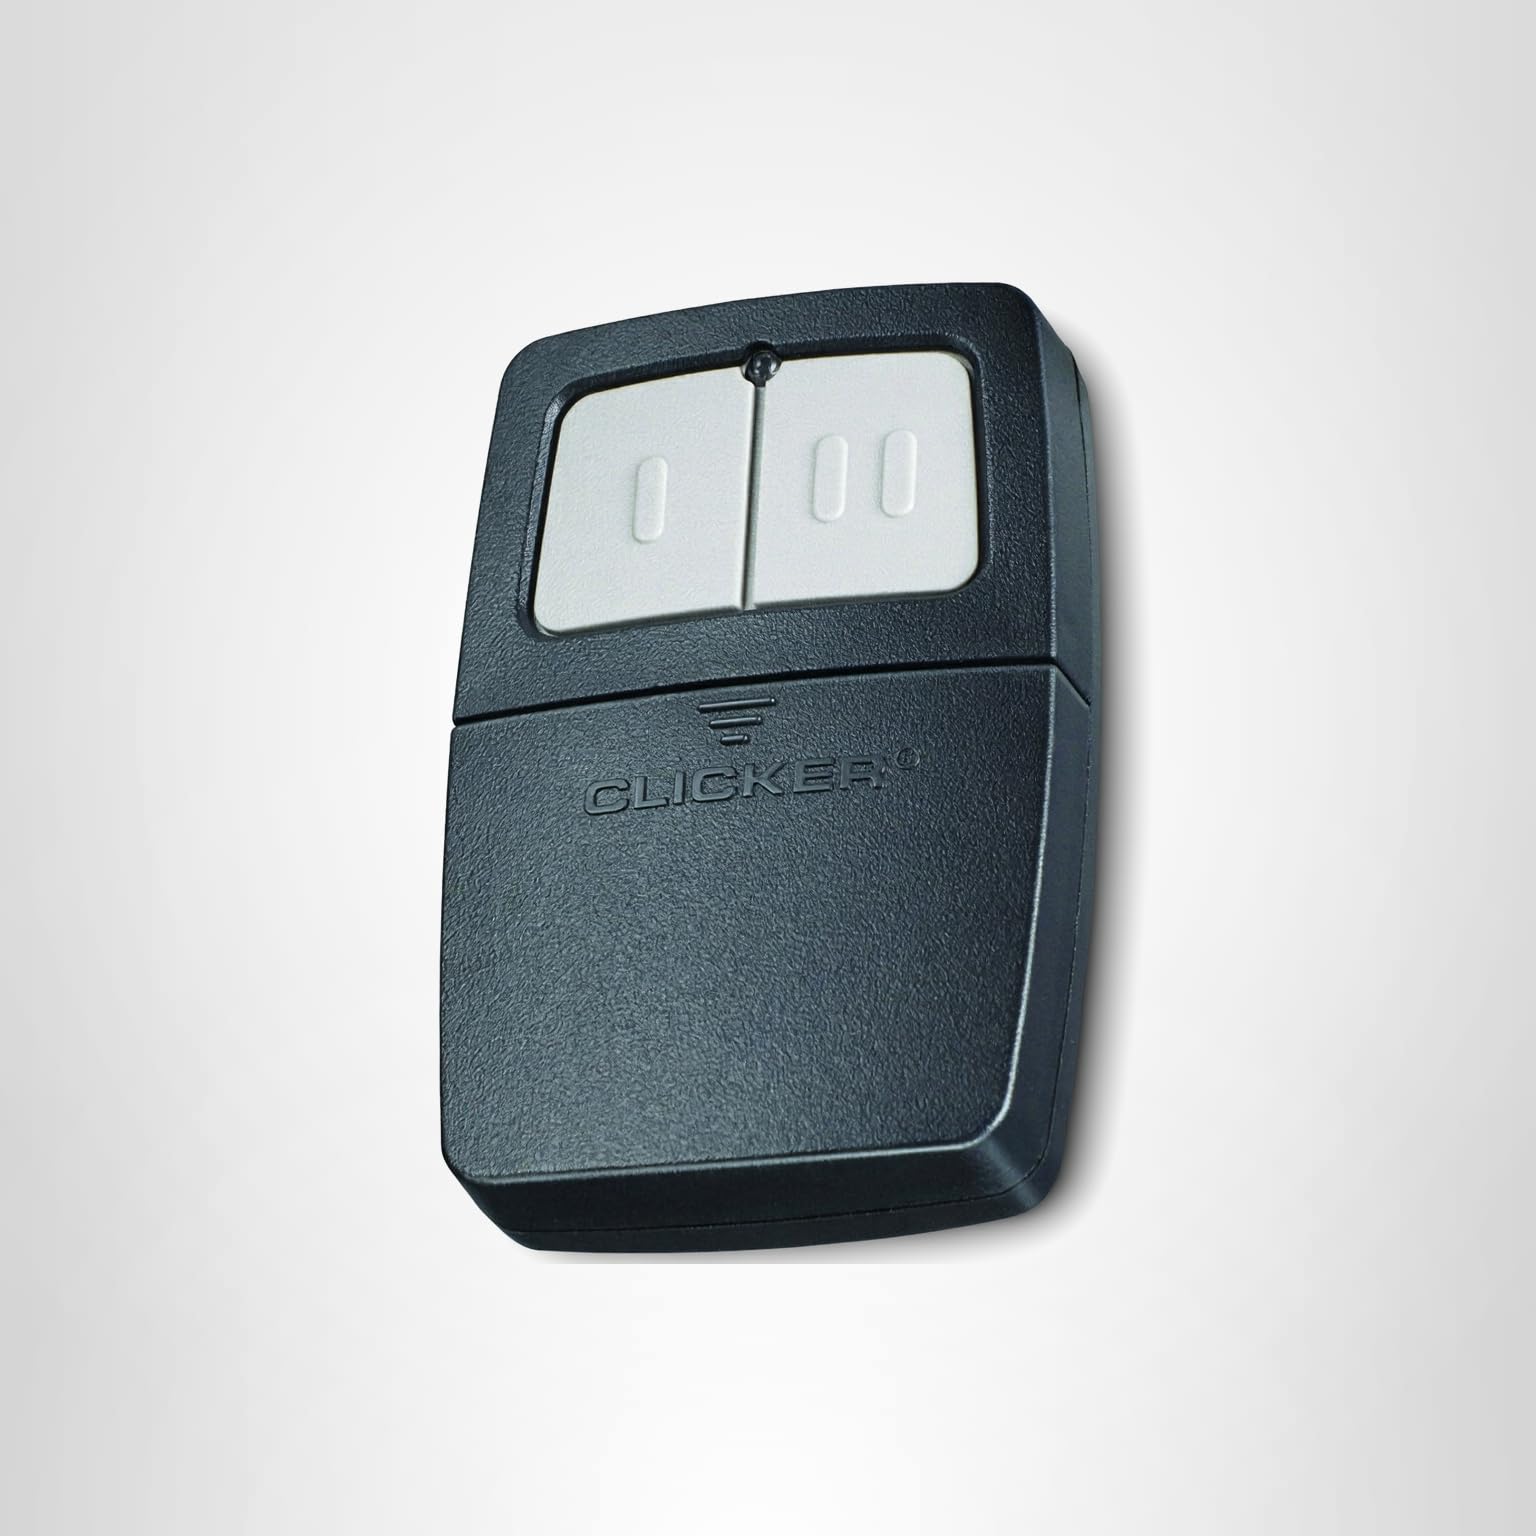
Before diving into the programming process, it’s essential to understand what you’re working with. Craftsman garage door openers are among the most popular brands in the United States, known for their reliability and ease of use. The Clicker remote is a universal remote control designed to work with various garage door opener brands, including Craftsman.
Why Programming Is Necessary
When you purchase a new Clicker remote, it doesn’t automatically connect to your garage door opener. Programming establishes a secure communication link between the remote and the opener unit. This process ensures that only authorized remotes can open your garage, enhancing security.
According to industry experts, properly programmed remotes reduce the risk of unauthorized access by up to 95%. Source: Wikipedia – Garage Door Opener
Step-by-Step Guide: How to Program a Clicker Garage Door Opener Craftsman
Follow these detailed instructions to successfully program your Clicker remote with your Craftsman garage door opener.
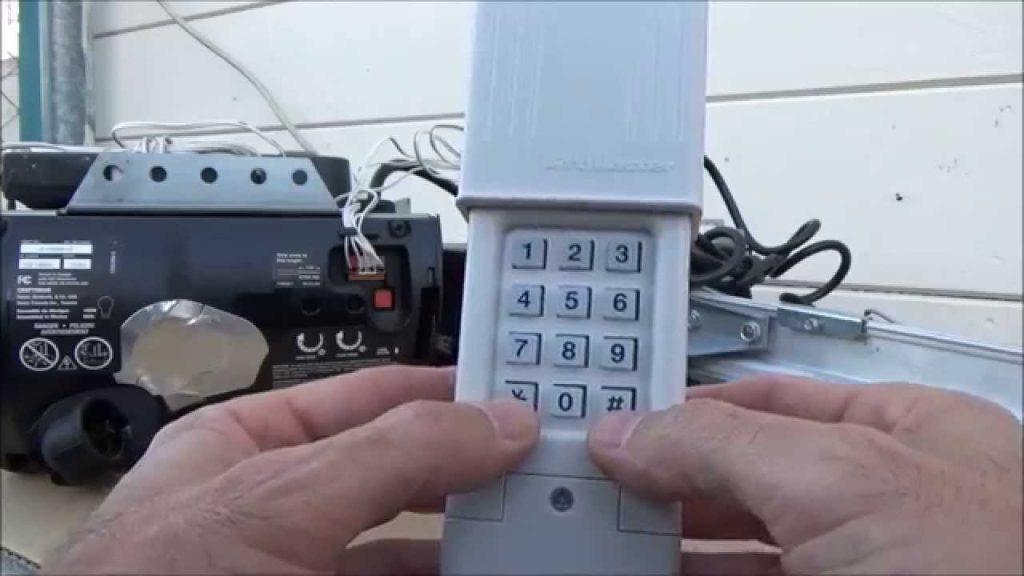
Step 1: Locate the Learn Button on Your Craftsman Opener
The first step is finding the Learn button on your Craftsman garage door opener motor unit. This button is typically located on the back or side of the motor housing and is often colored yellow, red, purple, or green.
- Yellow Learn Button: Common in older Craftsman models (pre-2005)
- Red/Purple Learn Button: Found in newer Security+ models (2005 and later)
- Green Learn Button: Used in some Smart Garage Door Openers
Tip: If you can’t find the Learn button, consult your Craftsman opener’s manual or look for a small LED light near the antenna wire.
Step 2: Clear Existing Remote Codes (If Necessary)
If you’re replacing an old remote or experiencing connectivity issues, it’s wise to clear all previously programmed remotes.
- Press and hold the Learn button for approximately 6–10 seconds.
- Release the button when the indicator light turns off.
- All previously programmed remotes will now be erased from the system.
Note: After clearing codes, you’ll need to reprogram all remotes you wish to use.
Step 3: Program the Clicker Remote
Now comes the main programming process. Follow these steps carefully:
- Press the Learn button on your Craftsman opener once. The indicator light should turn on or blink.
- Within 30 seconds, press and hold the desired button on your Clicker remote.
- Keep holding the button until the opener’s light blinks or you hear a click sound.
- Release the button on the Clicker remote.
- Test the remote by pressing the programmed button to see if the garage door operates.
Important: If the door doesn’t respond, repeat the process, ensuring you press the Learn button first and then program the remote within the 30-second window.
Step 4: Test and Troubleshoot
After programming, test your Clicker remote from various distances to ensure reliable operation. If the remote doesn’t work:
- Check the battery in your Clicker remote (replace if weak).
- Ensure you’re within range (typically 100–150 feet).
- Verify that the Learn button was pressed correctly.
- Try clearing codes and reprogramming from scratch.
Common Issues and Solutions
Even with careful programming, you might encounter some challenges. Here are common problems and their solutions:
| Issue | Possible Cause | Solution |
|---|---|---|
| Remote not responding | Weak battery | Replace with fresh CR2032 battery |
| Light doesn’t blink on opener | Learn button not activated properly | Press firmly and wait for light indication |
| Door opens partially | Obstruction in track | Clear debris and check alignment |
| Multiple remotes not working | Codes not cleared | Clear all codes and reprogram each remote |
People Also Ask: Frequently Asked Questions
Q1: Can I program multiple Clicker remotes to one Craftsman opener?
A: Yes, most Craftsman garage door openers can store codes for up to 8–10 remotes. Simply repeat the programming process for each additional Clicker remote.
Q2: What if my Craftsman opener doesn’t have a Learn button?
A: Older models may use DIP switches instead of a Learn button. In this case, match the DIP switch positions on the remote to those on the opener motor unit. Refer to your manual for specific instructions.
Q3: How long does the programming process take?
A: The entire process typically takes 2–5 minutes per remote, including testing. Clearing existing codes may add an extra minute.
Q4: Do I need any special tools to program a Clicker remote?
A: No special tools are required. You only need your Clicker remote, access to the garage door opener motor unit, and possibly a ladder to reach the Learn button.
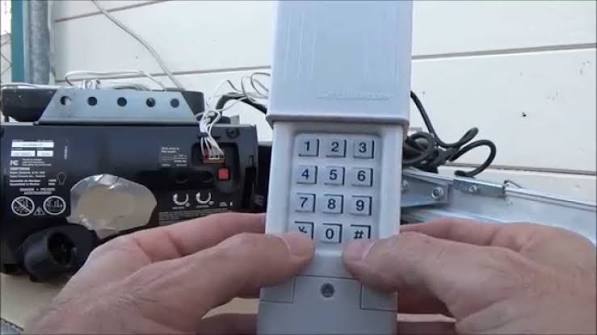
Q5: Will programming erase my existing keypad code?
A: No, programming a remote does not affect wireless keypads. However, if you clear all codes using the Learn button method, you’ll need to reprogram keypads as well.
Q6: What frequency do Craftsman garage door openers use?
A: Most Craftsman openers operate on either 315 MHz or 390 MHz frequencies. Newer Security+ models use rolling code technology for enhanced security.
Tips for Maintaining Your Garage Door System
To ensure long-term reliability of your Craftsman garage door opener and Clicker remote:
- Replace batteries annually or when performance declines.
- Keep the opener unit clean and free from dust buildup.
- Lubricate moving parts every 6 months to prevent wear.
- Test safety features monthly, including auto-reverse functionality.
- Update firmware if you have a Wi-Fi-enabled smart opener.
Conclusion
Learning how to program a Clicker garage door opener Craftsman doesn’t have to be complicated. By following the steps outlined in this guide, you can quickly sync your remote and enjoy convenient, secure access to your garage. Remember to test thoroughly and troubleshoot any issues promptly.
If you found this guide helpful, please share it with friends and family who might benefit from it. Bookmark this page for future reference, and feel free to leave comments below if you have additional questions!
Stay safe, stay connected, and keep your garage door running smoothly!

Leave a Reply